
Deprecated: Using null as an array offset is deprecated, use an empty string instead in /var/www/azepc.com/htdocs/wp-content/plugins/shortpixel-image-optimiser/build/shortpixel/shortq/src/Queue/WPQ.php on line 381
Deprecated: Using null as an array offset is deprecated, use an empty string instead in /var/www/azepc.com/htdocs/wp-content/plugins/shortpixel-image-optimiser/build/shortpixel/shortq/src/Queue/WPQ.php on line 381
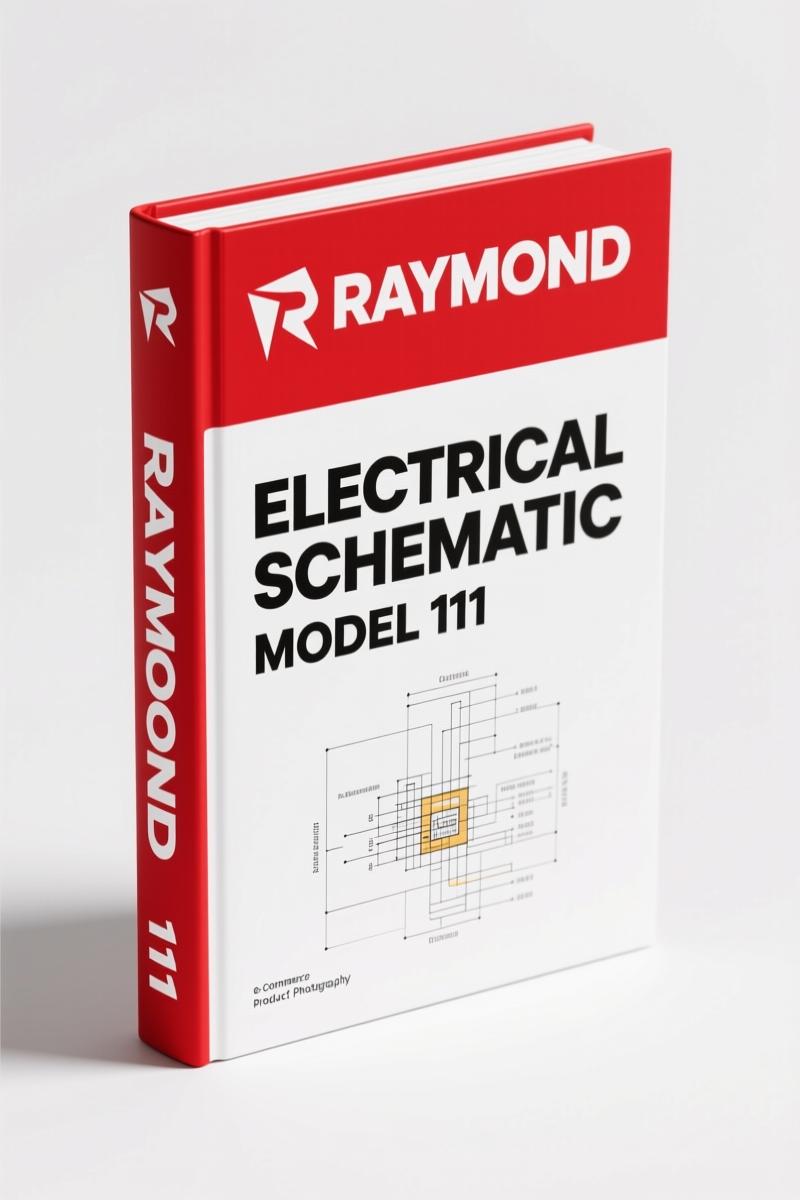
Raymond 111, 112, 113, 114 2010 Electrical Schematic – OEM Wiring Diagram
Original price was: $15.83.$11.99Current price is: $11.99.
OEM 13-page electrical schematic for Raymond 111, 112, 113, 114 pallet trucks (2010). Covers contactor panels, motor sensors, control handle wiring.
Description
Raymond 111, 112, 113, 114 2010 Electrical Schematic
I’ve seen guys spend half a shift chasing a no‑coast condition on a Raymond pallet truck because they were working off a generic wiring diagram pulled off some forum. That’s wasted time, and on a forklift, wasted time means a warehouse that can’t move product. This 13‑page OEM Raymond 111, 112, 113, 114 2010 Electrical Schematic is the factory document—published by The Raymond Corporation, dated 01 July 2010, publication 1123033A. It matches the actual harnesses and controller pinouts on these trucks. If you’re swapping a motor velocity sensor or diagnosing a contactor that won’t pull in, this is the diagram you need, not a copy from a third‑party repackager.
Contactor Panel and High‑Current Fuses
Page 1 lays out the contactor panel: TP1 through TP5, fuses FU1 (150u202fA), FU2 (500u202fA), FU3 (350u202fA). That FU2 at 500 amps is the main power feed—pull the battery before you stick a meter in there. The schematic shows the interlock paths from STR, LPC, TPC, and the MS (main switch) with its A2 coil feed. If you lose traction motor power, start at TP4 and work back through the contactor coil circuit. The factory wiring color codes are printed right on the diagram—red for motor velocity, black for DGND, white and blue for signal lines. Don’t trust an aftermarket print that might swap those colors.
Motor Velocity and Temperature Sensor Circuits
The traction motor velocity sensor (TME) connects through JPT2, JPS2, JPT1. You’ve got a red wire on pin 1, black on pin 4, white on pin 3, blue on pin 2 for the TME signal, then a separate red/black for motor temperature (TMT). The lift motor uses a similar layout with JPL1, JPL2‑1, JPL1‑3 and the LAME sensor. If the truck throws a “motor velocity” fault, this schematic tells you exactly which pin to probe at the controller and what voltage you should see. The coolant‑flow pump resistor values aren’t listed here, but the wiring path to the thermistor input is – all 13 pages give you the full signal chain.
Primary Control Handle Pinout – 14 Pins
JPC14‑5 feeds +12VP to the handle. Then you’ve got lift, reach, tilt up/down, side‑shift left/right, horn, throttle, and a thermistor enable input. The table on page 1 shows that pin 11 is NEUTRAL_PULSE and pin 10 is FUI_SENSE (fuel injector? no, that’s the “function interface” line for cold‑storage options). If your reach function is dead, check JPC22‑7 for B+AUX1, and make sure the dump valve solenoid has a clean ground on DGND (pin 6). These pinouts come straight from the Raymond engineering drawings—there’s nothing guessed.
Cold Storage (C.S.) Model Variations
Page 2 carries a note: “Connectors and/or components in parentheses designate cold storage (C.S.) models only.” So if you’re working on a Model 112 or 113 that operates in a refrigerated warehouse, the harness has extra components like a heated handle (H_HTR) and an ambient temperature sensor (ROOM_TEMP). The main schematic sheets split the wiring for those circuits with parentheses around connectors like (B+K2). I’ve seen guys swap a control handle on a C.S. truck using a standard diagram and end up with no heater operation—this manual keeps you out of that trap.
3 Reasons to Choose This OEM Schematic
1. It’s the actual factory release 1123033A—not a scan of a fourth‑generation photocopy. Every fuse rating, connector pin, and wire gauge matches what Raymond built. 2. The 13 pages cover the Model 111 (standard), 112 (no coast), 113 (no coast), and 114—and the serial number range 11x‑99‑25000 to 40999 is clearly marked, so you know if it fits your truck. 3. You get the cold storage supplement, which aftermarket diagrams always leave out. Pair this with the maintenance manual Raymond 111, 112, 113, 114, 11XD 2010 Electrical Schematic – OEM Factory Wiring and the Raymond TRT 2010 Electrical Schematic if you’re working on a turret truck. For the 440C/470C, grab Raymond 440C/470C Electrical Schematic 2010.
FAQ
- Does this manual cover the model 114 with coast options?
- Yes.
- How do I use this schematic to troubleshoot a motor velocity loss on a model 112 “No Coast” truck?
- Start at the JPT2 connector on the traction motor. Pin 1 (red) is the velocity sensor signal. Backprobe it while the truck is in drive—you should see a 0–5u202fV pulse that rises with speed. If you get nothing, check the TME ground (pin 4, black) and the +12VP supply at JPC14‑5. The schematic also shows the motor temperature line (TMT, red/black) which can pull the controller into limp mode if it reads open circuit. Also verify the STR contactor coil gets B+ from the MS switch – the diagram routes that through TP2. If the contactor doesn’t pull, the traction controller sees a fault and kills velocity. The cold storage models add a thermistor in the handle that can also cause this – read the parentheses on sheet 2.
This Raymond schematic gives you the exact wire colors, connector views, and component designations that the factory techs use. When you’re elbow‑deep in a battery compartment with a multimeter, you don’t want to wonder if your diagram is correct. Access the Factory Manual and keep it on a tablet or print it out—13 pages is short enough to pin on the shop wall. Your customer’s downtime stops when you stop guessing.
For background on electrical schematics in general, see Automotive Wiring and the Automotive Industry Overview for context on how these diagrams fit into broader vehicle systems.
Additional information
| Brand | Raymond |
|---|---|
| Language | English |
2 reviews for Raymond 111, 112, 113, 114 2010 Electrical Schematic – OEM Wiring Diagram
You may also like…
-
Sale!
Raymond EZ-A EZ-B 2010 Wiring Diagram – 13-Page OEM Schematic
Original price was: $63.90.$45.00Current price is: $45.00. -
Sale!
Raymond 440C30-470C40 2010 Electrical Schematic – 35 Pages
Original price was: $23.68.$14.99Current price is: $14.99. -
Sale!
Raymond TRT 2010 Electrical Schematic – OEM Wiring Manual (15 Pages)
Original price was: $18.14.$14.99Current price is: $14.99. -
Sale!
Raymond 111-114 11XD 2010 Electrical Schematic – 24-Page OEM Wiring
Original price was: $19.80.$15.00Current price is: $15.00.
Related products
-
Sale!
Taylor TX180S TXH300L TXH350L TXH400L TXB180S 2007 Service Manual – Factory Specs
Original price was: $39.60.$30.00Current price is: $30.00. -
Sale!

Hangzhou CPCD160-W2 CPCD160-W25 2007 Parts Catalog – 121 Pages OEM
Original price was: $50.56.$32.00Current price is: $32.00. -
Sale!

E-P Equipment CPC10/15/18N-RG26 Parts Catalog – 262 Pages OEM
Original price was: $35.00.$28.00Current price is: $28.00. -
Sale!

SMV SC 4127 TA – SC 4531 CA User Manual (119 pages)
Original price was: $12.29.$9.99Current price is: $9.99.
David K. –
Great OEM spec sheet. The file is high resolution. Every spec sheet is provided for Raymond 111,. Worth every penny.
James L. –
Great factory service manual. It is easily zoomable on my phone without blur. Contains precise bolt torque specs for Raymond. I will definitely buy again.