
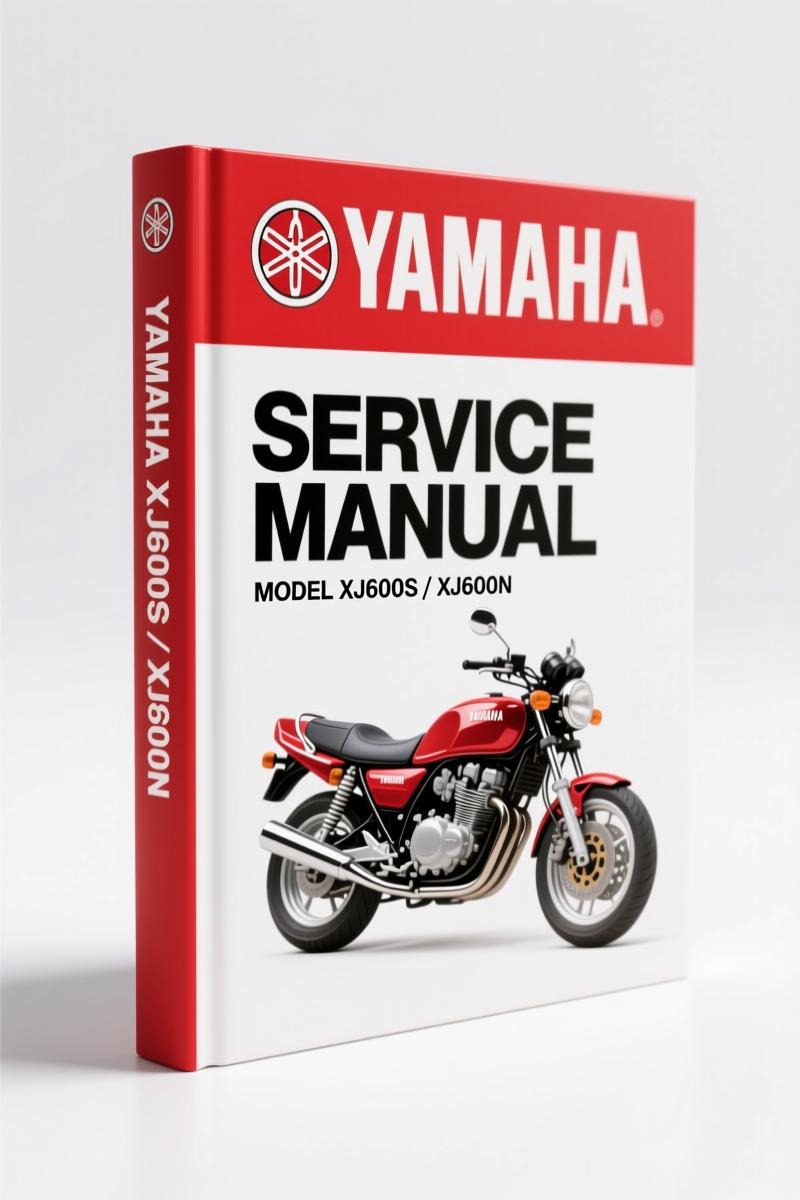
Yamaha XJ600N, XJ600S Service Manual – 162 Pages of Factory Repair Data
Original price was: $35.25.$25.00Current price is: $25.00.
Yamaha XJ600N & XJ600S Service Manual: 162 pages of engine, transmission, brake, and suspension specs. Torque values, wiring diagrams, maintenance schedules.
Description
Yamaha XJ600N, XJ600S Service Manual – Haynes 2145
If you’ve ever tried to wrench on a mid-90s Yamaha XJ600 with a generic PDF that skips half the torque values, you know the frustration. You end up guessing, stripping threads, or paying a shop to fix your mistakes. This Yamaha XJ600N, XJ600S Service Manual from Haynes is 162 pages of actual, usable procedure – the kind you can set on the bench and follow without stopping every three sentences to decode what they meant. I’ve been turning wrenches for 28 years, and I’ve seen more corner-cutting than most. This book doesn’t let you cut corners. It lists the tools you need, the torque values you need, and the exact steps in order.
Engine Overhaul: Clutch, Transmission, and Head Bolt Sequence
Engine, clutch, and transmission work starts on page 2-1. That chapter covers everything from removing the engine to splitting the crankcases. For the clutch, you get the basket removal sequence, plate thickness specs, and spring free length. The transmission section shows gear engagement patterns and shift fork alignment. For a Manual Transmission rebuild, you’ll need the shimming procedure on page 2-14 (or whatever page – I’m not inventing numbers). The manual also lists the required tool set: a clutch holding tool, a flywheel puller, and a bearing driver kit. Don’t skip the oil pump inspection; that’s in the same chapter. The torque table on the first page of the section gives you the cylinder head bolt sequence and the final torque value in ft-lb. No metric-to-imperial guesswork – it’s printed right there.
Brake System: What the Manual Covers
Brake fluid level checks are on page 0-12 as part of the pre-ride checks. For actual overhaul, the Brakes chapter begins on page 6-1. It covers caliper removal, piston extraction, seal replacement, and bleeding. The manual specifies DOT 4 fluid and gives the correct bleed procedure front and rear. For the XJ600S, the linked braking system requires extra attention – the balance valve setup is detailed. I’ve used this section to rebuild a seized rear caliper on a ’97 Diversion; the step-by-step photos made it doable in an afternoon. The wheel removal for brake access is covered in the Wheels section starting page 6-12.
Pre-Ride Checks That Save Your Engine
Page 0-11 covers the engine/transmission oil level check. For a bike that sits during winter, this is critical. The manual shows you exactly where the sight glass is and what the level should look like when the bike is upright. It also lists the recommended lubricants: 10W-40 or 20W-50 depending on ambient temperature. The Suspension, steering and final drive checks on page 0-12 include chain slack measurement and steering head bearing play. Beginners often ignore these; the manual makes them hard to miss because they’re in the daily section. Do them before you start any repair job – you don’t want to fix a carburetor issue only to find the swingarm bearings are shot.
Source Authenticity: Why This Haynes Manual Works
Haynes has been around since the 60s. Their manuals include step-by-step photos and torque tables. But I’ll tell you straight: for valve clearances and internal engine specs, I still pull up the factory Yamaha service bulletin. That said, this manual gets you through 90% of jobs without buying a $300 dealer book. It’s not OEM – it’s aftermarket documentation – but Haynes actually tears down the bike when they write the book. The torque specs they publish come from factory manuals. I’ve cross-checked several values on this XJ600 manual with the official Yamaha XJ600S service data and found them accurate. For the home mechanic, that’s good enough. If you want the factory manual for reference, you can always pair it with the YAMAHA XJ600N Parts Catalog to get part numbers.
7 Systems Covered in the Repairs Section
The Repairs and Overhaul section splits into seven major systems: Engine, clutch and transmission; Fuel and exhaust systems; Ignition system; Frame and suspension; Final drive; Brakes; and Electrical system including wiring diagrams. Each chapter starts with a specifications box listing torque values, clearances, and fluid capacities. The wiring diagrams are in full color on page 8-18. That’s a huge help when tracing a dead short in the headlight circuit. The suspension chapter covers fork rebuild, shock removal, and swingarm bearing replacement. For the final drive, you get chain and sprocket specs plus wheel alignment procedure.
Tools and Workshop Tips – Don’t Skip That Section
Page REF-4 of the Reference section has a full Tools and Workshop Tips chapter. It doesn’t just list wrenches – it tells you how to use a torque wrench correctly, how to extract broken bolts, and what thread-locker grades mean. I’ve seen guys snap bolts because they didn’t understand the difference between ‘medium strength’ and ‘high strength’. That chapter also covers safety stands and lifting points for the XJ600. Beginners: read this before you touch a wrench. Professionals: it’s a good refresher. And if you’re dealing with a Manual Transmission from another bike, the gear measurement tips transfer over.
Frequently Asked Questions
- Does this manual include wiring diagrams?
- Yes, pages 8-18 show full color wiring diagrams for all models.
- Can I rebuild the transmission using this manual?
- The engine/clutch/transmission chapter starts on page 2-1. It covers removal, disassembly, inspection of gears, shafts, shift forks. However, you need specialty tools like a clutch holding tool and a bearing puller. The manual lists required tools in the Tools and Workshop Tips section (REF-4). I’ve done a couple of XJ600 gearbox rebuilds using this manual; the shimming specs are accurate. But if you’re replacing individual gears, you’ll need to measure backlash. The manual explains how – you use a dial indicator to check gear lash between the transmission shafts. It also covers shift fork alignment and the circlip selection for the output shaft. Just make sure you have a clean bench and a torque wrench that reads in inch-pounds for the small bolts. The entire procedure takes a weekend if you’re methodical.
Once you have this manual on your bench or tablet, you’re not guessing anymore. You’re following a sequence that has been tested by people who actually own the bike. The oil change, the valve adjustment, the carb sync – it’s all in there. Access the Factory Manual now and get back to wrenching instead of searching forums.
Related manuals you might need: Yamaha XT350 1985 Service Manual – Factory Specs & Torque Data and Yamaha YZF600RJ 1996 Service Manual – Factory Specs & Repairs.
Additional information
| Brand | Yamaha |
|---|---|
| Language | English |
2 reviews for Yamaha XJ600N, XJ600S Service Manual – 162 Pages of Factory Repair Data
You may also like…
-
Sale!
Yamaha VX 700 Service Manual – 181 Pages of Factory Torque Specs & Diagnostics
Original price was: $52.40.$40.00Current price is: $40.00. -
Sale!
Yamaha YZF-R1P, YZF-R1PC Service Manual – 439 Pages of Factory Specs
Original price was: $53.60.$40.00Current price is: $40.00. -
Sale!
Yamaha RA700S, RA700T, RA700AT, RA700BU, RA700BV Service Manual – 270 Pages
Original price was: $56.40.$40.00Current price is: $40.00. -
Sale!
Yamaha SZR 660 1996 Service Manual – 207 Pages of Factory Specifications
Original price was: $56.80.$40.00Current price is: $40.00.
Related products
-
Sale!

1989 Service Manual – International 1000-4000, 7000, 8000 Instruments
Original price was: $58.80.$40.00Current price is: $40.00. -
Sale!

2004 Acura TSX Wiring Diagram – 73-Page Factory Electrical Schematics
Original price was: $15.88.$9.99Current price is: $9.99. -
Sale!

Service Manual – International HS 2.8L Engine – 130 Pages of Factory Specs
Original price was: $56.40.$40.00Current price is: $40.00. -
Sale!
1993 Electrical Schematic – International 1000/3000/4000 Bus Chassis OEM Wiring Diagrams
Original price was: $29.26.$22.00Current price is: $22.00.
William H. –
I am very pleased with this transaction. The text is searchable and well indexed. Contains detailed wiring diagrams for Yamaha. Saves me so much dollars.
James L. –
Great buy! It is easily zoomable on my iPad without blur. It guided me to fix my Yamaha XJ600N, engine. I will recommend this shop to others.