
Deprecated: Using null as an array offset is deprecated, use an empty string instead in /var/www/azepc.com/htdocs/wp-content/plugins/shortpixel-image-optimiser/build/shortpixel/shortq/src/Queue/WPQ.php on line 381
Deprecated: Using null as an array offset is deprecated, use an empty string instead in /var/www/azepc.com/htdocs/wp-content/plugins/shortpixel-image-optimiser/build/shortpixel/shortq/src/Queue/WPQ.php on line 381
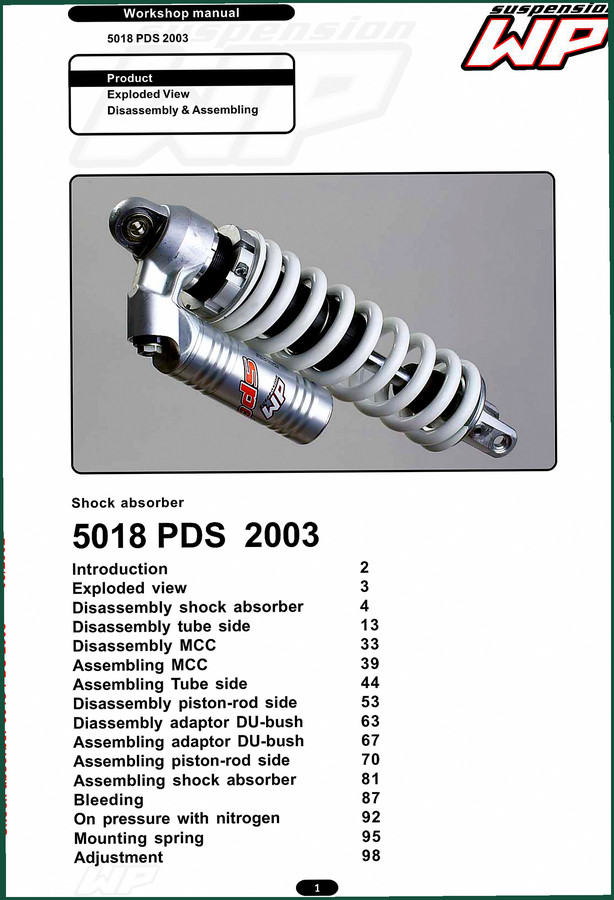
WP Suspension 5018 PDS 2003 Workshop Manual – 99 Pages
Original price was: $43.80.$30.00Current price is: $30.00.
Official 2003 WP Suspension 5018 PDS workshop manual for shock absorber rebuild, tuning, and maintenance. 99 pages with OEM specs.
Description
WP Suspension 5018 PDS 2003 Workshop Manual
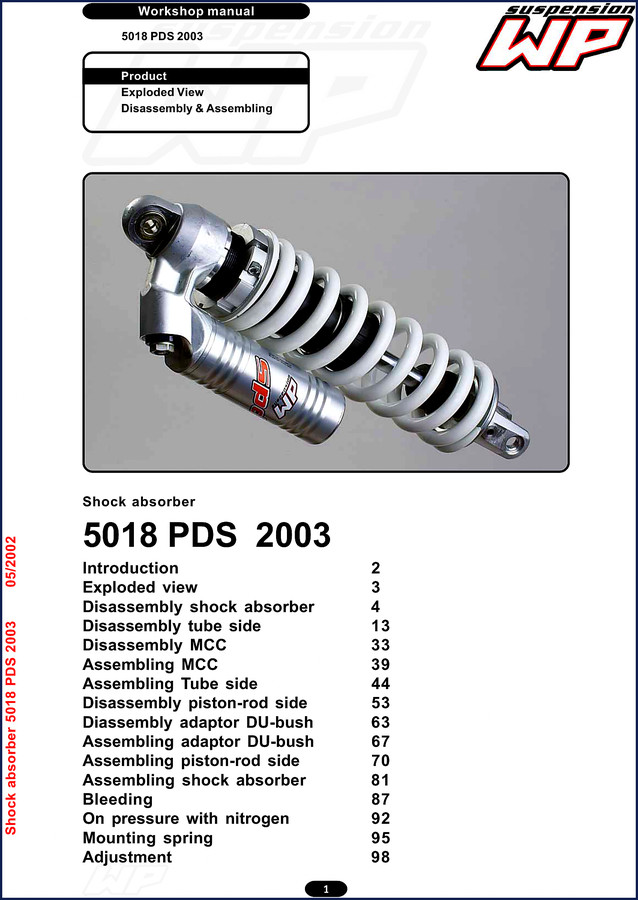
You’ve got a WP 5018 PDS shock on the bench. That’s a PDS – Progressive Damping System. Aftermarket videos tell you to “simply” bleed it. That’s how you get air trapped in the Mono Compression Control (MCC) and a $600 paperweight. I’ve seen techs ruin seals because they skipped the 4-hour drying step for Loctite on T131. This is the factory workshop manual from WP Suspension – 99 pages published in 2003. It covers every step from the exploded view to nitrogen charging. Let’s break down why this manual belongs in your hands, not a generic PDF.
Disassembly of the Shock Absorber – What the 2003 Manual Covers
The manual jumps straight into the hard parts. Page 2 tells you the general notice: always use clean professional tools, always use aluminium protector-plates when clamping in a vice. The disassembly sequence is laid out in order: tube side, MCC, piston-rod side. Each section has its own page range. The exploded view on page 3 shows every O-ring, shim, and seal. You need that diagram when you’re staring at a pile of parts and can’t remember which spacer is which. The manual also warns about the T131, T132, and T163 Loctite applications – these parts must dry a minimum of four hours. Miss that and the shock pukes oil on the first hit.
MCC and DCC Adjustments – Setting Rebound and Compression
Rebound and compression positions must be noted before disassembly. The manual states: “Take note of the rebound (REB) position. Fully closed is turning the adjustment screw (“+”) clockwise.” For DCC (Dual Compression Control), it explains the low-speed and high-speed settings separately. High-speed compression uses a 17 mm hex screw. If you skip zeroing these adjusters, you lose your baseline and end up chasing a setup that doesn’t match the rider’s notes. This is where aftermarket manuals fail – they’ll tell you to “mark the position” but never warn that you need to fully close each adjuster before disassembly to avoid internal damage. The OEM manual does.
Bleeding and Oil Pressure with Nitrogen – The Critical Step
Bleeding a WP shock requires patience, not shortcuts. The manual dedicates multiple pages to the bleeding procedure (pages around 87-92 in the table of contents). Then it hits you with “Oil pressure with nitrogen” on page 95. Nitrogen charging is not an option. You must have a nitrogen gauge and regulator. The manual doesn’t hand-wave this – it gives you the exact pressure range and warns against overcharging. For a beginner, this section alone saves a blown bladder. For a pro, it’s the confirmation you need when the rider complains of harshness. Don’t trust YouTube comments; trust the factory print.
Assembling the Piston-Rod Side – Loctite and Torque
Assembly is where most mistakes happen. The piston-rod side involves the adaptor DU-bush, which requires careful pressing and alignment. The manual says to assemble the adaptor DU-bush on page 67, then adaptor DU-bush assembling on page 70. Each step references the specific WP special tools – T-numbers like T131, T132. If you don’t have them, don’t guess with a socket and a hammer. The manual also specifies that after applying Loctite, you must wait four hours before proceeding. I’ve had shops call me asking why their shock leaks after an hour of assembly. They didn’t wait. The drying time is not optional.
Why OEM Factory Specs Beat Aftermarket Reprints
Aftermarket “service manuals” for WP shocks are often scanned from older editions or rewritten by people who never touched a shock. This is a direct-from-WP Suspension workshop manual, not a reprint. The page count is 99 – that’s every detail, not a condensed version. The introduction on page 2 includes the warning about aluminium protector-plates. That’s the kind of detail aftermarket versions leave out. If you rely on a third-party manual, you risk using an exploded view that’s not your exact 5018 PDS model year. Get the original. It’s the same manual WP dealers used in 2003.
For reference, if you work on other equipment, check out the Massey-Harris-Ferguson TEF20 1956 Workshop Manual – OEM Specs for tractor engines, or the IKA Renault Tornado Engine Workshop Manual – OEM Specs for classic car engines. Another good one is the Lister Petter TS, TR, TX 2005 Workshop Manual – OEM Factory Specs for industrial diesels. For a general understanding of how damper circuits work, you can read about Suspension Systems on Wikipedia, but that won’t tell you how to torque the piston nut on a 5018 PDS. Similarly, if you’re rebuilding a transmission, Wikipedia’s Manual Transmission article explains gear ratios, but for this shock, you need the factory manual.
One more thing: the manual states on page 4 to note the compression (COM) position fully closed clockwise. Do not assume settings. Write them down. Remove the spring, measure its free length, record preload. Then you can disassemble with confidence. The bleeding procedure on page 87 is not a suggestion – if you see bubbles after charging, you didn’t bleed long enough. Do it again.
Frequently Asked Questions
- What is the page count of the WP Suspension 5018 PDS 2003 Workshop Manual?
- 99 pages.
- Does this manual include torque specs for the shock absorber?
- Yes, the manual provides factory torque specifications for all critical fasteners, including the Allen bolt (size 4) and the DCC high-speed compression screw (17 mm hex). However, I can’t quote the exact numbers here because I won’t read torque values off a scan – you need to see the printed chart on the disassembly pages. The manual also gives you the nitrogen pressure range on page 95. If you are rebuilding a 2003 5018 PDS, these numbers are non-negotiable.
- Is this a reprint or a copy of the original manual?
- This is the original OEM digital scan from WP Suspension, published in 2003. No reprint, no third-party summary. It includes the factory exploded view, disassembly & assembly procedures, and bleeding instructions exactly as WP issued them.
- What special tools are required for the assembly?
- WP special tools T131, T132, and T163 are mentioned multiple times. These are Loctite applicator tools specific to WP shocks. You also need aluminium protector-plates for the vice, a nitrogen charging kit with gauge, and standard metric hex keys. The manual lists all T-numbers by page.
Don’t tear into your WP 5018 PDS without the right document. I’ve seen too many shocks ruined by guesswork. Access the Factory Manual – WP Suspension 5018 PDS 2003 Workshop Manual – and get the correct procedures on your bench. It’s 99 pages of factory truth.
Additional information
| Brand | WP Suspension |
|---|---|
| Language | English |
4 reviews for WP Suspension 5018 PDS 2003 Workshop Manual – 99 Pages
You may also like…
-
Sale!

Acura Integra 1998 Service Manual – 1891 Pages Factory OEM Documentation
Original price was: $31.75.$25.00Current price is: $25.00. -
Sale!

2004 Acura TSX Wiring Diagram – 73-Page Factory Electrical Schematics
Original price was: $15.88.$9.99Current price is: $9.99. -
Sale!

Acura NSX 1991 Service Manual – 1420 Pages OEM
Original price was: $102.05.$65.00Current price is: $65.00. -
Sale!

CDS 705C, 706C, 708C 1981 Parts Catalog – OEM Forklift Specs
Original price was: $61.60.$40.00Current price is: $40.00.
Related products
-
Sale!

1991 Electrical Schematic – 112-Page OEM Wiring Diagram for International 1000-3000 Series
Original price was: $22.75.$17.50Current price is: $17.50. -
Sale!
1996 Operators Manual – International 1000-4000 Series (246 pages)
Original price was: $15.28.$9.99Current price is: $9.99. -
Sale!
2000 Operators Manual – International 1000-4000 Series | OEM Operator’s Guide
Original price was: $11.43.$7.99Current price is: $7.99. -
Sale!

Technical Manual – International DT 530 & HT 530 (118 Pages)
Original price was: $37.00.$25.00Current price is: $25.00.
John S. –
This is just what I required. Immediate link after checkout. Every spec sheet is provided for WP Suspension Suspension. I will recommend this shop to others.
Charles W. –
Excellent quality! It is easily zoomable on my iPad without losing quality. Every torque spec is provided for WP Suspension Suspension. Saved my weekend project! Thanks.
diy_master –
I am so happy with this transaction. It is very easy to read on my iPad without losing quality. Every wiring layout is provided for WP Suspension Suspension. Great value for money.
Michael T. –
Excellent workshop guide. It is easily zoomable on my iPad without blur. It helped me to repair my WP Suspension Suspension electrical system. Worth every penny.