
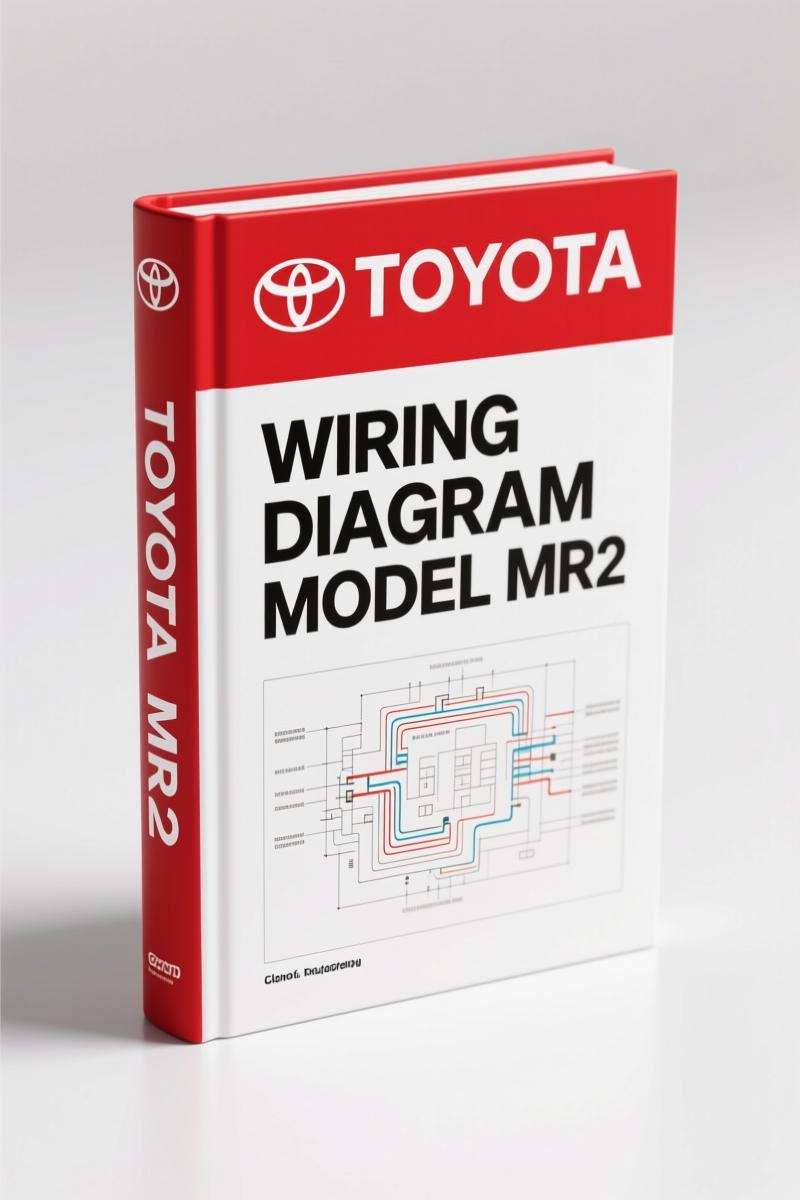
Toyota MR2 1997 Wiring Diagram – Factory Electrical Schematics for Technicians
Original price was: $18.75.$15.00Current price is: $15.00.
13-page factory wiring diagram for 1997 Toyota MR2. Includes cooling fan, defogger, and ignition switch circuits with color-coded wires.
Description
Toyota MR2 1997 Wiring Diagram – Factory OEM Electrical Schematics
Toyota MR2 1997 Wiring Diagram – if you’re chasing an electrical gremlin in a mid-engine sports car, the last thing you want is a generic diagram from some aftermarket website. I’ve seen those – wrong wire colors, missing relays, pinouts that don’t match. That’s how you fry a $400 ECU or start a fire in the engine bay. This manual is an original Toyota factory release, printed by Mitchell International under license. It covers the 1997 model year MR2, all 13 pages of it, and it’s the same document the dealer techs used when the car was new.
System Wiring Diagrams: What’s Inside
Don’t confuse this with a full service manual – it isn’t. It’s a dedicated wiring diagram booklet, 13 pages of schematics that show exactly how the factory wired the cooling fan, defoggers, ignition switch, combination meter, and the engine compartment junction blocks. Each circuit is drawn with the Toyota wire color codes – BLU/ORN, GRN/WHT, BLU/RED – not generic labels. You get the actual pin numbers at the relays, fuse locations (right kick panel, behind combination meter), and the routing of every harness. If you’ve ever tried to splice a wire without knowing which side of the relay is hot, you know why this matters.
Cooling Fan Circuit Diagnosis
Your MR2’s engine bay gets hot enough to cook an egg on the cam cover. When the cooling fan doesn’t kick on, you’re not guessing – you’re tracing. The manual shows the entire circuit from the battery (hot at all times) through the ignition switch, the cooling fan relay, the engine coolant temperature switch, and the fan motor itself. Page 1 (of the original, not our pagination) includes the note “NOT IN ON OR START.” – that tells you which wires are powered only in the OFF position. Safety warning: that BLU/ORN wire at the ignition switch will be live even with the key out. Use a multimeter, not a test light, to avoid shorting. Disconnect the battery before probing any connector.
Does This Manual Cover Engine Management?
Yes and no. It includes the wiring for the engine coolant temperature sensor and the combination meter (gauge), but it does not show the ECU pinouts or fuel injection controls. You’ll need the full Toyota 1991 Vacuum Diagrams Service Manual Toyota 1991 Vacuum Diagrams Service Manual for vacuum lines and engine controls. What this one gives you is the power distribution, starting/charging, and body electrical like the defogger. The defogger section alone takes two full pages – shows the 30A and 15A fuses, the relay, and the heater grid wiring. If your rear window defroster stops working, you can verify voltage at the relay with the schematic.
13 Pages of Factory-Correct Wire Colors
I’ve been a tech for 28 years. The number of times an aftermarket diagram swapped BLU/ORN with BLU/RED? Countless. On a 1997 MR2, the cooling fan relay coil is powered by BLU/ORN from the ignition switch, and the switched side to the fan motor runs BLU/YEL. The manual labels every wire, every splice, every splice terminal. It even shows the junction block numbers (J/B 3 behind the combination meter). You can trust these colors because they came from Toyota’s engineering drawings – not a third-party copyist guessing. Toyota MR2 1996 Electrical Schematic – OEM Wiring Diagrams Toyota MR2 1996 Electrical Schematic – OEM Wiring Diagrams is available if you need the previous year, but the 1997 has its own revisions.
Why You Need OEM Wiring Specs
Electricity doesn’t care about your feelings. A wrong connection can melt a harness or take out the combination meter. Factory spec wire gauges, fuse ratings, and relay resistances are in this document. The defogger circuit uses two 15A fuses and a relay rated for 30A – if you put a 20A fuse in, you’re inviting a fire. The manual also shows the routing: the red/blU wire runs from the battery to the fuse panel (left kick panel), then white/red to the defogger switch. This level of detail keeps you from chasing ghosts. Aftermarket wiring books often skip the junction block locations – this one pinpoints them.
Audience Fit: Who Should Buy This
If you’re a DIYer who owns a 1997 MR2 and has basic electrical skills (know how to use a DMM, understand schematic symbols), this manual is for you. I wouldn’t hand it to someone who thinks a relay is a kind of race. But for the home mechanic who wants to fix a cooling fan, install an aftermarket stereo without cutting the wrong wires, or troubleshoot a defogger, it’s indispensable. Professionals will appreciate having the actual Toyota data without having to log into a dealer subscription. Toyota Vios Wiring Diagram – Factory OEM Electrical Manual Toyota Vios Wiring Diagram – Factory OEM Electrical Manual is a different platform, but the same factory-sourced approach.
Real-world use case: I had a customer with a 1997 MR2 that would overheat in traffic because the fan ran intermittently. Using this diagram, I pinned out the cooling fan relay socket, found voltage at the coil when it was supposed to be ground, and traced it to a bad engine coolant temperature switch. Took 30 minutes. Without the diagram, I’d have been swapping relays and guessing for an hour. That’s billable time you don’t get back.
FAQ
- Can I use this manual for a 1991 MR2?
- The 1997 diagram shares many circuits with earlier SW20 models, but there are changes in the junction block locations and some wire colors. For a 1991, find the 1991-specific manual. This one is accurate only for 1997.
- What tools do I need to use these diagrams?
- A digital multimeter, a test light, and a good set of wire probes. No scan tool required for these basic circuits.
- Does this manual include pinout charts for the ECU?
- No. It covers body electrical, power distribution, cooling fan, defogger, and gauge cluster. ECU wiring is not in this 13-page document.
- How do I read the diagrams if I’m a beginner?
- Start with the cooling fan circuit. The manual labels each wire color and relay terminal. Trace from power source to ground. Watch the “HOT AT ALL TIMES” and “NOT IN ON OR START” warnings. If you get stuck, Automotive Wiring Automotive Wiring and Automotive Wiring Automotive Wiring can help, but this manual gives you the specific Toyota data.
There’s nothing worse than opening a wiring diagram and seeing a generic “wire color may vary” note. This one doesn’t have that. 13 pages, factory-correct, 1997 Toyota MR2. Access the Factory Manual while we still have this original Mitchell International file in stock. It’s the same one I pull up in my shop when an MR2 rolls in. You won’t find a better source.
Additional information
| Brand | Toyota |
|---|---|
| Language | English |
2 reviews for Toyota MR2 1997 Wiring Diagram – Factory Electrical Schematics for Technicians
You may also like…
-
Sale!

Toyota 5FBE10, 5FBE15, 5FBE18, 5FBE20 Service Manual – 463 Pages
Original price was: $102.05.$65.00Current price is: $65.00. -
Sale!
Toyota 5FBE10, 5FBE13, 5FBE15, 5FBE18, 5FBE20 Service Manual – 463 Pages
Original price was: $102.05.$65.00Current price is: $65.00. -
Sale!

Toyota 6FGCU33, 6FGCU45 1997 Service Manual – Factory Forklift Repair
Original price was: $94.25.$65.00Current price is: $65.00. -
Sale!

Toyota 7FGU35 7FGU80 2005 Service Manual – 136 Pages Official Factory Data
Original price was: $82.55.$65.00Current price is: $65.00.
Related products
-
Sale!

1989 Service Manual – International 1000-4000, 7000, 8000 Instruments
Original price was: $58.80.$40.00Current price is: $40.00. -
Sale!
1995 Operators Manual – International 1000-4000 Series | OEM Documentation
Original price was: $12.49.$9.99Current price is: $9.99. -
Sale!
1996 Operators Manual – International 1000-4000 Series (246 pages)
Original price was: $15.28.$9.99Current price is: $9.99. -
Sale!
1992 Electrical Schematic – OEM Wiring Diagrams for International 1000-3800
Original price was: $24.48.$18.00Current price is: $18.00.
Michael T. –
I am very pleased with this purchase. It is very easy to read on my phone without losing quality. A must-have for any Toyota MR2 DIYer doing maintenance. Highly recommended for mechanics.
pro_mechanic –
Highly recommended! The file quality is excellent. Every torque spec is provided for Toyota MR2. Saves me a lot of dollars.