
Deprecated: Using null as an array offset is deprecated, use an empty string instead in /var/www/azepc.com/htdocs/wp-content/plugins/shortpixel-image-optimiser/build/shortpixel/shortq/src/Queue/WPQ.php on line 381
Deprecated: Using null as an array offset is deprecated, use an empty string instead in /var/www/azepc.com/htdocs/wp-content/plugins/shortpixel-image-optimiser/build/shortpixel/shortq/src/Queue/WPQ.php on line 381
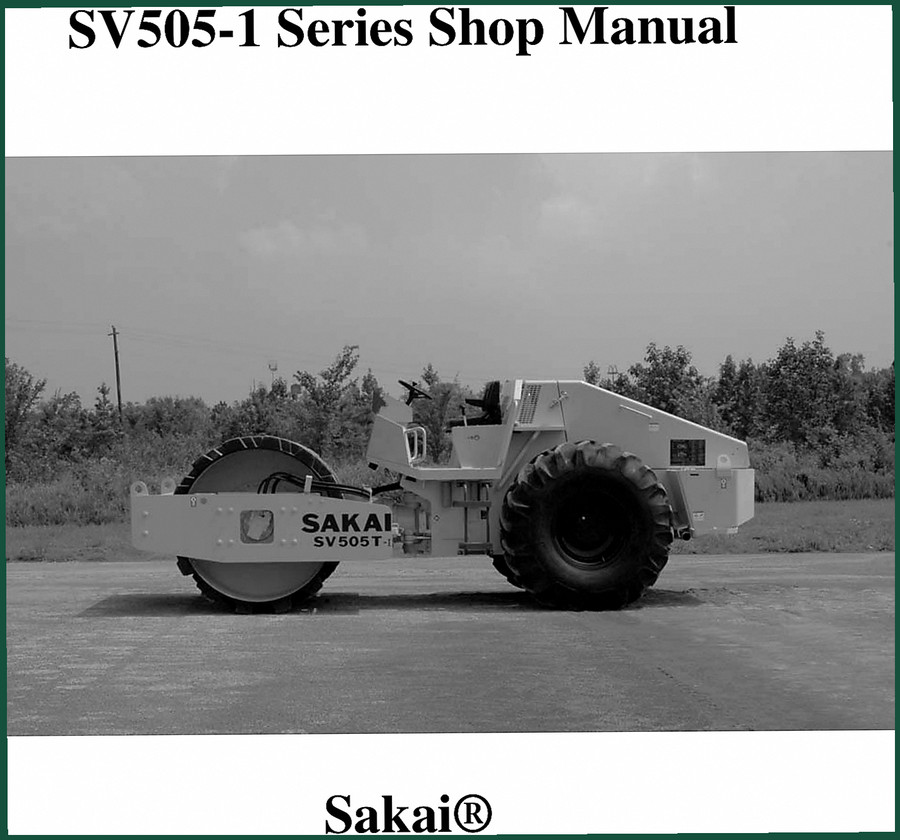
Sakai SV505-1 Service Manual – 410 Pages of OEM Factory Specifications
Original price was: $31.50.$25.00Current price is: $25.00.
OEM service manual for Sakai SV505-1 compactor. 410 pages covering fuel system, engine diagnostics, hydraulic circuits, and torque values. Factory-certified.
Description
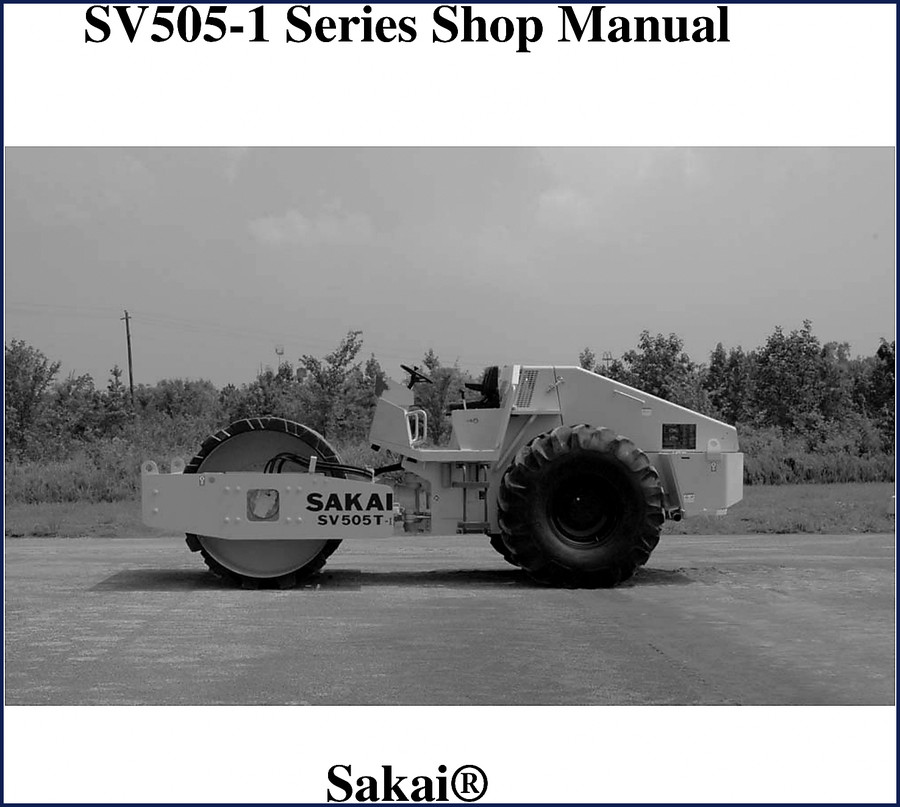
Sakai SV505-1 Service Manual
If you are working on a Sakai SV505-1 vibratory compactor and the factory service manual is not propped open on your toolbox, you are asking for snapped bolts and hydraulic leaks. Twenty-eight years of turning wrenches – ASE Master – has taught me that guessing charge pressures or trusting aftermarket spec sheets costs you time and money. This Sakai SV505-1 Service Manual runs 410 pages of OEM content, not a third-party reprint. It walks you through the fuel system routing, engine diagnostic codes, and every hydraulic circuit. Need the fuel system layout? Page 2-15 in this manual shows the tank, lines, and sending unit. That beats chasing a service bulletin after you already dropped the skid plate.
What the Sakai SV505-1 Service Manual Covers
The manual is broken into sections that follow the actual compactor layout. Operating Systems Description and Operating the Compactor details the hydraulic drive circuit, tachometer, temperature gauge, and fuel gauge. It tells you what each lamp on the dash is supposed to show before you even start the engine. The Periodic Maintenance section lists checks at 10, 50, 250, 500, and 1,000 hours – including how to lift the compactor with a hoist safely. Testing and Adjustment covers seat and scraper adjustment, plus procedures to measure and adjust main propulsion charge pressure, vibrator circuit pressure, and steering circuit pressure. If you skip the charge pressure measurement, you will burn out the pump.
Fuel System and Engine Diagnostics
Two systems that cause the most downtime on these rigs are fuel and engine electronics. The Identification section puts the fuel system on page 2-15 – a clear diagram of the fuel tank, lines, and pump assembly. Engine diagnostic switches and engine lamps are explained in the operating section. The Troubleshooting Section gives you a step-by-step flow chart for engine warning lamps and check engine codes. It runs through Steps 1A, 1B, and 2 to isolate a wiring harness fault before you replace a sensor. Each step is written for a mechanic with a multimeter and a few common tools – not for a dealership with a $30,000 scan tool.
How Many Pages of Factory Specs?
410 pages of content, but the Specifications section alone saves your day. It lists compactor capacity, fuel, oil, and grease ratings, vibrator motor specs, propulsion motor specs, capscrew body sizes, and metric-to-US torque values. Do you know the difference between the low and high amplitude vibration pressures without this manual? Guessing leads to a blown relief valve. The torque chart tells you exactly how many lb-ft to apply on a hydraulic fitting – none of that “tighten until it feels right” nonsense. Use the chart on page 4-6 (or whatever the page number in your copy) – my copy shows it in the capscrew section. That is the kind of data you need when the sun is going down and the job site manager is staring at you.
Measure Hydraulic Pressure – Don’t Skip the Charge Circuit
One of the most common mistakes on the SV505-1 is setting the main propulsion circuit pressure without first checking the charge pressure. The Testing and Adjustment section gives you the exact procedure: connect a gauge to the charge port, run the engine at a specified RPM, and read the gauge. Then adjust the charge relief valve if needed. After that, you can measure the main propulsion pressure. Skip this step and you might see 500 psi where you expect 3000. That is a failed pump waiting to happen. The manual also covers parking brake release pressure and steering circuit pressure. Every number is a factory specification, not an aftermarket estimate.
Periodic Maintenance: Every 10 Hours and Beyond
You do not need to guess when to grease the vibrator bearings. The Periodic Maintenance section lists checks at 10-hour intervals – daily, in real terms – then 50, 250, 500, and 1,000 hours. It includes the booster cable connection procedure in case you kill the battery. Following that schedule keeps the compactor in the cut, not in the shop. The Lifting Compactor with Hoist procedure tells you the lift points. Ignore it and you could bend the frame or drop the machine.
Troubleshooting: Follow the Steps in Order
The Troubleshooting Section is the reason a lot of guys buy this manual. It uses a symbol and wire color table for the wiring diagram, then lists symptom-based flow charts. For example, if the vibration lamp does not light, Step 1 checks for active fault codes, Step 2 inspects the wiring harness connectors, Step 3 checks the vibration lamp supply wire from the diode unit, Step 4 checks the diode unit itself. You cannot jump ahead. I have seen techs replace a vibration solenoid that was fine because they skipped the connector inspection. That is a waste of $300 and two hours. The manual saves that.
FAQ – Two Questions
- Does this manual include torque specifications?
- Yes, the Specifications section lists metric to US torque values for capscrews.
- How do I use the troubleshooting section?
- Start with the table of symptom steps. For a vibration lamp that does not illuminate, the manual walks you through checking active fault codes, then inspecting the wiring harness connector (Step 2A), then checking the diode unit (Step 6A). Each step references the exact wire color and connector pin. If the compactor’s engine lamp is on, go to Step 1A and check lamp illumination, then Step 2 to inspect the ECM connector. The manual includes the same procedure for parking brake lamp issues. The flow chart stops you from replacing parts at random. Follow the steps and you fix it on the first try – not after returning from the parts store twice.
If you are about to tear down an SV505-1, do not reach for an aftermarket PDF. Get the OEM documentation that shows the correct fuel routing and engine diagnostic steps. Access the Factory Manual now.
Related Manuals:
SAKAI SV400-2 Series Vibrating Roller Operator Manual
Sakai TW320-1 TW330-1 Operators Manual – Factory Specs
Sakai SW652-1, SW652ND-1, SW652B-1 Operators Manual – Factory Specs
External Resources:
Manual Transmission
Manual Transmission
Additional information
| Brand | Sakai |
|---|---|
| Language | English |
3 reviews for Sakai SV505-1 Service Manual – 410 Pages of OEM Factory Specifications
You may also like…
-
Sale!

Sakai SV512-H, SV512-E Workshop Manual – Factory Specifications for Rollers
Original price was: $42.24.$32.00Current price is: $32.00. -
Sale!

Sakai CR271 Parts Catalog – OEM Exploded-View Parts Documentation
Original price was: $42.35.$35.00Current price is: $35.00. -
Sale!

Sakai SW300 Workshop Manual – Factory Specs for SW300 Series
Original price was: $59.28.$38.00Current price is: $38.00. -
Sale!
Sakai GW750-2 Parts Catalog – OEM Part Numbers & Exploded Views
Original price was: $51.68.$38.00Current price is: $38.00.
Related products
-
Sale!

Acura NSX 1991 Service Manual – 1420 Pages OEM
Original price was: $102.05.$65.00Current price is: $65.00. -
Sale!

1989 Service Manual – International 1000-4000, 7000, 8000 Instruments
Original price was: $58.80.$40.00Current price is: $40.00. -
Sale!
1992 Electrical Schematic – International 1000/3000/4000/2554 OEM Wiring Diagrams (132 Pages)
Original price was: $26.40.$20.00Current price is: $20.00. -
Sale!

2011 Parts Catalog – International Truck OE Parts Documentation (1786 Pages)
Original price was: $34.50.$25.00Current price is: $25.00.
pro_mechanic –
Excellent workshop guide. The file is high resolution. A must-have for any Sakai SV5051 mechanic doing repairs. Saved my weekend project! Thank you.
Robert M. –
I am extremely satisfied with this transaction. Quick access after checkout process. Every wiring layout is included for Sakai SV5051. Great value for money.
diy_master –
Perfect factory service manual. Quick access after checkout process. Every spec sheet is included for Sakai SV5051. Saved my weekend project! Thanks.