
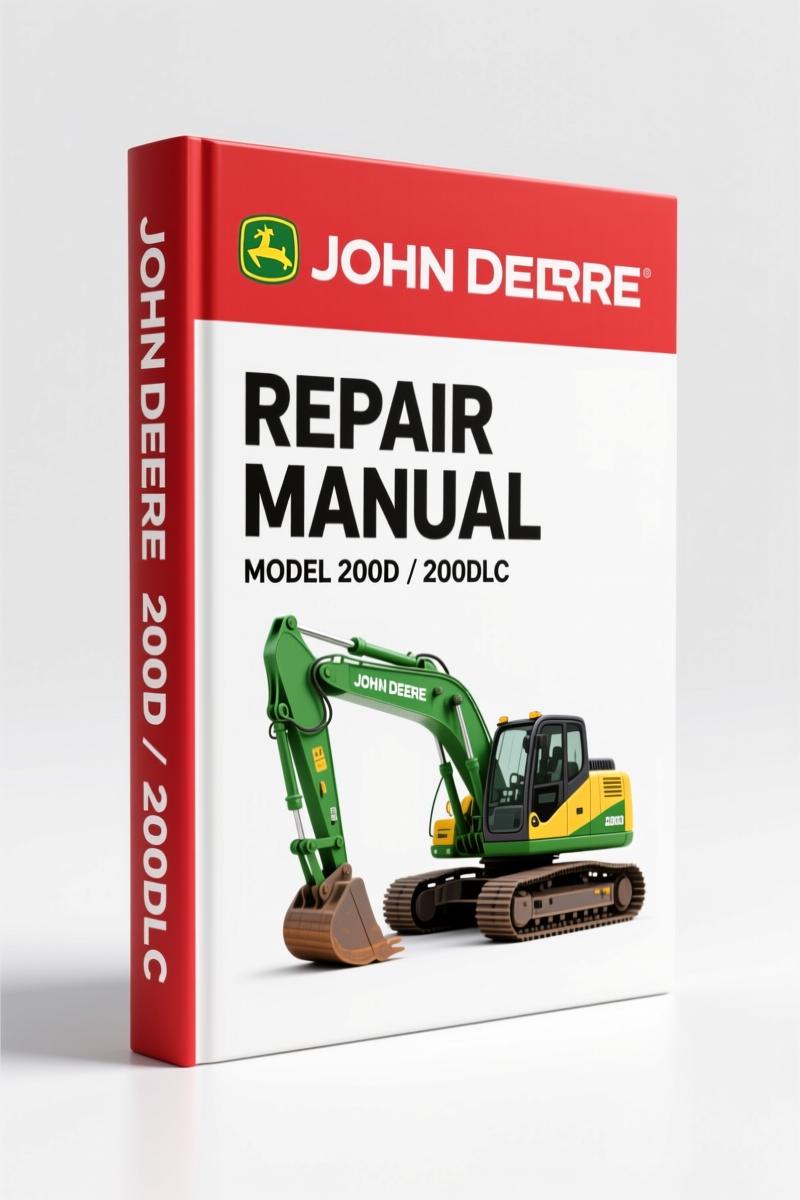
John Deere 200D, 200DLC 2009 Repair Manual – Factory Specs
Original price was: $80.40.$60.00Current price is: $60.00.
OEM John Deere 200D/200DLC repair manual with 408 pages of factory torque values, engine removal, and track system procedures.
Description
If you’re working on a John Deere 200D or 200DLC excavator and relying on a third-party PDF you found online, you’re rolling the dice with your customer’s equipment and your reputation. I’ve seen too many guys strip threads because an aftermarket manual had a torque spec off by 15 ft-lbs. This is the real thing: John Deere 200D, 200DLC 2009 Repair Manual, OEM print, 408 pages, published March 17, 2009. It’s the same book the dealer techs use. Page 1 shows the machine identification and references the companion operation and tests manual. Inside, you get the full factory sequence for disassembly, assembly, and diagnostics—nothing generic. This manual is written for experienced technicians, but any competent DIYer can follow it if they respect the torque values and safety steps. Skip those and you’re asking for a hydraulic oil bath or a fire.
Torque Values and Fitting Service Recommendations
Right in the General Information section you get the exact torque specs John Deere designed the machine to handle. Metric bolt and cap screw values, unified inch bolt values—not some aftermarket guess. Then there’s a dozen pages on fitting service: 37° flare and 30° cone seat connectors, O-ring boss fittings (including the aluminum housing variant), flared connections, flat face O-ring seals, O-ring face seal fittings with SAE inch or metric hex nuts, and both metric and inch series four-bolt flange fittings. I’ve rebuilt travel motors where the wrong O-ring boss torque caused a leak that took three tries to seal. This manual kills that guesswork. Page 2 of the manual includes the safety-alert symbol and a foreword reminding you that live with safety is not a suggestion—it’s how you keep your fingers.
Why OEM Manuals Matter for the 200D/200DLC
Aftermarket manuals reprint old data or copy from a different model year. I saw one that listed the wrong track roller removal procedure for a 200DLC. The factory manual has the specific steps for your serial number range. It tells you which tools (like the track roller press) are required before you start. If you’re doing a track chain repair, you need the right chain breaker tool and the procedure for separating the master pin. The OEM manual gives you the wear tolerances and the correct assembly order so you don’t bend the sprocket housing. That’s not something you find in a generic guide. For related OEM documentation, see the John Deere 200D 200DLC 2009 Technical Manual which covers operation and tests separate from this repair volume.
7 Major Systems Covered in This Repair Manual
The manual is divided into groups: General Information (safety, torque values), Tracks (roller, idler, chain, sprocket, adjuster), Axles/Differentials/Suspension (travel gearbox, motor, park brake, counterbalance valve), Engine (removal and installation), Engine Auxiliary System (cooling package, radiator, intercooler, fuel cooler, intake, fuel filters), plus the hydraulic system sections for travel motor and valves. That’s seven groups that cover everything from the fan shroud to the track adjuster cylinder. Each group starts with a tool list and a specification table. If you need to disassemble the travel motor, the manual walks you through the crossover relief valve removal, make-up check valve, and the start-up procedure after reassembly. That last step—the start-up procedure—is critical. Skip it and the park brake won’t release.
Safety First: 31 Warnings You Need to Read
I know, nobody reads safety pages. But this manual has thirty-one distinct safety topics under General Information. “Avoid High-Pressure Fluids” is in there for a reason—I’ve had a pinhole leak in a 200D track line blow hydraulic oil through my glove. “Prevent Battery Explosions” covers the gas venting and cable sequence. “Drive Metal Pins Safely” tells you to wear safety glasses and use a brass drift. The manual also covers “Park and Prepare for Service Safely” and “Service Cooling System Safely” (pressure release, never remove cap on hot engine). If you’re doing welding repairs, there’s a procedure for removing paint and making the ground connection. These are not boilerplate—they are John Deere’s own factory instructions. Ignore them and you could lose a machine or a body part.
Track System Disassembly and Assembly
The track section runs from track roller removal to the track adjuster cylinder rebuild. For the recoil spring, the manual specifies the correct compressed length and the tool for safe disassembly—never try to remove a recoil spring without the proper jig. The metal face seals repair has its own sub-section. Track chain repair includes how to measure wear and when to replace. I’ve done sprocket swaps on 200D machines where the bolt pattern matched but the wear pattern was wrong; the manual includes the wear limits for sprocket tooth thickness. On the 200DLC with long undercarriage, the front idler and carrier roller positions are different—this manual covers both models. If you’re rebuilding a travel gearbox, the manual includes the counterbalance valve removal and the make-up check valve orientation.
One more thing: the manual lists the required service equipment for each job. For track roller pressure test, you need a specific pressure gauge and adapter. The test pressures are given in psi. Do not substitute a different fitting—the O-ring seal type matters. For more on the fundamentals of gearbox operation, you can reference a Manual Transmission article to understand the planetary reduction, but the repair procedure itself is fully documented here.
Audience: Who This Manual is For
This manual is for anyone who owns or services a 200D or 200DLC excavator. Home garage enthusiasts who work on their own equipment will find the step-by-step sequences clear, provided they have the essential tools—torque wrench, press, seal driver set, and so on. Beginners should respect the safety warnings and torque values. Professional mechanics will appreciate the factory-authorized procedures, which are faster than reverse-engineering the machine. If you’re a shop owner, having this on the shelf means your techs don’t waste time calling the dealer for a bolt torque. It also protects you from liability when a job goes wrong because the procedure was followed correctly. Related manuals for other John Deere equipment include the John Deere WL56 2012 Repair Manual – OEM Factory Specs and the John Deere 325J Backhoe Loader Repair Manual. For general knowledge on drivetrain components, you can also look up Manual Transmission fundamentals, but the repair details here are specific to the 200D/200DLC.
- Does this manual cover the complete engine overhaul?
- Yes. The Engine group includes removal and installation of the engine, plus the auxiliary systems: cooling, intake, and external fuel supply. It does not cover internal engine disassembly (pistons, rings, bearings) beyond the base engine manual referenced in the front matter. For the 4.5L/6.8L base engine details, you need CTM104.
- What torque values are listed in this manual?
- The manual provides OEM torque values for metric bolt and cap screws, unified inch bolts, and every hydraulic fitting type on the machine: 37° flare, O-ring boss (including aluminum housings), flared connections, flat face O-ring seals, O-ring face seal fittings (SAE inch and metric hex, standard and high pressure), and four-bolt flange fittings for both metric and inch series. Each specification includes the torque in ft-lb and sometimes N·m. Additionally, there are tables for additional metric cap screw torque values. You will also find service recommendations for O-ring boss fittings and flared connections. These values are critical for sealing high-pressure hydraulic circuits and for securing track components without overstressing threads. Using the wrong torque on a four-bolt flange can cause a leak that dumps hydraulic oil onto the hot exhaust—seen it happen.
You’ve got the machine on the lift, the undercarriage is worn, and the owner is waiting. Stop fishing for specs on forums. Get the actual John Deere 200D, 200DLC 2009 Repair Manual—408 pages of factory data that will keep the job moving and the machine safe. Access the Factory Manual now and have the complete OEM documentation at your fingertips.
Additional information
| Brand | John Deere |
|---|---|
| Language | English |
4 reviews for John Deere 200D, 200DLC 2009 Repair Manual – Factory Specs
You may also like…
-
Sale!
John Deere 325J 2011 Repair Manual — Factory Specs for Backhoe Loader
Original price was: $109.60.$80.00Current price is: $80.00. -
Sale!
John Deere JD450 1987 Service Manual – OEM Factory Specifications
Original price was: $79.95.$65.00Current price is: $65.00. -
Sale!
John Deere 400 1974 Service Manual – Factory Specs for Technicians
Original price was: $92.30.$65.00Current price is: $65.00. -
Sale!
John Deere JD450 1987 Service Manual – OEM Factory Specs
Original price was: $97.50.$65.00Current price is: $65.00.
Related products
-
Sale!

1991 Operators Manual – International Truck OEM Specs (108 Pages)
Original price was: $13.63.$10.99Current price is: $10.99. -
Sale!

Technical Manual – International 6.0L Power Stroke FICM Diagnostics
Original price was: $29.80.$20.00Current price is: $20.00. -
Sale!

1996 Operators Manual – International 1000-4000 Series (246 pages)
Original price was: $15.28.$9.99Current price is: $9.99. -
Sale!

2004 Acura TSX Wiring Diagram – 73-Page Factory Electrical Schematics
Original price was: $15.88.$9.99Current price is: $9.99.
Thomas B. –
Excellent quality! It is easily zoomable on my laptop without blur. It guided me to repair my John Deere Deere transmission. I will recommend this shop to others.
David K. –
I am so happy with this manual. The PDF quality is excellent. Contains clear schematics for John Deere. Worth every penny.
Robert M. –
This is just what I was looking for. It is easily zoomable on my phone without blur. It guided me to fix my John Deere Deere electrical system. Saves me so much dollars.
gearhead88 –
Highly recommended! The document is very clear. Contains detailed wiring diagrams for John Deere. I will recommend this shop to others.