
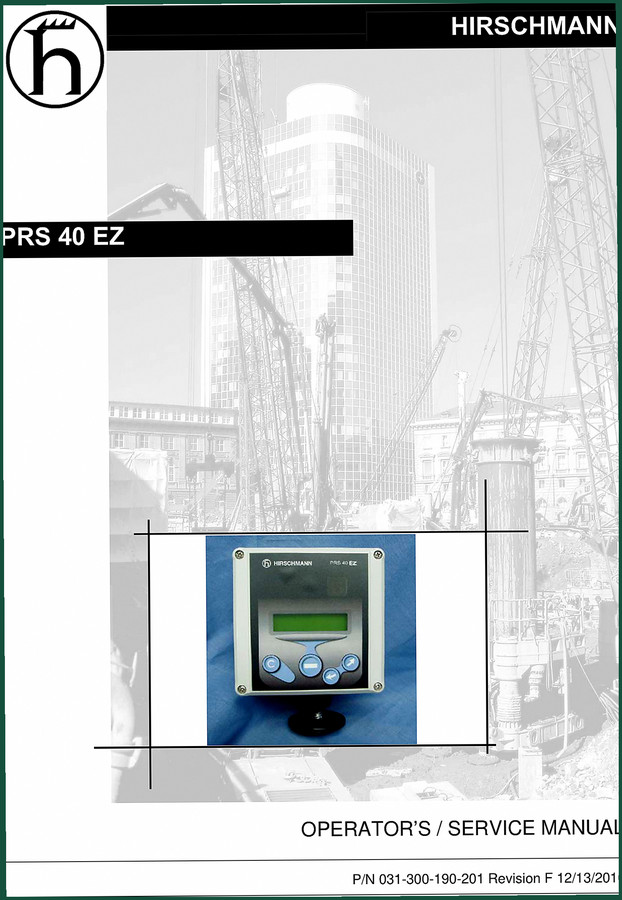
Hirschmann PRS 40 EZ 2006 Operators Manual – Factory Specs
Original price was: $11.35.$7.99Current price is: $7.99.
57-page OEM operator’s manual for Hirschmann PRS 40 EZ (2006) – console operation, angle, A2B, wind sensor calibration and limit setting.
Description
Hirschmann PRS 40 EZ 2006 Operators Manual – Factory Specs for Crane Safety Systems
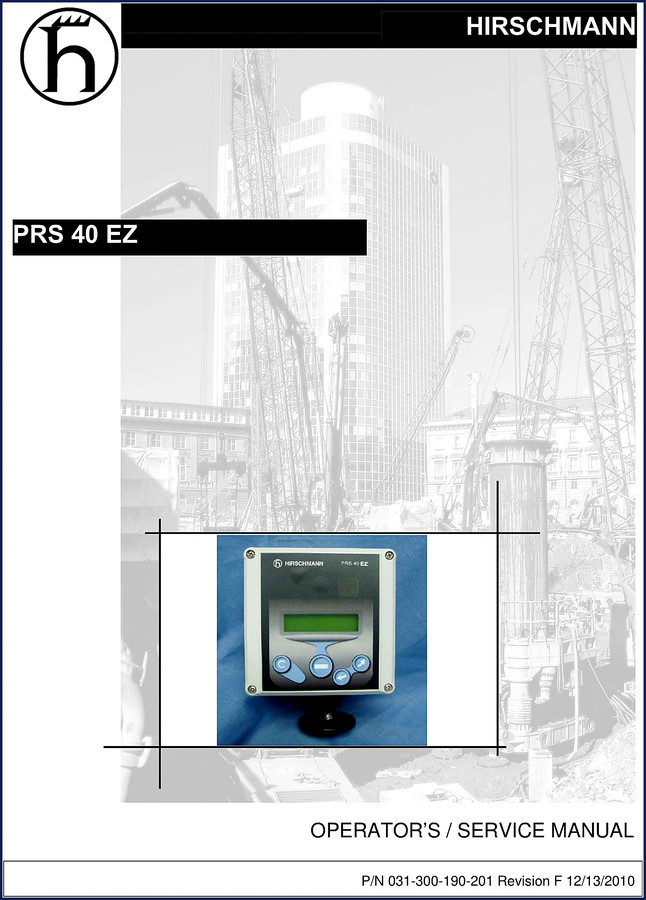
You’re about to work on a Hirschmann PRS 40 EZ load indicator system. Before you grab that aftermarket PDF you found on some forum, stop. I’ve seen too many guys waste a day chasing a false angle reading because the third-party manual had the wrong calibration sequence. This is the real deal – the Hirschmann PRS 40 EZ 2006 Operators Manual, 57 pages of factory-issued procedures. Page 2 has the warnings you need to read before you even power up the console. I don’t care how many years you’ve been turning wrenches – skip the warning section and you risk a boom collapse or a $10,000 sensor replacement.
Warnings Section: Read Before You Touch Anything
Page 2 isn’t filler. Hirschmann spells out exactly which operating limits you cannot exceed, how to handle the liquid crystal display, and what happens if you ignore the angle limits. The manual states that the PRS 40 EZ is a monitoring device – it does not replace operator judgment. You get a clear table of symbols and their meanings. This is not a generic safety sheet; it’s written for this specific console. If you’ve ever had a A2B alarm go off at the wrong moment because you miswired the limit switch, you’ll appreciate why the original warnings are worth the price of the manual alone.
Angle Calibration: Why Page 8 Matters
Section 5.1.3 on page 8 covers installation and calibration of the angle sensor – hardwired setup. You need to know the exact voltage range the sensor outputs and how to zero it against the boom’s rest position. Aftermarket manuals often skip the step where you verify the sensor mounting bracket orientation. Get that wrong and your displayed angle will be off by 3 degrees at full extension – that’s enough to trigger a false limit or, worse, miss a real overload. The factory procedure walks you through the potentiometer adjustment and specifies the allowed tolerance. Don’t guess.
Does This Manual Cover the A2B System?
Yes – Section 6 is all A2B (Anti-Two-Block). Pages 12 through 18 detail operation, limit settings, installation, and setup. Page 17 is where you find the A2B setup parameters: you program the hoist height and the dead-end length. Hirschmann even tells you how to test the system with a simulated two-block condition before you put the crane back in service. This is not the place for a shortcut. I’ve had a tech ignore the factory test procedure because he was in a hurry – the crane didn’t two-block, but the limit stopped working at 80% of full hoist. Took him three hours to trace it back to a calibration step he skipped. Read page 17 twice.
7 Operating Systems Detailed
The table of contents shows seven major sections: General Information, Warnings, Features, System Description, Angle, A2B, and Wind. Each one breaks down into subsections with operation, limits, installation, and calibration where applicable. The Wind section (Section 7) covers anemometer input and wind speed limits – critical for tower crane work. You get the menu structure (section 4.2.1) so you can navigate the console without the cursor manual. Every control on the console is identified in section 4.1.2 with its function. This is the kind of reference you keep in the cab, not on a shelf.
Get the Right Torque Data from the Factory
This operators manual doesn’t contain engine torque specs because it’s for a load indicator, not a powertrain. But if you’re installing the PRS 40 EZ on a Manual Transmission or any other vehicle, you still need the factory mounting bolt torque values for the console bracket – those are in the installation subsection of System Description (page 6). Hirschmann specifies the screw size and tightening sequence. Use a torque wrench. And if you think you can get away with generic hardware store bolts, you haven’t seen what vibration does to a loose sensor bracket after 500 hours. The same caution applies to electrical connections – page 4.2.2 shows the pinout for the main harness. Wire it once, wire it right.
Related manuals for other Hirschmann systems you might need:
- Hirschmann PRS 40 EZ 2010 Operators Manual – Factory Specs”>Hirschmann PRS 40 EZ 2010 Operators Manual – Factory Specs
- Hirschmann iSCOUT expert compact 2007 Operators Manual – Factory Crane Specs”>Hirschmann iSCOUT expert compact 2007 Operators Manual – Factory Crane Specs
- Hirschmann PAT PRS 80 Operator / Service Manual”>Hirschmann PAT PRS 80 Operator / Service Manual
You’ll notice I didn’t link to any third-party copies. That’s because only an OEM print like this one – from Hirschmann, 2006, 57 pages – carries the revision history (Rev A, 03/16/2006) and the notice that drawings are proprietary. Aftermarket vendors strip those pages out to save file size. You lose the calibration setup for wind speed thresholds because they think it’s redundant. It’s not. Manual Transmission guys might think that’s fine, but crane safety doesn’t tolerate missing data.
- Can I use this manual for the PRS 80?
- No. The PRS 80 has different console firmware and additional channels. This manual is model-specific to the PRS 40 EZ.
- What does the calibration section cover?
- Section 5 (Angle) on page 8 walks you through hardwired installation and calibration of the angle sensor, including the zero-set procedure and tolerance checks. Section 6 (A2B) on page 17 covers setup of hoist limits, dead-end length programming, and the simulated two-block test. Both sections require a digital multimeter and a torque wrench – no shortcuts. If you don’t have the tools, buy them before you start. The manual lists required tool types in the installation subsections.
Bottom line: if you’re responsible for a crane with a PRS 40 EZ, get the real book. Don’t trust your safety to a scan that’s missing half the pages. Access the Factory Manual now and keep it in the cab with the machine.
Additional information
| Brand | Hirschmann |
|---|---|
| Language | English |
4 reviews for Hirschmann PRS 40 EZ 2006 Operators Manual – Factory Specs
You may also like…
-
Sale!
Hirschmann DS 350 GW, DS350G 2005 Service Manual – OEM LMI Specs
Original price was: $64.35.$45.00Current price is: $45.00. -
Sale!
Hirschmann DS 160 2006 Service Manual – OEM LMI Diagnostics
Original price was: $68.85.$45.00Current price is: $45.00. -
Sale!
Hirschmann Mentor 2011 Service Manual – Factory Calibration & Diagnostics for LMI Systems
Original price was: $63.45.$45.00Current price is: $45.00. -
Sale!
Hirschmann PAT DS 350, IFLEX5 2008 Operators Manual – OEM Specs
Original price was: $69.75.$45.00Current price is: $45.00.
Related products
-
Sale!

2006 Service Manual – International DT 466E, 530E Diesel Engine
Original price was: $67.50.$50.00Current price is: $50.00. -
Sale!

1989 Service Manual – International 1000-4000, 7000, 8000 Instruments
Original price was: $58.80.$40.00Current price is: $40.00. -
Sale!

2004 Acura TSX Wiring Diagram – 73-Page Factory Electrical Schematics
Original price was: $15.88.$9.99Current price is: $9.99. -
Sale!
International 1000-3000 Series Operators Manual – 132 Pages of OEM Specs
Original price was: $14.40.$10.99Current price is: $10.99.
pro_mechanic –
I am extremely satisfied with this transaction. It is easily zoomable on my iPad without blur. It assisted me to fix my Hirschmann PRS transmission. I will recommend this shop to others.
James L. –
Excellent factory service manual. The file is high resolution. It helped me to rebuild my Hirschmann PRS transmission. I will definitely buy again.
diy_master –
This is just what I required. The scan is high-quality and well indexed. A must-have for any Hirschmann PRS owner doing repairs. Saves me a lot of money.
William H. –
This is exactly what I required. The scan is high-quality and well indexed. Contains precise wiring diagrams for Hirschmann. Worth every penny.