
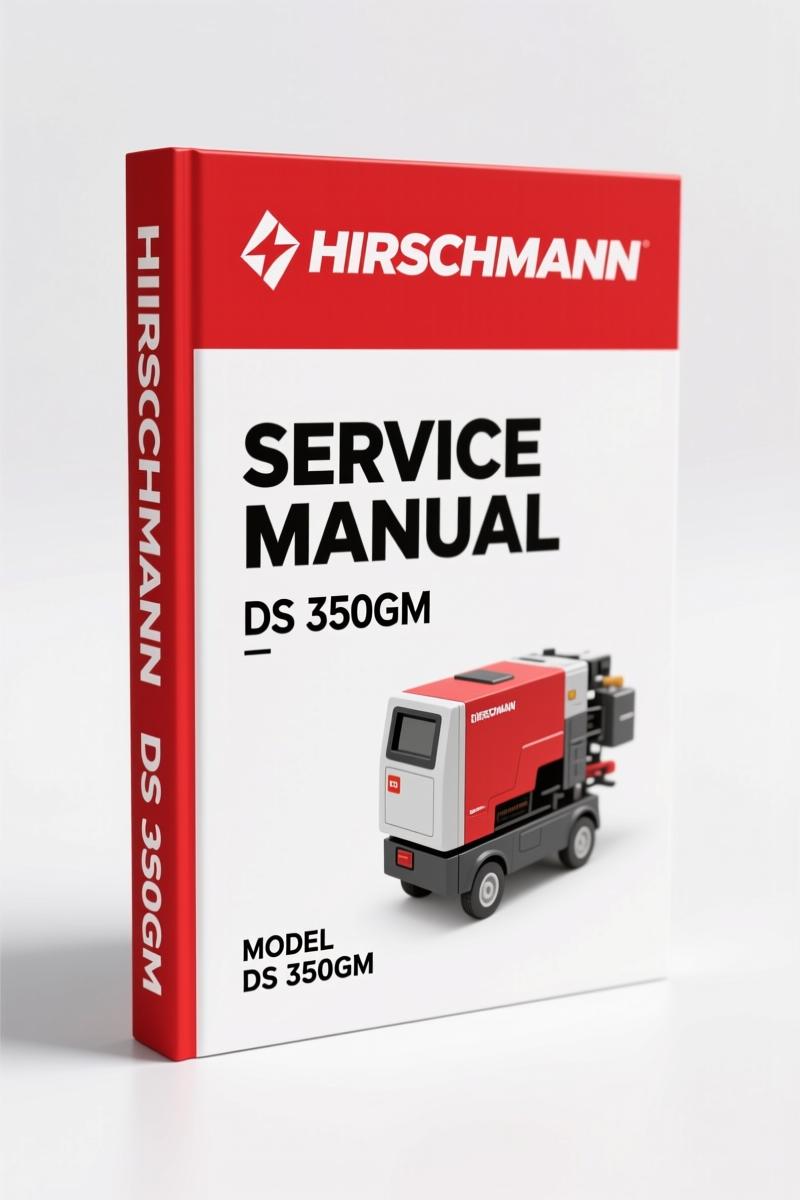
Hirschmann DS 350GM 2005 Service Manual – OEM LMI
Original price was: $23.39.$17.99Current price is: $17.99.
Factory service manual for Hirschmann DS 350GM LMI. 63 pages of OEM diagnostic flowcharts and wiring.
Description
Hirschmann DS 350GM 2005 Service Manual – Factory Diagnostics for Grove Crane Load Indicators
If you’re wrenching on a Grove crane with the PAT DS 350GM load indicator and you’re stuck with an aftermarket PDF that guesses at wire colors, you already know the pain. Twenty minutes lost chasing a bad ground while the machine sits. The Hirschmann DS 350GM 2005 Service Manual from AutoRepairManuals is the factory-issued 63-page book Hirschmann themselves wrote for their PAT system. Crank error codes? Pressure transducer drift? Anti-two-block problems? This is the only source that matches the hardware on your bench. No rewrites, no generic diagrams. Everything between these covers came from Rev. K, dated 12/05/2005.
Flowcharts for Error Codes
Chapter 3 lays out ten dedicated flowcharts starting on page 3. You don’t get a vague “check wiring” note. You get a GENERAL FLOWCHART that leads you to the right branch: ERROR CODE DISPLAY, LEVER LOCKOUT ACTIVATED, BROKEN LENGTH CABLE, NO DISPLAY. Each path assumes you have a multimeter and a factory spec sheet. The ANTI-TWO BLOCK PROBLEM flowchart alone saves you from swapping out the cable reel when the problem is actually a bent pin on the console connector. Page 26 is where they start the LOAD READING PROBLEM chart – if you’re seeing erratic load values, start there.
Does This Manual Cover the Anti-Two Block System?
Yes, and it gives you the full wiring path. Section 3.6, “ANTI-TWO BLOCK PROBLEM,” walks the resistance checks at the central unit pins. You’ll need the drawing references from Chapter 4. Drawing 3 on page 34 shows the exact electrical wiring from the central unit to the cable reel and anti-two block switch. If you’ve been relying on a generic crane manual that says “check continuity,” this is your upgrade.
3 Major Wiring Diagrams
Chapter 4 contains eight drawings, but three of them are the backbone of any electrical diagnosis. Drawing 1 (page 32): central unit to pressure transducers and the crane harness. Drawing 2 (page 33): central unit to console. Drawing 3 (page 34): central unit to cable reel/anti-two block. Each drawing labels pin numbers, wire colors, and connector views. No third-party redrawing – these are Hirschmann originals. Pair them with the central unit main board layout on page 43 (Drawing 7) and you can trace a signal from the transducer pins to the microprocessor input.
Pressure Transducer Zero Adjustment: Factory Procedure
Section 5.4 on page 49 gives you the step to zero-set the pressure transducer using the graphic console. Procedure 4 tells you to lift the boom to a known no-load position, then enter the zero adjust menu. If you skip the verification step, the load reading will be off by 500 lbs at the tip. That’s a liability. The manual also covers the slew potentiometer zero adjustment (Procedure 6, page 51) and the length/angle sensor adjustment (Procedure 5, page 50). These are the same procedures Hirschmann techs use.
Get the Right Torque Specs from Page 26
Page 26 – the LOAD READING PROBLEM flowchart – doesn’t list torque values, but it does reference the pressure transducer specifications. For actual fastener torques on the central unit mounting bolts and cable reel clamps, you need the parts lists in Chapter 4. Drawing 4 (page 35) lists every screw, washer, and nut with Hirschmann part numbers. Use the correct torque for M5 and M6 hardware (call the crane manufacturer if not listed – never guess). The manual structure forces you to use the right sources instead of a loose sheet of paper someone taped to the console.
Related manuals worth having on the same bench:
- Hirschmann iSCOUT expert compact iFLEX2 2007 Service Manual – OEM Specs
- Hirschmann iFLEX2, iSCOUT 2007 Service Manual – OEM Factory Specs
- HIRSCHMANN DS 350 GW 2005 Service Manual
For background on how a load moment indicator interfaces with the crane drivetrain, read the Wikipedia article on Manual Transmission – the principles of torque conversion still apply. Another reference on the same topic: Manual Transmission.
- Is this the official Hirschmann factory manual?
- Yes. P/N 031-300-190-041 Rev. K, dated 12/05/2005. 63 pages, OEM scan, no aftermarket editing.
- What does the manual cover for pressure transducer adjustment?
- Procedure 4 (page 49) covers the zero-setting of pressure transducers and force inputs using the graphic console. It tells you to lift the boom, navigate to the zero adjust screen, and verify the reading against a known no-load condition. It also includes a subsection on using the graphic console for zero-setting of the slew potentiometer. The adjustment steps reference the electrical drawings in Chapter 4, so you can identify the exact transducer wires before breaking out the 5/16 wrench. Skipping the verification step will cause the LMI to display false loads – this manual prevents that mistake.
No aftermarket PDF is going to give you the rev-history trace of this manual – the revision table on page 3 shows every change from Rev. A (1998) through K (2005). That matters when you’re troubleshooting a machine that’s had field updates. Access the Factory Manual and keep it in your tablet case next to the PAT console. Your time is worth more than chasing ghosts in a generic schematic.
Additional information
| Brand | Hirschmann |
|---|---|
| Language | English |
2 reviews for Hirschmann DS 350GM 2005 Service Manual – OEM LMI
You may also like…
-
Sale!
Hirschmann DS 350 GW, DS350G 2005 Service Manual – OEM LMI Specs
Original price was: $64.35.$45.00Current price is: $45.00. -
Sale!
Hirschmann Mentor 2011 Service Manual – Factory Calibration & Diagnostics for LMI Systems
Original price was: $63.45.$45.00Current price is: $45.00. -
Sale!
Hirschmann PAT DS 350, IFLEX5 2008 Operators Manual – OEM Specs
Original price was: $69.75.$45.00Current price is: $45.00. -
Sale!
Hirschmann DS 160 2006 Service Manual – OEM LMI Diagnostics
Original price was: $68.85.$45.00Current price is: $45.00.
Related products
-
Sale!

2011 Parts Catalog – International Truck OE Parts Documentation (1786 Pages)
Original price was: $34.50.$25.00Current price is: $25.00. -
Sale!

2011 Parts Catalog – International 7400 SFA 6X6 – 1886 Pages of OEM Part Numbers
Original price was: $32.00.$25.00Current price is: $25.00. -
Sale!

1989 Service Manual – International 1000-4000, 7000, 8000 Instruments
Original price was: $58.80.$40.00Current price is: $40.00. -
Sale!
1996 Operators Manual – International 1000-4000 Series (246 pages)
Original price was: $15.28.$9.99Current price is: $9.99.
William H. –
Five stars! It is easily zoomable on my tablet without losing quality. A must-have for any Hirschmann DS DIYer doing repairs. I will definitely buy again.
James L. –
Excellent factory service manual. Quick access after checkout process. Every spec sheet is provided for Hirschmann DS. Great value for money.