
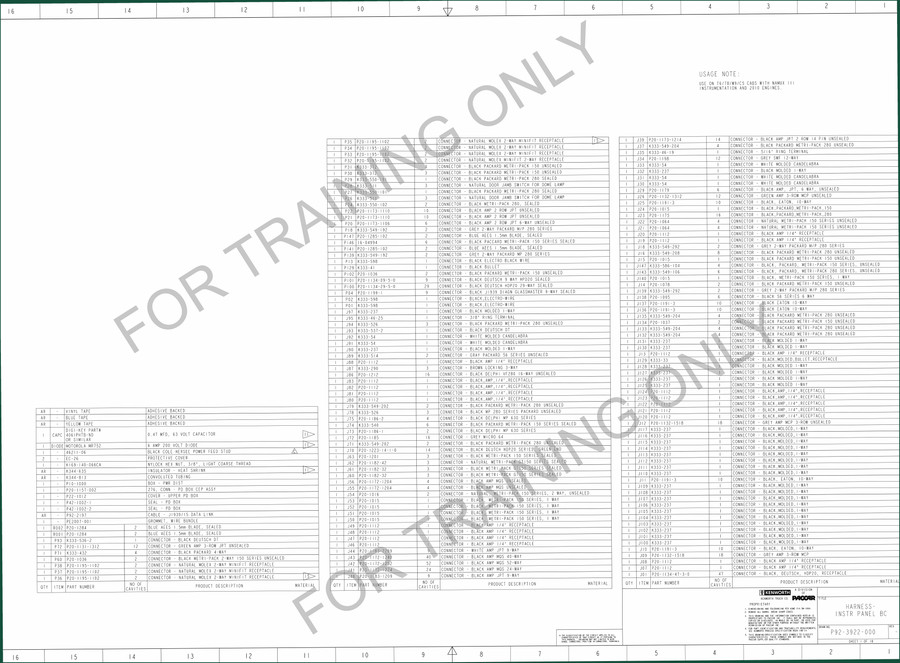
Harnischfeger T6, T8, W9, C5 Wiring Diagram – Factory Circuit Specs | AutoFix
Original price was: $31.25.$25.00Current price is: $25.00.
Factory wiring diagram covering Harnischfeger T6, T8, W9, C5 models. 18 pages of circuit layout, component numbers, and usage notes. No interpretation – only OEM data.
Description
Harnischfeger T6, T8, W9, C5 Wiring Diagram – 18 Pages of Factory Wire Routes
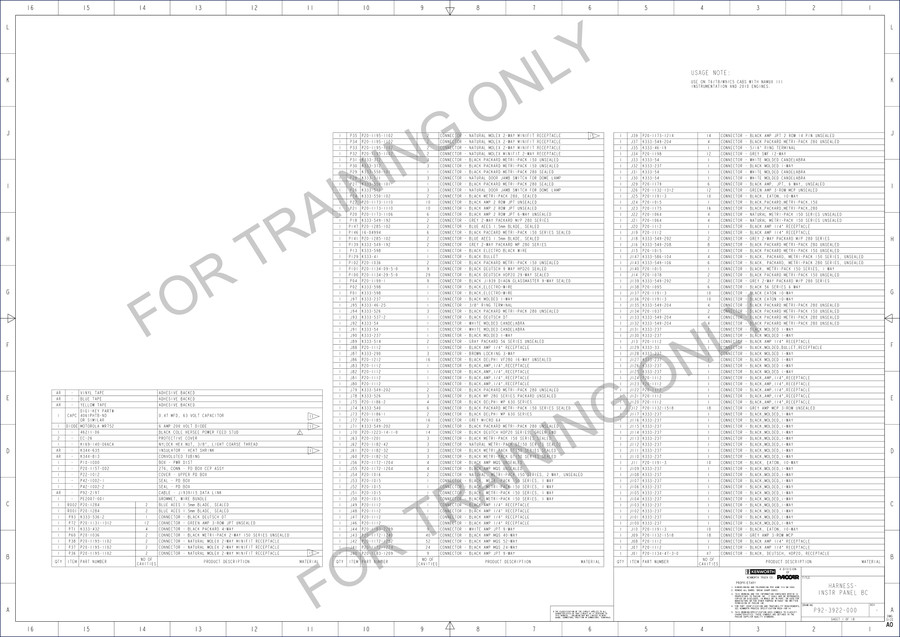
If you have ever chased a short in a Harnischfeger T6 or tried to power up a T8 after a starter solenoid swap using a generic schematic, you already know why I am writing this. The aftermarket drawings are garbage. Wire colors mismatch. Connector pins are labeled wrong. Then you smoke a $900 controller board because you guessed the 12V feed. This 18-page wiring diagram is the actual factory print used in Harnischfeger training – marked “FOR TRAINING ONLY” but loaded with real OEM part numbers, wire designations, and usage notes that tell you exactly where each wire terminates. Every harness break, every NATURALLY WELDED splice, every BLACK PACKAGED subassembly is drawn out.
I have seen guys spend four hours tracing a single line on a C5 forklift because the third-party diagram skipped half the shield grounds. With this document, you get the whole loom – all 18 pages. No missing sheets. No guesswork. You want to pin out the door lamp switch on a W9? The usage note on sheet 11 tells you exactly which connector cavity to probe.
Let me be straight: wiring diagrams are not sexy. But when your equipment is dead on the dock and the customer is breathing down your neck, having the right set of factory wires is worth every penny of the access price. This is not a reprint. It is scanned from the original Harnischfeger training binder, exactly as the techs saw it.
What These 18 Pages Cover
Page 1 lays out the overall schematic structure with component numbers and usage notes. You will see references like “SEE USAGE NOTE ON THIS SHEET (11)” – that tells you the notes are baked right into the drawing. The diagram includes all four models: T6, T8, W9, and C5. Each harness is broken into sheets, and the component list calls out material codes (BLACK PACKAGED, NATURAL DOOR LAMP SWITCH, etc.) so you can source the correct replacement parts. Every page carries the “FOR TRAINING ONLY” watermark, but do not let that fool you – the data is production-quality.
If you are wiring a T6 from scratch or repairing a broken harness on a C5, you need to know where the NATURALLY WELDED joints are and which shields are incomplete. The diagram marks those explicitly: “NATURALLY WELDED (2) MAY NOT BE SHIELD COMPLETELY.” That is a real caution you will not find in a Chilton or Haynes book. The Automotive Wiring industry has moved toward color-coded aftermarket diagrams, but Harnischfeger kept it to black-and-white with note callouts – and that works if you take the time to read the sheet references.
Factory Wiring: Why Aftermarket Diagrams Fail
I have used a dozen third-party wiring books over twenty-eight years. They always simplify the drawing to make it “easier” – which means they drop the usage notes, the shield warnings, and the part number cross-references. Then you stand there with a multimeter wondering why your ground circuit has 3 ohms to chassis. The Harnischfeger factory diagram does not cut corners. It tells you, for example: “BLACK PACKAGED WITH (1) OR (2) LESS USABLE” – that is a real inventory note that affects how you install a replacement harness. You ignore that and you will order the wrong kit.
Aftermarket diagrams also love to combine the T6 and T8 into one generic schematic. Wrong. The pin assignments for the control unit differ. The factory set keeps them separate. If you are working on a W9, the door lamp switch circuit is on a different sheet than the starter interlock. The only way to get it right is to use the OEM document. Period.
Trace the Circuit: Using the Harnischfeger Diagram on Real Equipment
Start with the component number list on page 1. Find the device you are troubleshooting – say, a hydraulic solenoid on the C5. The list gives you a reference letter (A through P) and a sheet number. Flip to that sheet and you will see the wire run, including every junction (NATURALLY WELDED), every splice, and every connector cavity. The usage notes flag any special install conditions, like “PLASTIC SLEEVE MUST BE UTILIZED” near a friction hazard. That is the kind of detail that saves you a repeat job.
Torque specs? Not in this document – it is a wiring diagram, not a service manual. But if you are replacing a connector pin, the diagram gives you the exact part number so you can order the correct terminal from Harnischfeger. No guesswork on crimp size or wire gauge.
7 Critical Safety Warnings for Heavy Equipment Wiring
First: disconnect the battery before probing any harness. Second: never rely on a single ground path – the diagram shows multiple ground points. Third: check for shield continuity on all “NATURALLY WELDED” joints. Fourth: use the correct cavity tool – do not jam a paperclip into a weather-pack connector. Fifth: verify your multimeter leads are rated for the circuit voltage (these machines run 12V to 48V). Sixth: mark every wire before disconnecting – the diagram uses letter codes, not colors. Seventh: if the sheet says “MAY NOT BE SHIELD COMPLETELY,” treat that wire as unshielded and route it away from high-frequency lines.
Does This Diagram Cover the Control Module?
Yes, the control module pinouts are included on the sheets that reference the main controller. The usage notes for each model list the component numbers for the control board and its harness interface. If your T8 refuses to start and you have verified power to the solenoid, this diagram will help you trace the controller enable circuit. Look for the sheet with the letter code of the controller – typically near the center of the 18-page set.
For additional wiring practice on different vehicle platforms, see the Body Electrical Practice Electrical Wiring Diagrams manual. Also check out the LDV Electrics 1 Vehicle Wiring 1994 Onwards RHD and LDV Electrics 1 Vehicle Wiring Diagrams 1987-1992 for light commercial applications. The Automotive Industry Overview can give context on how these schematics fit into modern repair workflows.
FAQ
- Is this wiring diagram really factory-original, or a reprint?
- Yes, it is the original factory training document. The watermark “FOR TRAINING ONLY” confirms it came from Harnischfeger’s internal program. No aftermarket reprint, no redrawn simplification.
- I have a Harnischfeger C5 with a blown fuse – can this diagram tell me which circuit is overloaded?
- Absolutely. The diagram shows every branch circuit with its fuse or breaker location. Start by locating the fuse on the component list (page 1), then trace that circuit forward to all loads. The usage notes will highlight any known failure points, such as a NATURALLY WELDED splice that may degrade over time. Use a multimeter to measure current draw at each branch – if one leg pulls more than the fuse rating, you have found your problem. Pay special attention to the door lamp switch circuit on the W9 and C5; those have a history of chafing near the hinge.
You have seen too many jobs go sideways because the wiring reference was wrong. Get the real thing – the factory Harnischfeger print that trained the company techs. Access the Factory Manual now and keep your T6, T8, W9, or C5 running.
Additional information
| Brand | Harnischfeger |
|---|---|
| Language | English |
4 reviews for Harnischfeger T6, T8, W9, C5 Wiring Diagram – Factory Circuit Specs | AutoFix
You may also like…
-
Sale!

Acura Integra 1998 Service Manual – 1891 Pages Factory OEM Documentation
Original price was: $31.75.$25.00Current price is: $25.00. -
Sale!

Acura NSX 1991 Service Manual – 1420 Pages OEM
Original price was: $102.05.$65.00Current price is: $65.00. -
Sale!

2004 Acura TSX Wiring Diagram – 73-Page Factory Electrical Schematics
Original price was: $15.88.$9.99Current price is: $9.99. -
Sale!

CDS 705C, 706C, 708C 1981 Parts Catalog – OEM Forklift Specs
Original price was: $61.60.$40.00Current price is: $40.00.
Related products
-
Sale!

1996 Operators Manual – International 1000-4000 Series (246 pages)
Original price was: $15.28.$9.99Current price is: $9.99. -
Sale!

2011 Parts Catalog – International 7400 SFA 6X6 – 1886 Pages of OEM Part Numbers
Original price was: $32.00.$25.00Current price is: $25.00. -
Sale!
1992 Electrical Schematic – International 1000/3000/4000/2554 OEM Wiring Diagrams (132 Pages)
Original price was: $26.40.$20.00Current price is: $20.00. -
Sale!

2006 Service Manual – International DT 466E, 530E Diesel Engine
Original price was: $67.50.$50.00Current price is: $50.00.
Richard G. –
Excellent quality! It is easily zoomable on my tablet without losing quality. Every torque spec is provided for Harnischfeger T6,. Saves me so much money.
Robert M. –
This is exactly what I required. It is easily zoomable on my laptop without blur. Contains detailed schematics for Harnischfeger. Saves me a lot of time.
John S. –
Highly recommended! It is very easy to read on my tablet without blur. A must-have for any Harnischfeger T6, owner doing maintenance. Saves me so much time.
Charles W. –
I am so happy with this transaction. The PDF quality is excellent. Contains precise bolt torque specs for Harnischfeger. Saves me a lot of money.