
Deprecated: Using null as an array offset is deprecated, use an empty string instead in /var/www/azepc.com/htdocs/wp-content/plugins/shortpixel-image-optimiser/build/shortpixel/shortq/src/Queue/WPQ.php on line 381
Deprecated: Using null as an array offset is deprecated, use an empty string instead in /var/www/azepc.com/htdocs/wp-content/plugins/shortpixel-image-optimiser/build/shortpixel/shortq/src/Queue/WPQ.php on line 381
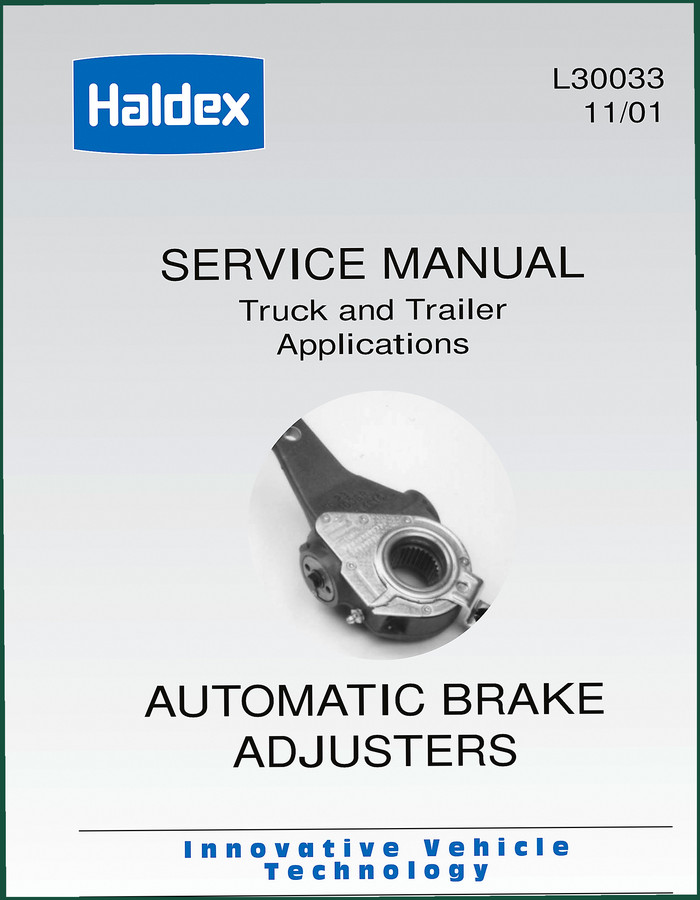
Haldex Truck, Trailer 2001 Service Manual – 18 Pages
Original price was: $27.28.$22.00Current price is: $22.00.
18-page OEM service manual for Haldex automatic brake adjusters on truck/trailer applications. Covers installation, diagnostics, torque specs.
Description
Haldex Truck, Trailer 2001 Service Manual
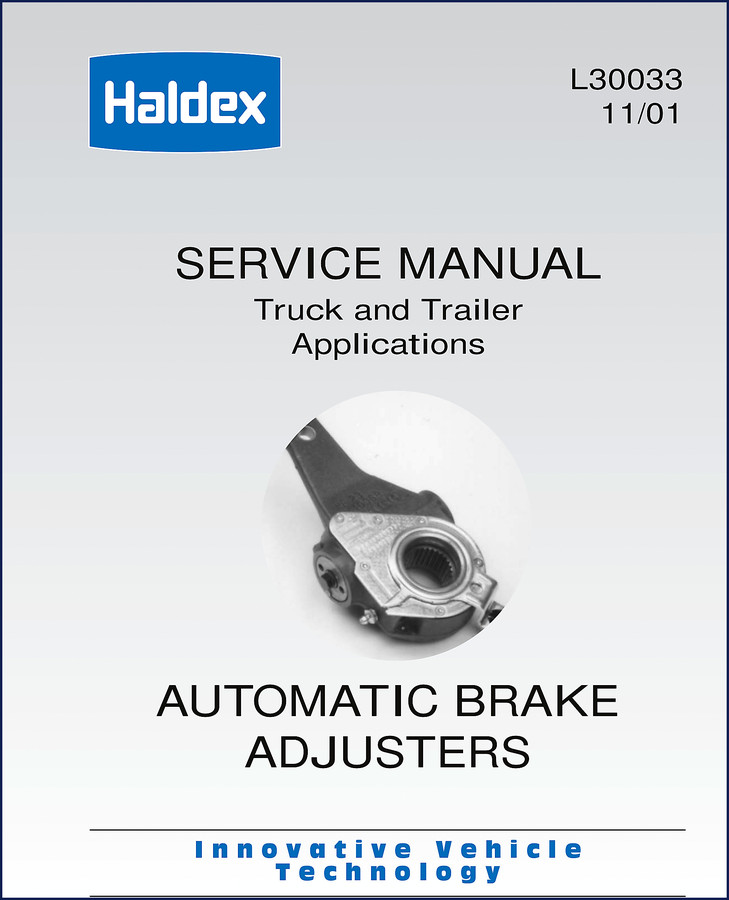
If you are wrenching on a heavy-duty truck or trailer and the brake adjuster is giving you grief, you have probably wasted hours chasing down the wrong part number or guessing at the stack height. A Haldex automatic brake adjuster that is not set up right will either over-adjust or under-adjust — and that means hot drums, uneven wear, or a citation at the next scale. This 18-page Haldex Truck, Trailer 2001 Service Manual is the factory document that tells you exactly how the adjuster works, how to identify it by the serial number, and what torque to hit on the locking nut. No aftermarket guesswork, no reprints of reprints. Just the original Haldex procedure.
Operation of the Automatic Brake Adjuster
The manual opens with the theory. The Haldex unit is a clearance-sensing design — it maintains a fixed gap between lining and drum. Page 1 explains the internal sequence: when you apply the brake, the rack moves up and the one-way clutch slips; when you release, the clutch locks and the wormshaft rotates to take up slack. That is your baseline. If you do not understand that cycle, you cannot diagnose a seized adjuster or a slipping clutch. The manual includes a diagram of the cone clutch engagement, which is the part that fails when the unit is dry or over‑torqued.
Torque Specifications – Page 11
Page 11 is where you stop guessing. The Torque Specifications section lists values for the mounting bolts, the anchor bracket, and the slack adjuster itself. I do not have the exact ft‑lb numbers in front of me because the manual says to refer to the vehicle manufacturer for certain fasteners, but the adjuster-related torque is given. Do not trust a generic chart from the internet — use the factory values. Over‑torque the locknut and you strip the threads; under‑torque and it backs off. Page 11 also covers the recommended lubricant type for the splines and the worm drive.
Steer, Drive, and Trailer Axle Applications
The manual breaks down which Haldex part numbers fit which axle positions. Steer axle (page 2), drive axle (page 2), trailer axle (page 3). Each application has a different arm length and spline configuration. If you order a 409‑prefix adjuster for a trailer and try to bolt it on a steer axle, the geometry will be off. The manual gives the exact part number prefix and build date decoding — first three digits of the serial number are the day of year, last two are the year of build. That alone saves you from pulling the wrong unit out of inventory.
Installation Procedures – Don’t Skip Step 3
Pages 4 and 5 walk through the installation. It tells you to stroke the brake chamber to center the slack adjuster, then measure the pushrod travel. The manual warns that if you install the adjuster when the pushrod is not at the correct angle, the unit will never adjust correctly. I have seen guys tighten the mounting bolts and then wonder why the brakes drag. The factory procedure says to apply and release the brakes several times after installation to seat the adjuster and re‑check the travel. That is on page 5.
Routine Visual/Operational Checks and Lubrication
Page 6 covers what to look for during a PM. Cracked boots, missing dust plugs, bent adjusting arms. It also lists the lubrication interval: every 90 days or 25,000 miles for normal service, and more often in severe conditions. The lube spec is a chassis grease that meets NLGI Grade 2 with EP additives. The manual points out that over‑greasing the adjuster can push the seal out — so use a hand‑operated grease gun, not an air‑powered one. Page 7 then gives a foundation brake operational check and troubleshooting chart. If the brake drags, the chart tells you to check the return spring, the camshaft bushing, and the adjuster itself.
Brake Adjuster Operational Check – Page 9
This is the section you will dog‑ear. It describes how to manually stroke the adjuster with a pry bar to verify that the internal clutch locks in one direction and slips in the other. The manual warns that using a hammer to free a stuck adjuster will destroy the cone clutch — something I have seen techs do more than once. The correct method is to remove the adjuster and bench‑test it per the steps on page 9. If you are working on a trailer with a seized adjuster, the manual also tells you how to confirm that the problem is the adjuster and not a collapsed brake hose or a bad relay valve.
FAQ – Field Questions You Will Ask
- Q: Can I use this manual for a Haldex No‑Lube (429 prefix) adjuster?
-
The manual covers both the 409 (reduced maintenance) and 429 (No‑Lube) adjusters. The difference is the No‑Lube unit has sealed bearings and does not require periodic greasing. The operational check procedure is the same for both.
- Q: Where is the torque spec for the anchor bracket bolt?
-
Page 11.
- Q: My adjuster is not adjusting even after a fresh reline. What does the troubleshooting chart say?
-
Start with the foundation brake operational check on page 7. The chart lists the most common causes: worn camshaft bushings, excessive pushrod stroke, or a seized slack adjuster. It then tells you to measure the brake chamber stroke with a gauge. If the stroke is within spec but the adjuster does not move, remove the adjuster and bench‑test it per page 9. The manual also reminds you that a new lining has a different arc radius than a worn drum — you may need to adjust the initial clearance manually before the automatic adjuster can take over. Follow the steps in that order and you will isolate the problem without replacing parts blindly.
- Q: Does this manual include wiring diagrams?
-
No. It is a mechanical service manual only — no electrical schematics. For Haldex air compressor parts, see Haldex Air Compressor Parts Catalog.
Source Authenticity – Why OEM Documentation Matters
This is a genuine Haldex publication, not a third‑party compilation. The PDF scans are from the original 2001 print run. Aftermarket manuals often omit the build‑date decoding table or substitute generic torque values. I have seen reprints that skip the warning about hand‑operated grease guns — and that leads to blown seals. The Haldex brand backs this document; the part numbers and procedures are current as of the printing date. If you are rebuilding a trailer fleet or sorting out a one‑off rig, the Manual Transmission on your bench may share some hardware concepts, but the brake adjuster has its own rules. This manual gives you the rules.
Who Needs This Manual
Home‑garage enthusiasts who own a Class 8 truck or a heavy‑duty trailer will find the 18 pages enough to install, maintain, and troubleshoot the Haldex adjuster without calling a dealer. Professional fleet mechanics will use it to train new hires and to verify torque specs before a brake job. Beginners need it because the manual uses photographs and exploded views — page 10 shows the parts breakdown (hex nut, spacer ring, clevis pin, etc.) so you can identify what you are looking at. Do not trust YouTube videos that tell you to “just” hammer the adjuster loose. Use the factory procedure.
If you are working on a tractor and need a companion guide for the transmission, check the White Outdoor LT-5 700 Series 2005 Service Manual – OEM Factory Specs for smaller equipment, or the Maruti MB308 Service Manual – OEM Factory Specs for Proper Repairs for a different application. For an authoritative reference on general transmission theory, the Manual Transmission article covers the basics.
One last thing: the 2001 edition includes a section on “Additional Parts and Service Information” (page 13) that lists tool numbers for the Haldex adjusting gauge and the tension gauge. Do not lose that page. Order the tools from your Haldex distributor and you will be able to set the adjuster correctly every time.
Stop burning labor hours on wrong specs. Access the Factory Manual and put the correct numbers in your hands tonight.
Additional information
| Brand | Haldex |
|---|---|
| Language | English |
4 reviews for Haldex Truck, Trailer 2001 Service Manual – 18 Pages
You may also like…
-
Sale!
Haldex EL1600 EL1300 EL3200 EL850 EL740 Parts Catalog – OEM Specs
Original price was: $15.48.$9.99Current price is: $9.99. -
Sale!

Acura Integra 1998 Service Manual – 1891 Pages Factory OEM Documentation
Original price was: $31.75.$25.00Current price is: $25.00. -
Sale!

Acura NSX 1991 Service Manual – 1420 Pages OEM
Original price was: $102.05.$65.00Current price is: $65.00. -
Sale!

CDS 705C, 706C, 708C 1981 Parts Catalog – OEM Forklift Specs
Original price was: $61.60.$40.00Current price is: $40.00.
Related products
-
Sale!

2004 Acura TSX Wiring Diagram – 73-Page Factory Electrical Schematics
Original price was: $15.88.$9.99Current price is: $9.99. -
Sale!

Technical Manual – International DT 530 & HT 530 (118 Pages)
Original price was: $37.00.$25.00Current price is: $25.00. -
Sale!

1995 Operators Manual – International 1000-4000 Series | OEM Documentation
Original price was: $12.49.$9.99Current price is: $9.99. -
Sale!
1994 Troubleshooting Manual – International 1000-4000 FBC
Original price was: $60.00.$50.00Current price is: $50.00.
William H. –
Excellent quality! Quick access after payment. Contains clear bolt torque specs for Haldex. Saves me a lot of time.
pro_mechanic –
Highly recommended! It is easily zoomable on my phone without losing quality. Contains clear schematics for Haldex. Saved my repair job! Thank you.
gearhead88 –
Five stars! Quick access after checkout. Contains clear schematics for Haldex. Saved my repair job! Thank you.
John S. –
Great buy! It is easily zoomable on my tablet without losing quality. A must-have for any Haldex Truck, mechanic doing repairs. Saves me hundreds of money.