
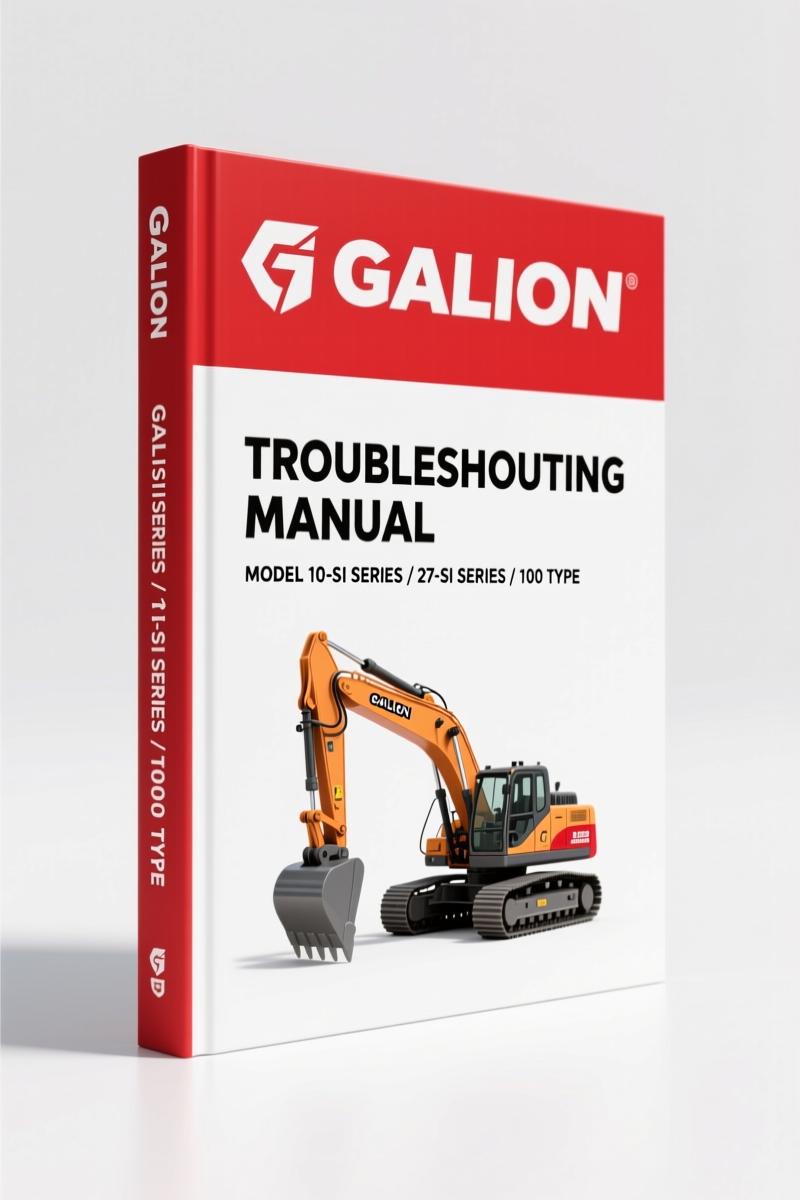
Galion 10-SI Series, 27-SI Series, 100 Type Troubleshooting Manual – OEM Alternator Diagnostics
Original price was: $44.70.$30.00Current price is: $30.00.
OEM procedures for Delco-Remy alternators on Galion graders, rollers, and cranes. Torque sheet, preliminary checks, removal, installation.
Description
Galion 10-SI Series, 27-SI Series, 100 Type Troubleshooting Manual
You’ve got a machine down – maybe a Galion grader, roller, or crane – and the alternator’s not charging. The battery reads 11.8 volts and you know that’s not right. Without a Troubleshooting Manual that actually matches the Delco-Remy unit under the hood, you’re guessing. Guessing costs time, costs money, and sometimes costs you a battery explosion if you skip the preliminary checks. This 22-page factory manual covers the 10-SI Series, 27-SI Series, and 100 Type alternators used on Galion equipment. It’s the same document the dealer techs used back when these machines were built. No aftermarket copy. No reprints. Just the original OEM print with the torque chart on the back of the cover and the step-by-step removal procedure that starts on page 6.
Torque Sheet – What You Need Before You Turn a Bolt
Right on the back of the cover (page 1 of the PDF) you’ll find the Torque sheet. This isn’t some generic table pulled from the internet. It lists Grade 5 and Grade 8 fastener torques in foot-pounds and Newton meters for threads from 1/4-20 up to 2-4 1/2. Every value is for lubricated (wet) threads. If you’re running dry, add 1/3. You’ll need that when you reattach the alternator bracket bolts. Skip that step and you either strip threads or crack the mounting ear. I’ve seen it. The manual calls it out on page 2 of the file. Print that page, laminate it, keep it with the machine.
Preliminary Checks – Don’t Pull the Alternator Without Doing This
Page 3 starts with the preliminary checks. You turn the key to ON (don’t start the engine) and look at the BATT-GEN or BATT-CHG meter. If it reads below 12 volts, your battery is undercharged. The manual tells you to grab a hydrometer and test specific gravity of each cell. It also includes a written caution about battery acid – wash immediately with plenty of clean water, neutralize with diluted ammonia or baking soda. That’s the kind of real-world safety warning that gets left out of aftermarket summaries. The manual also shows you how to use the cluster gauge to isolate the problem before you even touch a wrench. Follow the sequence: check the meter, test the battery, then move to removal. If you skip to removal and the real issue is a dead cell, you just wasted an hour and a new alternator.
Removal and Installation – Page 6 Through 7
Removal starts on page 6. The manual assumes you have the machine safely supported – jacks, hoists, and all workshop equipment in good order. It lists the tools needed (standard hand tools, but no specifics beyond that because this is a troubleshooting/removal manual, not a full rebuild). Disconnect the battery first. Then remove the wiring, unbolt the mounting brackets, and slide the alternator out. Installation on page 7 is the reverse, with specific attention to belt tension and bracket torque. The torque values from the back cover apply. Don’t guess. If you need a reference for manual transmission applications, check out Manual Transmission on Wikipedia for general driveline knowledge – but for the alternator itself, stick to this manual.
Lubrication – Page 8 and 9
Page 8 covers lubrication. It tells you which bearings to grease, how much, and what type. Not all alternators need periodic greasing – the 10-SI and 27-SI do. The 100 Type might use sealed bearings. The manual differentiates. If you overgrease, you blow out the seals and contaminate the windings. Page 9 finishes the section with specifications. Keep a can of clean grease and a rag handy. Don’t use a pressure gun without an accurate adapter – you’ll force grease past the seals. The manual doesn’t mention that specifically, but I’m telling you from experience.
Why This OEM Manual Beats the Aftermarket Knockoffs
I’ve had guys bring me printouts from online forums that claim to be “factory specs.” Half the time the torque values are wrong because they copied a generic table from a different manufacturer. This Troubleshooting Manual was printed by Galion, a division of Dresser Industries. The part number is on the cover: L-11 C1. The 22 pages match the original dealer binder. Compare that to a photocopied third-party reprint that’s missing the caution notes and the lubrication diagram. The difference is the difference between a job done once and a job done twice. Related manuals you might need: Galion 150A/150FA Hydraulic Crane Operator’s Manual, Galion Model 2420 Transmission Shop Manual, Galion Hydraulic Power Master Cylinder Shop Manual. Also, if you’re dealing with driveline issues, check out Manual Transmission for background theory – but for alternator troubleshooting, this is your only source.
Audience Fit – Who Needs This Manual?
This manual is for the shop foreman who still has a fleet of Galion graders, the independent mechanic who takes on heavy equipment repairs, and the owner-operator who doesn’t want to pay dealer diagnostic fees. It’s not a full service manual – it doesn’t cover engine rebuilds or transmission overhauls. But if your alternator is dead, this is the 22-page doc that gets you back to work. Beginners: don’t skip the safety cautions. Pros: check the torque chart even if you think you know it. The moment you assume is the moment you strip a 3/8-16 bracket bolt.
Frequently Asked Questions
- Does this manual cover all Galion equipment or just specific models?
- It covers Delco-Remy alternators on Galion graders, rollers, planers, and cranes – specifically the 10-SI Series, 27-SI Series, and 100 Type units. If your machine has a different alternator, this won’t help.
- Are there wiring diagrams in this manual?
- No.
- What if I need to rebuild the alternator – does this manual include bearing replacement specs?
- It includes lubrication instructions and basic removal/installation, but it does not cover internal disassembly of the alternator. For a full rebuild you need the alternator manufacturer’s service manual. However, the torque chart and removal procedure are essential before you even get to the teardown stage. You’ll also want to check the preliminary checks section to confirm the alternator is actually the problem – a bad battery connection can mimic alternator failure.
- Is this a PDF format or a printed book?
- PDF format.
If you’re working on a Galion with a charging system issue, you need the facts – not forum guesses. Access the Factory Manual now and get the torque specs, removal sequence, and safety warnings from the original OEM source.
Additional information
| Brand | Galion |
|---|---|
| Language | English |
2 reviews for Galion 10-SI Series, 27-SI Series, 100 Type Troubleshooting Manual – OEM Alternator Diagnostics
You may also like…
-
Sale!
Galion T-400A, T-500A, T-500L, T-600B, 90A 1974 Workshop Manual – OEM Factory Specs
Original price was: $41.40.$30.00Current price is: $30.00. -
Sale!
Galion 2420, 3420, C-273 Technical Manual – 78 Pages
Original price was: $45.00.$30.00Current price is: $30.00. -
Sale!
Galion T-600, T-400A, T-500A, T-500L, T-600B 1972 Workshop Manual – OEM Hydraulic Specs
Original price was: $62.10.$45.00Current price is: $45.00. -
Sale!
Galion 503, 160, T-500, T-600, T-700 1973 Workshop Manual – Lubrication Specs
Original price was: $49.20.$40.00Current price is: $40.00.
Related products
-
Sale!

Technical Manual – International 6.0L Power Stroke FICM Diagnostics
Original price was: $29.80.$20.00Current price is: $20.00. -
Sale!

1995 Operators Manual – International 1000-4000 Series | OEM Documentation
Original price was: $12.49.$9.99Current price is: $9.99. -
Sale!

2011 Parts Catalog – International 7400 SFA 6X6 – 1886 Pages of OEM Part Numbers
Original price was: $32.00.$25.00Current price is: $25.00. -
Sale!
1991 Electrical Schematic – 112-Page OEM Wiring Diagram for International 1000-3000 Series
Original price was: $22.75.$17.50Current price is: $17.50.
workshop_guy –
Excellent quality! The file is high resolution. It assisted me to troubleshoot my Galion 10SI transmission. Highly recommended for mechanics.
Thomas B. –
Highly recommended! Quick access after checkout. Every torque spec is provided for Galion 10SI. Worth every penny.