
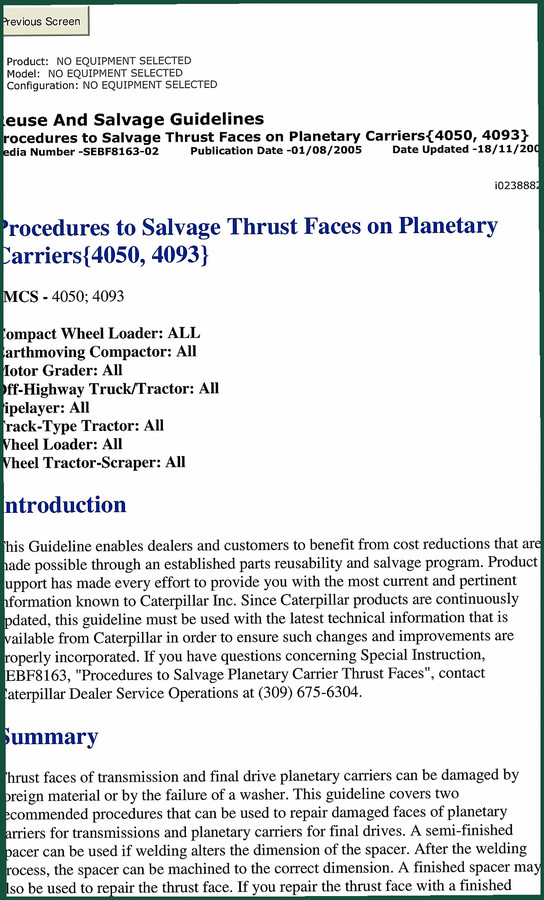
Caterpillar 4050, 4093 Technical Manual – 2005 OEM Specs
Original price was: $43.80.$30.00Current price is: $30.00.
OEM technical manual for Caterpillar 4050 and 4093 carrier assemblies. 41 pages of salvageability criteria and machining specs.
Description
If you are tearing down a planetary carrier on a Caterpillar 4050, 4093 2005 Technical Manual job and you don’t have the weld procedure specs, you are gambling with gear train alignment. That’s lost time, lost money, and potential shrapnel. I’ve seen guys try to save a carrier with a MIG gun and a prayer — then wonder why the transmission eats itself. This OEM manual from 2005 gives you the factory procedure for salvaging thrust faces on specific carriers. 41 pages, no filler, just the machining sequence and required tooling.
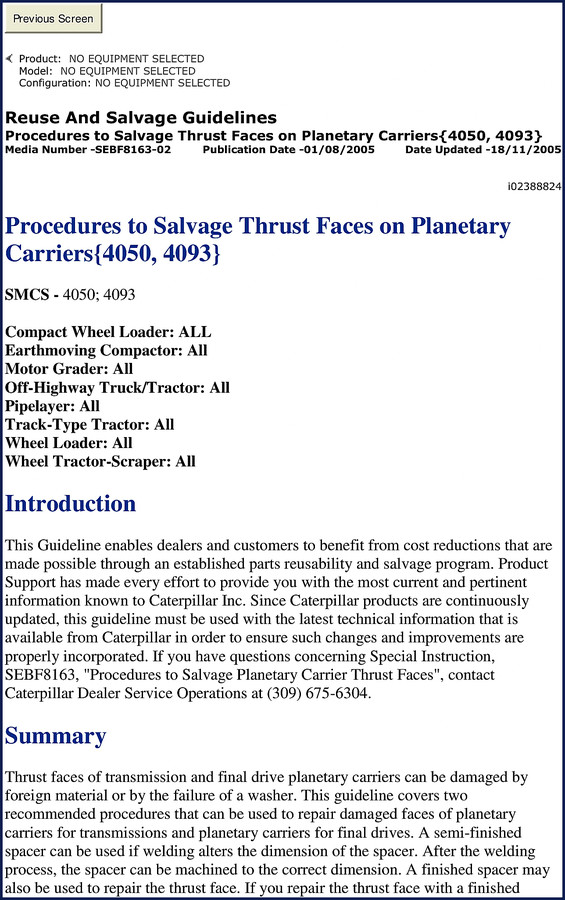
Salvage Procedures for Planetary Carriers
Page 2 spells out the required equipment. You need a universal boring or milling machine with an automatic head for boring and facing. The boring bar must have minimum travel of 19.0 mm (0.75 inch). That’s not a suggestion — that’s the minimum to reach the thrust face without crashing the tool holder. You also need spacers made per Table 3 and clamp plates per Table 5. A weld needle descaler (single or multiple, electric or pneumatic) and a UTP-8 welding electrode, 1.98 mm (0.078 inch) diameter. If you don’t have those, don’t start.
The manual covers which carriers are salvageable — transmission carriers, final drive carriers, and carrier assemblies listed in Table 2. Part numbers like 1M-4153, 5M-7875, 9P-3663, 8S-9070 — the ones that show up in the field most often. Page 3 shows the table with faces numbered 1 through 8. Some faces cannot both be salvaged; you have to pick one or the other. If the splines on the carrier were not heat treated, the manual says do not make a repair. That’s straight from the factory.
Required Equipment for Thrust Face Salvage
You will find the complete list on page 2 of the Caterpillar 4050, 4093 2005 Technical Manual. Universal boring machine or universal milling machine — either works. Automatic head for boring and facing is mandatory because you need constant feed for the weld buildup and facing pass. Spacers and clamp plates you fabricate yourself per the tables in the manual. Do not substitute with hardware-store shims; the clamping forces are specific. And use the UTP-8 electrode. I’ve seen guys try 308L stainless — wrong. Stick with what Caterpillar specified.
Every weld pass must be descaled between layers. The manual calls for a weld needle descaler. A wire brush won’t remove the slag deep enough — you’ll get porosity. Follow the equipment table exactly.
Which Carriers Are Salvageable?
Table 2 on page 3 lists every carrier this manual addresses. There are 32 line items across transmission carriers, final drive carriers for OHT, and final drive carriers for track-type tractors. For example, the 5M-7875 carrier allows salvage on all eight faces. The 9P-3663 carrier allows faces 1,2,3,4,6,7,8 but not face 5. Some carriers like 8W-3120 only allow face 2. If your carrier part number is not in that table, this manual does not apply. Do not guess — you will ruin the carrier and the transmission.
3 Critical Specs from the OEM Manual
First, the boring bar travel: 19.0 mm (0.75 inch) minimum. Second, the electrode diameter: 1.98 mm (0.078 inch). Third, the pre-weld machining must return the face to a true flat within 0.05 mm (0.002 inch) across the diameter. Those numbers are not optional. I have a printout of this manual taped to my boring mill because I don’t trust memory on any of them.
If you need a broader reference on manual transmission theory, check Manual Transmission and Manual Transmission for the basics of gear train layout. That context helps understand why thrust face alignment matters.
Pre-Weld Machining: Get the Dimensions Right
Before you weld a spacer in place, you must complete precision machining and positioning. The manual states that clearly on page 2. You can’t just weld the spacer and then machine — that invites warpage. The procedure: set up the carrier in the boring mill, cut the face to a true flat, then clamp the spacer. Use the clamp plates from Table 5. After welding, you face the spacer to the original blueprint dimension. Follow the illustration numbers for each carrier — they are Figure-specific (Illustrations 1 through 8).
For related salvage procedures on other Caterpillar engines, see Caterpillar 3116, 3044C, 3114, 3408 Technical Manual | Piston Specs and Caterpillar 30A1, 4KC1, 8SZ1, 2WB1, 2WN1 1999 Technical Manual. Also check Caterpillar 30A1, 6NB1, 7DE1, 8KC1, 4KC1 1999 Technical Manual for additional powertrain information.
Why Skip Aftermarket Manuals for This Job
Aftermarket manuals will tell you “weld up the carrier face and machine flat.” They won’t tell you which electrode, which travel, which faces to avoid, or which part numbers are salvageable. I have seen generic hydraulic reference books that list a torque value for a bolt that doesn’t even exist on a Cat planet carrier. That kind of error costs a shop a week of downtime and a $4,000 carrier. This OEM Technical Manual from Caterpillar gives you the original factory data — nothing translated, nothing summarized. 41 pages, published 2005, still current for the carriers listed.
- Does this manual cover the entire transmission overhaul?
- No. It covers only the salvage procedure for thrust faces on planetary carriers for models 4050 and 4093. For full transmission disassembly, you need the separate service manual.
- Can I use this manual for carriers not listed in Table 2?
- The manual explicitly states it applies only to the carriers in Table 2 (pages 3-5). If your carrier part number is not there — for example, a 9P-8451 carrier is listed but a 9P-8452 is not — do not attempt the salvage using this procedure. The metallurgy and geometry differ. You risk cracking the carrier during welding or misaligning the planetary gears. Contact Caterpillar for a superseding part number or an updated procedure. I’ve had three guys bring me salvaged carriers that failed because they used a generic weld process on a non-listed carrier. Each one cost more than buying a new carrier. Stick to what the factory manual says.
If you are doing this job next week, get the printed data in front of you instead of scrolling a phone screen. Access the Factory Manual from AutoRepairManuals and keep it on the bench. Your boring bar setup will thank you.
Additional information
| Brand | Caterpillar |
|---|---|
| Language | English |
3 reviews for Caterpillar 4050, 4093 Technical Manual – 2005 OEM Specs
You may also like…
-
Sale!

Caterpillar 14M, 16M 2007 Training Manual – OEM Service Training Guide
Original price was: $108.50.$70.00Current price is: $70.00. -
Sale!

Caterpillar 3116, 3126, 3114 2010 Troubleshooting Manual – 89 Pages
Original price was: $107.10.$70.00Current price is: $70.00. -
Sale!

Caterpillar CP-563E CS-563E CS-573E CS-583E 2002 Service Manual
Original price was: $102.70.$65.00Current price is: $65.00. -
Sale!

Caterpillar 3500B 2000 Service Manual – MEUI Fuel System
Original price was: $93.00.$75.00Current price is: $75.00.
Related products
-
Sale!

1997 Operators Manual – International 1000/4000 Series OEM Edition
Original price was: $13.49.$9.99Current price is: $9.99. -
Sale!

1991 Operators Manual – International Truck OEM Specs (108 Pages)
Original price was: $13.63.$10.99Current price is: $10.99. -
Sale!
1993 Operators Manual – International Bus 1000-3000 OEM Specs
Original price was: $12.30.$7.99Current price is: $7.99. -
Sale!
International 1000-3000 Series Operators Manual – 132 Pages of OEM Specs
Original price was: $14.40.$10.99Current price is: $10.99.
Charles W. –
This is just what I was looking for. It is easily zoomable on my laptop without losing quality. Contains precise wiring diagrams for Caterpillar. I will recommend this shop to others.
Robert M. –
This is just what I was looking for. It is easily zoomable on my tablet without losing quality. Contains precise schematics for Caterpillar. I will definitely buy again.
Richard G. –
Outstanding! The pages are clean and easy to navigate. A must-have for any Caterpillar 4050, mechanic doing repairs. Worth every penny.