
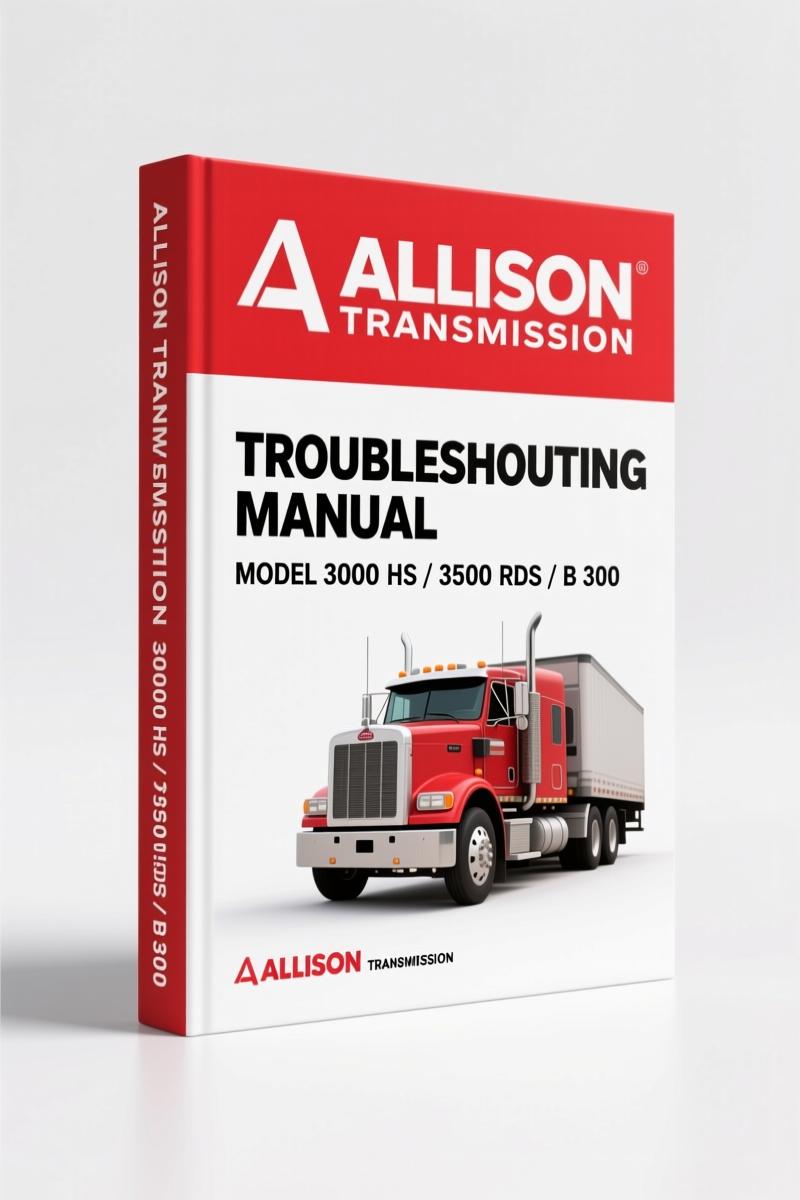
Allison Transmission 3000-3700 & B 300 2005 Troubleshooting Manual
Original price was: $79.50.$50.00Current price is: $50.00.
436-page OEM troubleshooting manual for Allison 3000 EVS, 3200 SP, 3500 EVS, 3700 SP, B 300 transmissions, covering WTEC III diagnostics.
Description
Allison Transmission 3000 EVS, 3200 SP, 3500 EVS, 3700 SP, B 300 2005 Troubleshooting Manual
You’ve got a 3000 EVS that’s throwing a code 22, but the aftermarket diagnostic app gives you a generic speed sensor fault. You swap the sensor, clear the code, and it comes back in ten miles. The problem is not the sensor — it’s the wiring or the ECU. The factory troubleshooting manual from Allison Transmission walks you through the exact wire test procedures in Section 4 before you buy parts. That’s the difference between fixing it in an hour and chasing ghosts for a week. This 436-page book (2005 edition, TS2973EN) covers the 3000 EVS, 3200 SP, 3500 EVS, 3700 SP, B 300, and every other 3000 and 4000 vocational model with WTEC III electronic controls.
General Description: Know Your WTEC III Components
Section 1 of this Troubleshooting Manual lays out every electronic component on the Transmission. You get block diagrams, ECU locations, shift selector variations (pushbutton and lever), throttle position sensor details, speed sensors, control modules, wiring harnesses — both external and internal. The Vehicle Interface Module (VIM) is covered with its own figure. If you’re dealing with a no-communication condition, start here to confirm power and ground paths. The Autodetect feature (V8 through V9C software) and the TransID feature are explained with serial number breakpoints in Tables 1-1 through 1-5. This section alone prevents misdiagnosis when swapping ECUs or rebuilds with Dynax clutch plates.
Diagnostic Codes — Where to Start When the Check Trans Light Comes On
Section 6 is the heart of the book. It contains the entire code list (Table 6-1) and a step-by-step troubleshooting procedure for each code. Code 13 (ECU input voltage) comes with a voltage chart and schematic drawing. Code 14 (oil level sensor), Code 21 (throttle/PWM fault), Code 22 (speed sensor), Code 23 (shift selector), Code 24 (sump fluid temperature) — each gets the same treatment. The schematic drawings show exactly what to probe and where. There’s also Code 25 for output speed sensor detected at zero speed in X range. You also get the external hydraulic circuit characteristics at 93°C (200°F) sump temperature in Tables 6-4 and 6-5. I’ve used these charts to isolate a sticking solenoid faster than any aftermarket guide.
Wire Testing Procedures: Opens, Shorts, and Grounds
Section 4 is required reading before you touch a connector. It specifies using a digital volt/ohmmeter (Allison J 34520-A) and a jumper wire set. You’ll learn how to test for opens, shorts between wires, and shorts-to-ground at both the transmission connector and the internal harness. The figures show continuity checks and proper probe placement. If you’ve ever wasted an afternoon because a wire insulation looked good but was broken inside the jacket, you’ll appreciate the procedure on page 4-1. This manual gives you the pass/fail criteria — no guesses.
Oil Level Sensor and Electronic Fluid Level Check
Section 5 covers the oil level sensor in detail. It shows the correct orientation (Figure 5-2) and how to perform the electronic fluid level check using either the shift selector or the Allison DOC™ PC service tool. Table 5-1 lists invalid-for-display codes that will prevent the check from running. If you’ve ever overfilled a transmission because the dipstick was misread or the sensor was miswired, this section saves you from that. The manual also tells you which codes set when the sensor is faulty — beats guessing based on flickering dash lights.
3 Reasons to Choose the Factory Troubleshooting Manual
First, the wiring schematics in this book come directly from Allison Transmission, not a third-party data aggregator that redraws them with errors. Second, every diagnostic code response — limp-home modes, shift lockouts, and displayed messages — is documented per the OEM calibration. Third, the manual includes the TransID feature details and the Autodetect software differences (V8 vs V9A/B/C), which aftermarket copies routinely omit. I’ve seen a shop replace a perfectly good ECU because they didn’t know the V9C Autodetect requires a specific initial calibration. This manual would have saved them the part cost and four hours of labor.
Allison Transmission 3000 EVS Troubleshooting Manual: What’s Inside Section 1
Beyond the general description, Section 1 includes the transmission overview, the ECU block diagram, and all WTEC III electronic control components. The pushbutton shift selectors (Figure 1-4) and lever shift selector (Figure 1-5) are shown with terminal designations. The Throttle Position Sensor (Figure 1-6) is drawn without mounting brackets for clarity. Speed sensors (Figure 1-7) and control modules (Figure 1-8) are separated by type. The wiring harness figures (1-9 and 1-10) distinguish external from internal. The Vehicle Interface Module (Figure 1-11) is there too. If you’re retrofitting a 3200 SP into a different chassis, these diagrams are invaluable for pin mapping.
For an overview of how manual transmissions differ fundamentally, see Manual Transmission. Another resource on manual transmission basics is available at Manual Transmission.
- Allison Transmission Vocational Models 2005 Service Manual
- Allison Transmission HD 4060 4560 Service Manual
- Allison Transmission MD 3060 MD 3560 1998 Service Manual
Frequently Asked Questions
- Does this manual cover the 4000 series transmission models?
- Yes, the manual includes all 4000 vocational models listed on the title page: 4000 EVS, 4500 EVS, 4700 EVS, 4800 EVS, B 500, 4000 HS, 4500 HS, 4700 RDS, 4000 MH, 4500 RDS, 4000 RDS, 4500 SP, 4000 TRV, 4500 TRV, HD 4060, HD 4560, HD 4070, HD 4076, B 500P, HD 4060P, HD 4560P, HD 4070P, B 500R, HD 4060R, HD 4560R, HD 4070R, B 500PR, HD 4060PR, HD 4560PR, HD 4070PR, T 425, T 450. The diagnostic procedures are common across the product family, but always check the serial number breakpoints for TransID and Autodetect features to ensure you apply the correct troubleshooting steps.
- What tool do I need for wire testing?
- Allison specifies a digital volt/ohmmeter J 34520-A and a jumper wire set.
If you’re working on any of these WTEC III transmissions, the factory diagnostics are your only reliable path. Access the Factory Manual now and get the complete wiring diagrams, code procedures, and fluid checks you cannot trust from aftermarket sources.
Additional information
| Brand | Allison Transmission |
|---|---|
| Language | English |
3 reviews for Allison Transmission 3000-3700 & B 300 2005 Troubleshooting Manual
You may also like…
-
Sale!
Allison Transmission HD 4060 1999 Service Manual – 158-Page Official Document
Original price was: $85.15.$65.00Current price is: $65.00. -
Sale!
Allison Transmission 5000-9000 Series 2005 Troubleshooting Manual
Original price was: $88.20.$60.00Current price is: $60.00. -
Sale!
Allison Transmission 3000-4500 2005 Troubleshooting Manual – 736 Pages
Original price was: $65.50.$50.00Current price is: $50.00. -
Sale!
Allison Transmission 1000 & 2000 Product Family 2006 Troubleshooting Manual – Tech Specs
Original price was: $66.00.$50.00Current price is: $50.00.
Related products
-
Sale!

1991 Operators Manual – International Truck OEM Specs (108 Pages)
Original price was: $13.63.$10.99Current price is: $10.99. -
Sale!

International 1000-3000 Series Operators Manual – 132 Pages of OEM Specs
Original price was: $14.40.$10.99Current price is: $10.99. -
Sale!

2006 Service Manual – International DT 466E, 530E Diesel Engine
Original price was: $67.50.$50.00Current price is: $50.00. -
Sale!
1996 Operators Manual – International 1000-4000 Series (246 pages)
Original price was: $15.28.$9.99Current price is: $9.99.
David K. –
Great buy! Instant access after checkout. It helped me to rebuild my Allison Transmission Transmission electrical system. Saved my repair job! Thank you.
William H. –
This is exactly what I needed. The document is very clear. It guided me to troubleshoot my Allison Transmission Transmission transmission. I will recommend this shop to others.
Richard G. –
This is exactly what I was looking for. It is easily zoomable on my iPad without blur. It guided me to fix my Allison Transmission Transmission engine. I will recommend this shop to others.