
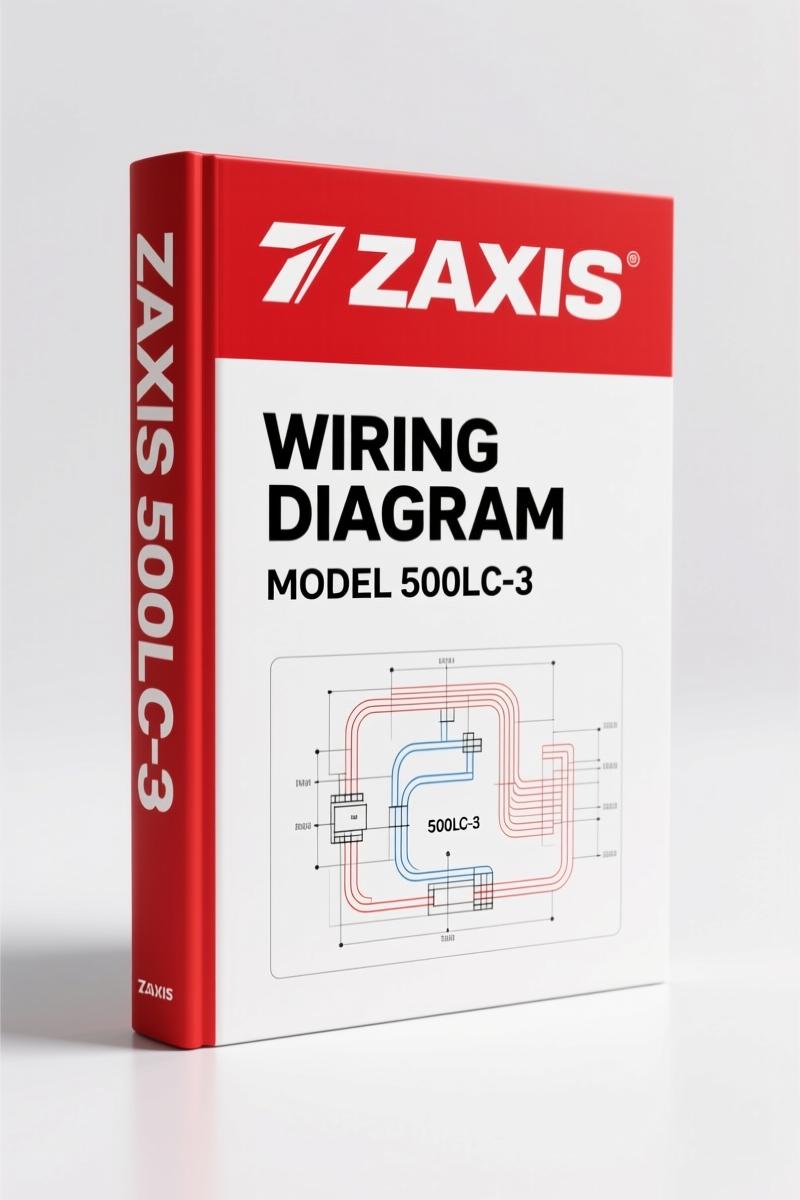
Zaxis 450-3, 500LC-3, 520LCH-3 Wiring Diagram 28p
Original price was: $64.80.$45.00Current price is: $45.00.
OEM wiring diagram for Zaxis 450-3, 500LC-3, 520LCH-3 excavators. 28 pages of factory electrical schematics.
Description
Zaxis 450-3, 500LC-3, 520LCH-3 Wiring Diagram – Factory Electrical Schematics
Electrical gremlins on a Zaxis excavator waste billable hours faster than a blown hydraulic hose. I’ve seen guys replace an ECU because they misread a schematic from some third-party PDF. That mistake costs thousands. This Zaxis 450-3, 500LC-3, 520LCH-3 Wiring Diagram is the exact factory document the dealership uses – 28 pages of circuit-by-circuit layout. No hand-drawn approximations, no missing ground points. You get the battery connections, the MCF controller pins, the ECU signal paths, and every relay and fuse location. If you’re a shop owner or a DIYer who values your time, this is the file you pull before touching a multimeter.
What’s Actually in This 28-Page Wiring Diagram
Each of the 28 pages maps a specific subsystem. Page 1 shows the overall system layout: battery 12V x2, fusible link, starter relay, MCF controller, and the ECU. From there the diagram branches into the air conditioner unit (blower motor, compressor clutch relay, high/low pressure switches), the CCD camera and its signal wiring, the optional fan motor circuit with rotating direction control, and the light relays for boom lights and work lights. You also get the auto-lubrication pump wiring, the solar sensor, the wiper/washer relays, and the interior lamp circuits. Every wire is labeled with a color code and terminal number – no cryptic abbreviations that leave you guessing.
MCF Controller and ECU: Tracing the Signal Path
The MCF controller is the brain of the electrical system. This diagram shows exactly which pins connect to the ECU, the engine, the optional extension (OPT2 EXT), the overload alarm, and the joint connectors. If you’re troubleshooting a no-start or a phantom shutdown, start at the MCF. The schematic includes the glow delay relay, the shutdown signal, and the CCD cam input. I’ve had techs tell me they fixed a swing alarm fault in twenty minutes after seeing the actual wiring instead of testing at random.
Battery and Starter Circuit: Factory Specs Matter
The battery bank on these machines uses two 12V batteries in series. The diagram labels the fusible link ratings and the starter relay coil connections. Page 1 shows the BATT(+) and BATT(GND) feeds to the PW O/D switch. If you’re retrofitting an aftermarket radio or extra work lights, you need to know where the factory fusible links are – otherwise you’ll overload a circuit and burn a harness. This document gives you the exact wire gauges and connector types.
CCD Camera and Optional Systems Integration
These Zaxis models came with a dealer-installed CCD camera option. The wiring diagram dedicates a section to the camera power, signal, and shield connections. It also covers the optional fan motor, the rotating direction control, and the additional work light relays. If you’re adding a backup alarm or a second camera, you can splice into the factory harness using the documented connection points – no need to run new wires from the battery.
3 Common Electrical Faults on the 520LCH-3
Over the years I’ve pinned the same three issues: (1) The auto-lub pump stops working – check the proximity switch and the main switch wiring on the diagram. (2) The air conditioner compressor won’t engage – the high/low pressure switch circuit is clearly drawn. (3) Intermittent wiper operation – the wiper relay and motor connections are on a separate page. Every time I’ve used the factory diagram, I found a corroded terminal or a broken wire within ten minutes. That’s the difference between a real schematic and a generic wiring overview.
Safety First: Fuse Ratings and Fusible Link Specs
This diagram lists the fuse box locations (FUSE BOX-2, OPT FUSE) and the fusible link values. Page 1 shows the main fusible links from the battery to the starter and MCF. Never substitute a larger fuse because you don’t have the right rating – you’ll melt the harness. The factory document gives you the amperage for every fuse, including the optional equipment fuses. I keep a printed copy in the glovebox of my service truck.
Audience Fit: Who Needs This Diagram
You’re a heavy-equipment mechanic or a fleet owner with a Zaxis 450-3, 500LC-3, or 520LCH-3 on your lot. You’re tired of chasing wires with a test light while the machine sits idle. This diagram is also for the experienced DIYer who owns one of these excavators and wants to handle electrical repairs himself – as long as you respect the 12V/24V systems and use a proper multimeter. If you’re a beginner, pair this with some basic automotive wiring theory from a source like Automotive Wiring or Automotive Wiring to understand the symbols and flow.
Source Authenticity: OEM vs. Aftermarket
I’ve seen aftermarket wiring diagrams that show a simple line from the battery to the starter with no relays, no fuses, and no colors. That kind of diagram will cost you time and money. This document is a direct scan of the factory Hitachi/Zaxis electrical circuit diagram – the exact same one the dealer’s service department uses. Every connector pin assignment is verified against the original engineering drawings. If you try to use a third-party manual, you’ll miss details like the optional EXT2 connector or the CCD camera shield ground. No substitute.
Related Manuals You Might Need
- Zaxis 140W-3 Wiring Diagram – Factory OEM Electrical Schematics
- ZAXIS 200-3 240-3 270-3 330-3 Electrical Diagram
- Toyota Mazda GM Wiring Diagram Manual 230 Pages
Frequently Asked Questions
- Does this manual cover the 520LCH-3 cab wiring?
- Yes. The cab interior lights, door lock, wiper, washer, and HVAC circuits are all included. The diagram shows the cabin H1 and H2 light relays.
- Can I use this diagram for a 450-3 that has an aftermarket stereo?
- You can – but you need to verify that the aftermarket stereo doesn’t draw more than the factory circuit’s fuse rating. The diagram shows the optional fuse box and the constant 12V supply from the battery. If you tap into a circuit that’s also used by the ECU or MCF, you’ll cause voltage drop and intermittent codes. Use the diagram to find a dedicated accessory power point.
- What models are included?
- Zaxis 450-3, 500LC-3, and 520LCH-3.
- How do I read a wiring diagram if I’ve never used one before?
- Start by identifying the main power source (battery) and the ground points. Then follow the circuit for the component you’re troubleshooting – left to right, top to bottom. This document uses standard ISO symbols. If you’re unfamiliar, spend twenty minutes on the external automotive wiring resource I linked above. The diagram also labels every connector by number (e.g., JOINT1, OPT2 EXT). Match those numbers to the physical connectors on the machine.
This is the wiring diagram that keeps a Zaxis running without smoke or frustration. Access the Factory Manual now and put the correct schematic in your hands before you open the engine cover.
Additional information
| Brand | Zaxis |
|---|---|
| Language | English |
2 reviews for Zaxis 450-3, 500LC-3, 520LCH-3 Wiring Diagram 28p
You may also like…
-
Sale!
Zaxis 200-3, 240-3, 270-3, 330-3 Wiring Diagram – OEM Factory Schematics
Original price was: $32.00.$25.00Current price is: $25.00. -
Sale!
Zaxis 140W-3 Wiring Diagram – 14 Pages OEM Schematics
Original price was: $34.75.$25.00Current price is: $25.00. -
Sale!

Acura NSX 1991 Service Manual – 1420 Pages OEM
Original price was: $102.05.$65.00Current price is: $65.00. -
Sale!

CDS 705C, 706C, 708C 1981 Parts Catalog – OEM Forklift Specs
Original price was: $61.60.$40.00Current price is: $40.00.
Related products
-
Sale!

1991 Electrical Schematic – 112-Page OEM Wiring Diagram for International 1000-3000 Series
Original price was: $22.75.$17.50Current price is: $17.50. -
Sale!
1993 Operators Manual – International Bus 1000-3000 OEM Specs
Original price was: $12.30.$7.99Current price is: $7.99. -
Sale!

2012 Service Manual – Body Builder Electrical Systems 480 Pages
Original price was: $48.28.$34.00Current price is: $34.00. -
Sale!
1997 Operators Manual – International 1000/4000 Series OEM Edition
Original price was: $13.49.$9.99Current price is: $9.99.
Robert M. –
Excellent workshop guide. Quick access after checkout. It assisted me to troubleshoot my Zaxis 4503, transmission. Worth every penny.
pro_mechanic –
I am so happy with this manual. The text is searchable and easy to navigate. A must-have for any Zaxis 4503, owner doing repairs. Saved my repair job! Thank you.