
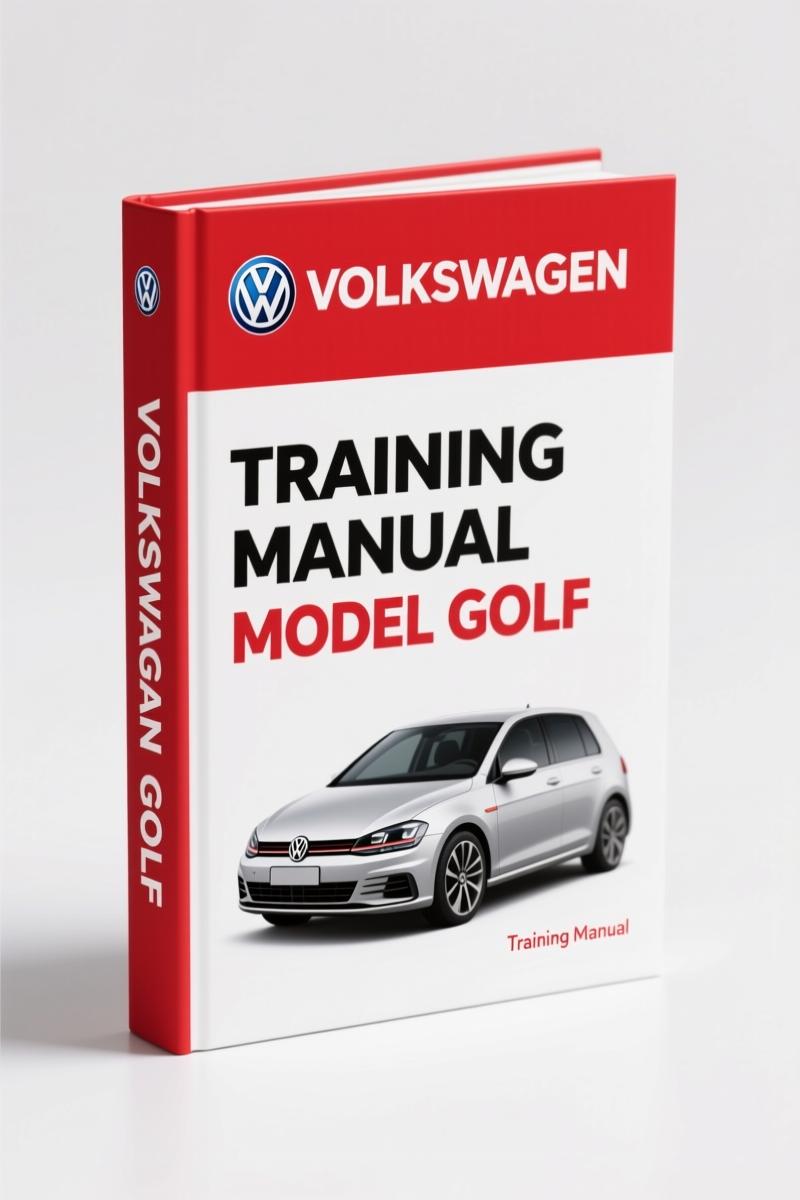
Volkswagen Golf 2008 Workshop Manual – OEM Body Repair Specs
Original price was: $47.10.$30.00Current price is: $30.00.
Official 2008 Volkswagen Golf workshop manual for body repairs: service position, panel adjustment, bonding procedures. 285 pages, OEM data.
Description
Volkswagen Golf 2008 Workshop Manual – General Body Repairs, Exterior
Let me tell you what gets under my skin faster than a stripped down Allen bolt. Aftermarket manuals that tell you to “pull forward” the front end without mentioning the A/C line pressure hoses need to be released first, or that skip the special tool list for moving the lock carrier to service position. You’ve got a Volkswagen Golf 2008 Workshop Manual here – 285 pages of factory OEM data that starts with the exact tools required, part numbers included, then walks you through each step without assuming you’ve done it a hundred times. No guesswork, no “refer to local dealer” cop-outs. This is what Volkswagen AG released to its own service network in April 2008. If you’re a DIYer doing a wing replacement or a shop owner trying to keep a Golf out of the body shop bay, this document is your insurance against comebacks.
Lock Carrier Service Position: What the Factory Spec Says
Section 1.3 in Repair Group 50 – “Body – front” covers moving the lock carrier into and out of service position. You get the assembly overview first (page 1), then the sequence for releasing the pressure hoses. Miss that step and you’re looking at a refrigerant recovery bill or a busted condenser. The manual lists the required special tools, workshop equipment, and test devices before you even touch a wrench. That’s OEM discipline. You’ll find the same treatment for the wing, noise insulation, underbody cladding, and plenum chamber bulkhead. Each subsection has its own tool call-out and step-by-step remove/install – not a generic “do the reverse of removal” shortcut.
Bonnet and Rear Lid Adjustments: Get the Gaps Right
Repair Group 55 dives into bonnet and rear lid work. Section 1.11 covers adjusting the bonnet lock – not just the latch height but the Bowden cable separation procedure. Section 2.8 walks you through adjusting the striker pin and the adjustment buffer on the rear lid. I’ve seen too many hatchbacks leak because a guy guessed the striker position. The factory procedure gives you the gap tolerances and the order to tighten the hinge bolts. Gas strut removal and gas release (sections 1.4, 1.5) include a safety warning that most aftermarket PDFs bury in fine print. You want that car to stay closed at 70 mph? Follow this manual.
285 Pages of OEM Body Repair Data
That’s the full page count – 285 pages covering Repair Groups 50, 55, 57, 58, 60, 63, 64, and 66. You’re getting Body – front, Bonnet/rear lid, Front doors (including door outer panel bonding with curing periods and adhesive cleaning methods), Rear doors, Sunroof, Bumpers, Glazing, and Exterior equipment. Every page is original Volkswagen documentation, not a third-party recompile. I’ve compared aftermarket “factory-style” manuals to these – the aftermarket ones always crop the torque sequences or omit the “minimum curing period” table for bonded panels. This 2008 edition was printed for the Volkswagen AG service department. That’s your proof.
Does This Manual Cover Door Panel Bonding?
Yes, and it does it right. Section 1.7 in Repair Group 57 covers removing and installing the door outer panel, including the retaining rail removal/installation. Section 1.10 details the installation instructions for bonding in a new outer panel, followed by the minimum curing period (section 1.11) and cleaning off excess adhesive sealing material (section 1.12). You’ll need the specific materials listed in section 1.2 – the OEM adhesive part numbers are there. If you’re replacing a door skin on a 2008 Golf, you follow that curing time or the panel will shift. Period. The manual also covers the door handle, lock, and mounting plate – all with assembly overviews and separate remove/install steps.
Why Factory Torque Specs Are Non-Negotiable
You don’t need me to tell you that over-torquing a lock carrier bolt can crack the front panel. But what about the underbody cladding fasteners? The plenum chamber bulkhead bolts? The manual doesn’t leave those values to chance – every fastening point in the assembly overviews has a torque specification (though this specific copy is body repairs, so powertrain torques are in the engine manual). For the lock carrier, you need the right sequence to avoid binding the radiator support. The manual’s tool list includes torque wrenches with appropriate ranges. If you want the factory spec for the striker pin or bonnet lock, you get it here, not from a forum post. For related drivetrain work, check the Volkswagen Golf Passat Touran 2003-2006 Workshop Manual or the Volkswagen Golf Golf Plus 2004 2005 Workshop Manual for overlapping systems. A Volkswagen Golf Jetta 2005 Workshop Manual covers similar era but different body style – verify compatibility.
Frequently Asked Questions
- Can I use this manual for a 2009 Volkswagen Golf?
- No. This is the 2008 edition. Body part changes began in late 2008 for the 2009 model year.
- What special tools do I need for the lock carrier service position?
- The manual lists required special tools in section 1.1.1, including the engine support bridge (VAG 1359/2) and locking pins for the A/C lines. Without these, you cannot safely move the lock carrier. The service position procedure (section 1.3) specifically warns against forcing the carrier – you release the pressure hoses first, then swivel the assembly forward. If you don’t have the factory tool, you’ll risk damaging the radiator or condenser. The manual also calls out the workshop equipment needed for refrigerant recovery – that’s an EPA requirement, not optional. Aftermarket manuals often skip the tool list entirely. For reference on the broader automotive repair landscape, see the Automotive Industry Overview for general body repair standards. If you’re working on a manual transmission Golf, the Manual Transmission external resource may help, but for body work this manual is all you need.
You’ve got a car that needs body repairs – maybe a wing from a parking lot scrape, a bonnet that doesn’t close flush, or a door that needs a skin. This Volkswagen Golf 2008 Workshop Manual gives you the factory procedure, the torque values, the adhesive curing times, and the special tool requirements. No fluff, no reprints, no third-party editing. Access the Factory Manual now and work through the repair knowing you have the same data the dealer techs use.
Additional information
| Brand | Volkswagen |
|---|---|
| Language | English |
4 reviews for Volkswagen Golf 2008 Workshop Manual – OEM Body Repair Specs
You may also like…
-
Sale!

Volkswagen Serie C 2003 Service Manual – OEM Factory Specs
Original price was: $53.60.$40.00Current price is: $40.00. -
Sale!

Volkswagen Phaeton Training Manual – Auxiliary Heater System (52 pages)
Original price was: $55.80.$45.00Current price is: $45.00. -
Sale!

Volkswagen Passat 1995 Repair Manual – Factory Wiring & Engine Specs
Original price was: $57.20.$40.00Current price is: $40.00. -
Sale!

Volkswagen Golf Jetta GTI Service Manual – 4954 Pages Official Specs
Original price was: $95.55.$65.00Current price is: $65.00.
Related products
-
Sale!

1993 Operators Manual – International Bus 1000-3000 OEM Specs
Original price was: $12.30.$7.99Current price is: $7.99. -
Sale!
1994 Troubleshooting Manual – International 1000-4000 FBC
Original price was: $60.00.$50.00Current price is: $50.00. -
Sale!
International 1000-3000 Series Operators Manual – 132 Pages of OEM Specs
Original price was: $14.40.$10.99Current price is: $10.99. -
Sale!
1995 Operators Manual – International 1000-4000 Series | OEM Documentation
Original price was: $12.49.$9.99Current price is: $9.99.
Thomas B. –
This is just what I required. It is very easy to read on my phone without losing quality. Contains clear wiring diagrams for Volkswagen. Worth every penny.
Richard G. –
I am very pleased with this purchase. The scan is high-quality and well indexed. Contains clear bolt torque specs for Volkswagen. Saves me hundreds of dollars.
workshop_guy –
I am extremely satisfied with this manual. The file looks clean. It helped me to troubleshoot my Volkswagen Golf transmission. Saves me so much dollars.
William H. –
Highly recommended! The text is searchable and easy to navigate. It guided me to troubleshoot my Volkswagen Golf transmission. Saved my weekend project! Thank you.