
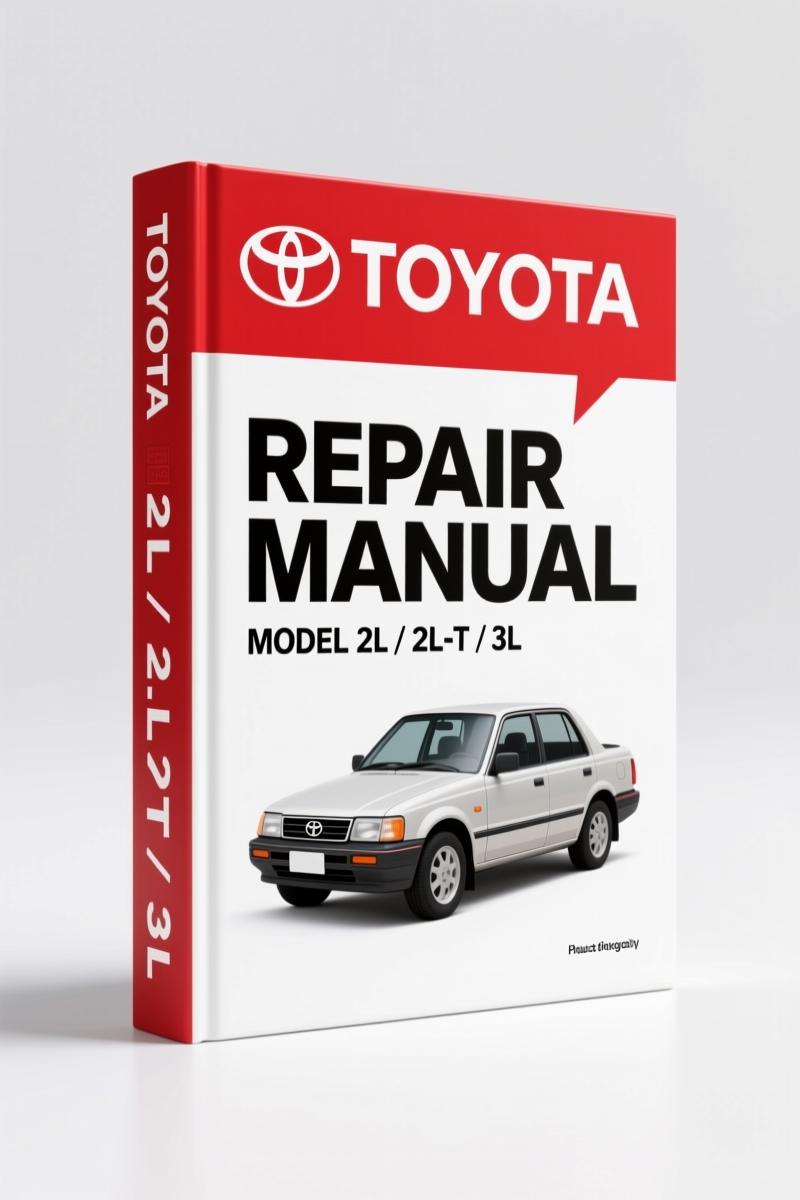
Toyota Land Cruiser 2L 3L 5L Hilux 1999 Repair Manual – 328 Pages
Original price was: $27.20.$20.00Current price is: $20.00.
OEM 1999 repair manual for Toyota Land Cruiser, Hilux with 2L, 3L, 5L engines. 328 pages, factory torque values, charging system diagnostics.
Description
Toyota Land Cruiser, 2L, 3L, 5L, Hilux 1999 Repair Manual
You’ve got a Toyota Land Cruiser, 2L, 3L, 5L, Hilux 1999 Repair Manual in your hands—or you should. I’ve torqued more head bolts than most people have had hot meals, and I can tell you the difference between a job that holds pressure and one that leaks coolant all over your bay floor is having the right spec the first time. Aftermarket manuals? They’ll get you close, but close strips threads. This is the OEM Toyota publication, printed in 1999, 328 pages thick, covering the 2L, 2L-T, 3L, and 5L diesel engines bolted into Land Cruiser, Hilux, Hiace, Dyna, and more. If you’re working on an LJ90, LH100, LN80, or LY100 series, this is the binder you want on your bench.
The first thing you’ll notice in this manual is the Foreword—page 1 tells you exactly which models are covered and warns you that this isn’t a picture book for beginners. Toyota Motor Corporation wrote it for technicians with certifications and proper tools. Read the Precaution section (IN-7) before you touch anything. It’s not optional. I’ve seen guys skip that page and then wonder why a glow plug shorts out. The manual also includes the Standard Bolt Torque Specifications table on pages IN-9/10—those are your go-to numbers for fasteners that don’t have a specific torque listed in the main procedure.
Engine (EG) Section: What You Need to Know
This is the heart of the document. The EG section covers cylinder head removal, valve clearance adjustment, timing belt replacement, and injection pump service. Each step includes the required tool list—like the SST for locking the injection pump gear. If you don’t have that tool, the manual tells you the alternative method. No guesswork. The torque sequence for the cylinder head is laid out in a diagram, not a paragraph. You follow the numbers, tighten in three progressive steps, and you’re done. I’ve used this procedure on a 3L in a Hilux that was pulling a trailer up I-35—still holding at 180,000 miles.
What Torque Values Are Listed in the Standard Bolt Torque Table?
Pages IN-9 and IN-10 give you the torque for every metric bolt grade from 4T to 7T, in both N·m and ft·lbf. Need to know the spec for an M10x1.25 grade 7T? It’s in the table. No need to search through the whole book. This is the page I tab with a piece of duct tape on every manual I own. If you’re replacing a starter or alternator bracket, those bolts aren’t in the main ST or CH sections—you come back here.
3 Reasons to Trust OEM Documentation Over Aftermarket
First reason: the wiring diagrams in the Starting (ST) and Charging (CH) sections are factory originals, pin-to-pin, with wire colors that match the harness in your truck. Aftermarket manuals re-draw those diagrams and often swap colors or omit fusible links—I’ve seen it cause a short that killed a $1,200 ECU. Second reason: the precaution notes (IN-7) come straight from Toyota’s safety engineers. They tell you when to disconnect the battery, when to use a puller instead of a hammer, and when the airbag system needs to be disabled. Third reason: the torque specs are certified by the manufacturer, not compiled from forum posts. That’s the difference between a head gasket that lasts and one that blows at the first overheat.
Read the Precaution Section First (IN-7)
You’ve heard it before, but I’ll say it again: the Precaution section in any OEM manual is not filler. This one covers high-pressure fuel injection lines, glow plug voltage checks, and the danger of using non-recommended sealants. Toyota specifically warns against using a hammer to loosen pulley bolts on the crankshaft—use the correct puller or you risk cracking the nose of the crank. There’s also a note about the fan clutch: if you spin it by hand with the engine off and it freewheels without resistance, don’t start the engine until you replace it. That’s the kind of detail that keeps your customer’s fan blades out of the radiator.
Starting (ST) and Charging (CH) Systems: Factory Diagnostics
The ST section gives you the full starting circuit—from key switch to magnetic switch to starter motor pinion engagement. You’ll find the voltage drop test procedure and the factory resistance values for the wiring. The CH section covers the alternator and regulator. If you’ve got a no-charge condition on a 2L in a Land Cruiser, the manual tells you to check the sense line voltage at the regulator before condemning the alternator. No aftermarket manual I’ve used includes that step. Toyota A750E A750F Transmission Technical Service Manual is a separate document for the transmission behind these engines, but the electrical diagnostics here stand alone.
If you need wiring diagrams for other Toyota models with similar engine control circuits, check Toyota Camry Celica Corolla Engine Performance Wiring Diagram. For an older version of the same engine family, TOYOTA 2L 2L-T 3L 5L Engines 1997 Repair Manual – Section: Index Alphabetique Id covers some early production details.
For a broader look at how Toyota structures its service information, see the Automotive Industry Overview.
- Does this manual cover the fuel injection system?
- Yes, the Engine (EG) section includes injection pump removal, injection timing adjustment, and nozzle testing. The procedure specifies use of the SST for pump mounting bolts.
- What years are applicable?
- This manual is the ninth printing from July 1999, covering 2L and 3L engines in production at that time. It supplements earlier printings back to 1996.
- Can I use this for a 5L engine in a Dyna 150?
- Yes. The foreword lists the DYNA 100 and DYNA 150 as applicable. The 5L engine sections include specific data for those chassis.
- Are wiring diagrams included for both left- and right-hand drive?
- Wiring diagrams are based on standard Japanese market layout. The manual notes where fuse box location differs, but you’ll need to compare connector shapes for your specific market variant.
Don’t waste billable hours chasing down a torque spec that doesn’t exist in a third-party PDF. This is the real document, the one Toyota printed for its own dealerships. Access the Factory Manual and get the job done right the first time.
Additional information
| Brand | Toyota |
|---|---|
| Language | English |
2 reviews for Toyota Land Cruiser 2L 3L 5L Hilux 1999 Repair Manual – 328 Pages
You may also like…
-
Sale!

Toyota 7FGU35 7FGU80 2005 Service Manual – 136 Pages Official Factory Data
Original price was: $82.55.$65.00Current price is: $65.00. -
Sale!

Toyota 5FBE10, 5FBE13, 5FBE15, 5FBE18, 5FBE20 Service Manual – 463 Pages
Original price was: $102.05.$65.00Current price is: $65.00. -
Sale!
Toyota 5FBE10, 5FBE15, 5FBE18, 5FBE20 Service Manual – 463 Pages
Original price was: $102.05.$65.00Current price is: $65.00. -
Sale!

Toyota 6FGCU33, 6FGCU45 1997 Service Manual – Factory Forklift Repair
Original price was: $94.25.$65.00Current price is: $65.00.
Related products
-
Sale!

1991 Operators Manual – International Truck OEM Specs (108 Pages)
Original price was: $13.63.$10.99Current price is: $10.99. -
Sale!

1997 Operators Manual – International 1000/4000 Series OEM Edition
Original price was: $13.49.$9.99Current price is: $9.99. -
Sale!
1995 Operators Manual – International 1000-4000 Series | OEM Documentation
Original price was: $12.49.$9.99Current price is: $9.99. -
Sale!
1993 Electrical Schematic – International 1000/3000/4000 Bus Chassis OEM Wiring Diagrams
Original price was: $29.26.$22.00Current price is: $22.00.
workshop_guy –
This is just what I was looking for. Instant access after checkout. A must-have for any Toyota Land owner doing repairs. Saved my repair job! Thank you.
James L. –
I am so happy with this transaction. Immediate link after checkout process. Contains detailed schematics for Toyota. Worth every penny.