
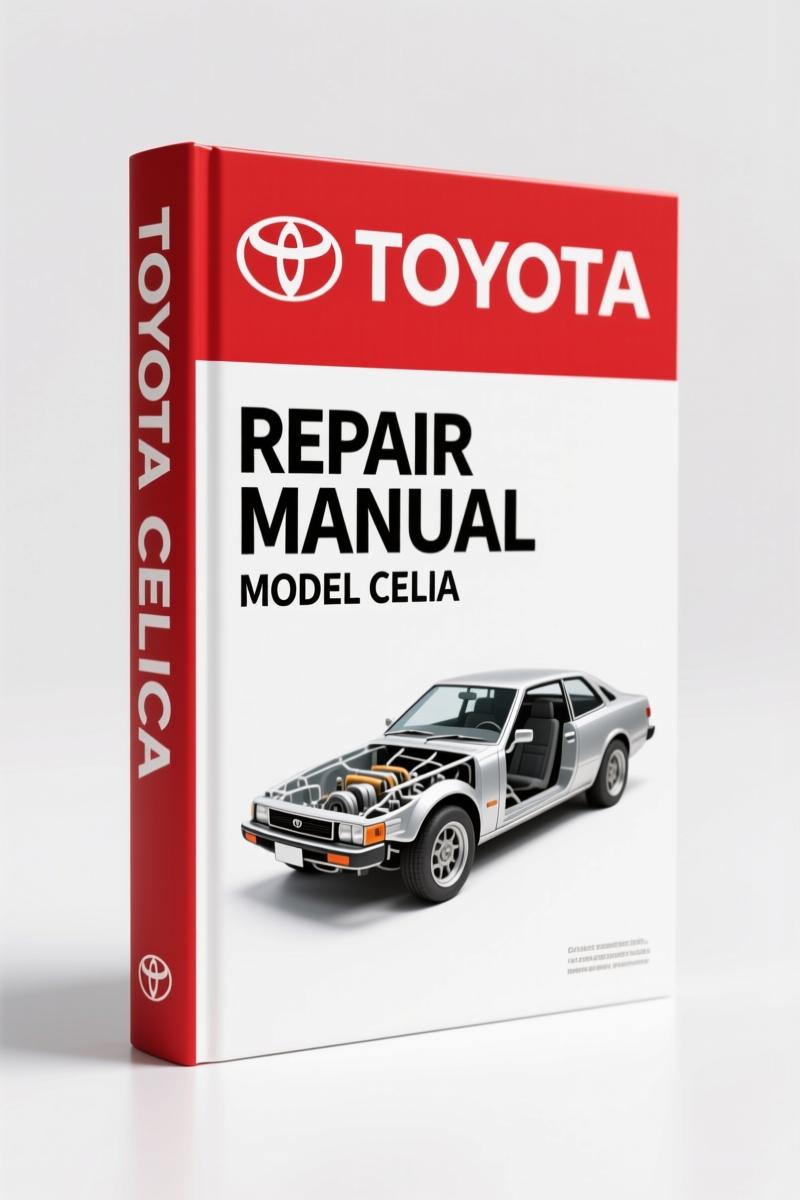
Toyota Celica 1993 Wiring Diagram – Factory Electrical Schematics
Original price was: $25.40.$20.00Current price is: $20.00.
OEM 1993 Toyota Celica wiring diagram – 18 pages of factory schematics for 1.6L, 2.0L, 2.2L variants. Component locations, ECM pinouts, and fuse/relay box diagrams.
Description
Toyota Celica 1993 Wiring Diagram – Factory OEM Document
Let me tell you straight – if you’ve been using aftermarket wiring diagrams for a 1993 Celica, you’ve been guessing. I’ve seen guys chase a short for four hours because some third-party print had the pinout reversed on the ECM connector. That’s four billable hours you don’t get back. The Toyota Celica 1993 Wiring Diagram from AutoRepairManuals is the actual OEM file Toyota dealers used. 18 pages, factory origin, no reprints, no redrawn garbage. You want to fix the wiring on a ’93 Celica without smoking the ECM? You start here.
Most of the aftermarket junk flattens the system into one generic schematic. This manual splits everything by engine variant and option package. You get separate diagrams for 1.6L, 2.0L, 2.2L A/T, and 2.2L M/T. That matters when you’re trying to figure out why the check connector pinout differs between a 5S-FE and a 3S-GE. The component location table uses a grid system (e.g., D 41 for the A/C compressor clutch relay) so you can find any relay, sensor, or junction block without crawling under the dash for an hour.
Factory wiring diagrams are drawn to show current flow from source to ground in the most logical order. Aftermarket versions often rearrange the circuits to fit on fewer pages, and in doing so, they lose splice locations and connector cavity numbers. This manual keeps every splice, every junction connector (J1 through J6), and every inline fuse location as Toyota intended. If you’re troubleshooting a no-start or an intermittent accessory failure, those splice points are your roadmap.
What’s Inside: 18 Pages of Factory Wiring Data
Eighteen pages may sound thin compared to a service manual, but every page is dense with information. Page 1 alone lists over 50 components with figure numbers and grid coordinates. You get the component location menu, a full component locator table, and wiring diagrams for every major system: engine management, transmission controls, ABS, cruise control, auto A/C, power seats, door locks, and the optional auto antenna. Each system is isolated so you can trace circuits without cross-talk.
Page 2 covers junction blocks #1, #2, and #3, plus the ignition switch and multiple junction connectors. The manual uses the same connector numbering and wire color codes as the factory harness. You won’t find “approx. 12V” here – every circuit specifies the exact wire gauge and terminal layout. Need to know which cavity on the ignition switch feeds the back-up light circuit? It’s laid out in the diagram with the switch position marked.
Component Locator Table: Why It Saves You Hours
The component locator table is a grid reference. Each component is listed alphabetically with a figure number and a coordinate like “D 41”. The figures are full-page layout drawings of the vehicle interior, engine bay, and trunk. You pull up figure 11 for the A/C system, look at coordinate D 41, and you’ll see exactly where the A/C compressor clutch relay sits. No flipping between pages trying to guess which connector is which. I’ve used this on a 1993 Celica GT to find the circuit opening relay behind the kick panel – the table had it at figure 3, coordinate D 10. Took me 30 seconds.
That kind of precision saves you from pulling apart half the interior. And because it’s OEM, the coordinates match the actual physical layout of the car – not some artist’s interpretation.
Engine Variant Coverage: 1.6L, 2.0L, 2.2L A/T and M/T
This diagram covers all four engine/transmission combinations available on the 1993 Celica in North America. The 1.6L (4A-FE) gets its own set of diagrams with the ECM at page 3, coordinates B-D 9. The 2.0L (3S-GE) is on page 4. The 2.2L with automatic transmission (5S-FE A/T) is on page 5, and the 2.2L with manual transmission (5S-FE M/T) is on page 6. Each variant shows the ECM, igniter, circuit opening relay, check connector, and ignition noise filter with unique pin assignments. If you swap a 2.2L M/T harness into a 2.2L A/T shell, the check connector pinout will be different – page 5 vs page 6 shows that difference.
ABS, Cruise Control, and Auto A/C Circuits
Three systems that cause the most head-scratching on these cars: ABS, cruise control, and automatic A/C. The ABS diagram covers the manual brake system with ABS components at figure 13, coordinates A-B 48-50. Cruise control is figure 12, coordinates A-B 44-47. Auto A/C takes up two full pages (10 and 11) covering everything from the A/C power transistor to the blower resistor and the exh. & high temp relay. These systems share ground paths and power feeds with other circuits, and the OEM diagram shows those shared connections. Without that, you’ll likely misdiagnose a cruise control fault as a bad ECU when it’s actually a blown fuse from the A/C condenser fan circuit.
Source Authenticity: OEM vs Aftermarket Reproductions
You’re getting the exact PDF that Toyota released to dealerships in 1993. This is not a scanned reprint from a third-party binder. AutoRepairManuals collects verified factory documents – if the file says “Toyota_Celica_1993_Wiring_Diagram_en-15611008164.pdf”, that’s the original file name from the Toyota technical information system. Aftermarket wiring diagrams are notorious for omitting the component location grid, using different connector numbers, or merging circuits to save space. I’ve had a technician show me a Chilton diagram where the ABS control unit was mislabeled as the cruise control actuator. That sort of error costs time and parts. Stick with OEM.
For related factory manuals, check the Toyota Camry Celica Corolla Engine Performance Wiring Diagram if you work on multiple Toyota platforms. The Toyota Celica 1994 Repair Manual Supplement covers the mechanical side of the car, and the Toyota Celica Supra Workshop Manual is useful for Celica Supra models. For general background on interpreting automotive wiring, see Automotive Wiring on Wikipedia and the broader Automotive Wiring standards site.
- Does this manual include step-by-step repair instructions?
- No. It’s a wiring diagram only. 18 pages of circuits, component locations, and connector pinouts. No removal/replacement procedures.
- How do I read the component location grid (like D 41)?
- The grid references a figure number and coordinates on that figure. For example, “11 (D 41)” means figure 11, column D, row 41. Each figure is a full-page layout of a specific area (engine bay, dashboard, etc.). Find the figure, locate the coordinate box, and you’ll see the component drawn exactly where it sits. The table lists every component alphabetically, so you don’t have to guess. Pair this with a factory service manual for removal instructions, and you’ll have the complete toolkit for any electrical job on a 1993 Celica.
If you’re serious about not wasting time on electrical diagnostics, get the real thing. Access the Factory Manual and put it on your tablet or print it out. The grid coordinates alone will cut your diagnosis time in half. The connectors are labelled as Toyota intended. No guesswork, no aftermarket errors. Pull the trigger and get back to wrenching.
Additional information
| Brand | Toyota |
|---|---|
| Language | English |
4 reviews for Toyota Celica 1993 Wiring Diagram – Factory Electrical Schematics
You may also like…
-
Sale!

Toyota 7FGU35 7FGU80 2005 Service Manual – 136 Pages Official Factory Data
Original price was: $82.55.$65.00Current price is: $65.00. -
Sale!

Toyota 5FBE10, 5FBE13, 5FBE15, 5FBE18, 5FBE20 Service Manual – 463 Pages
Original price was: $102.05.$65.00Current price is: $65.00. -
Sale!
Toyota 5FBE10, 5FBE15, 5FBE18, 5FBE20 Service Manual – 463 Pages
Original price was: $102.05.$65.00Current price is: $65.00. -
Sale!

Toyota 6FGCU33, 6FGCU45 1997 Service Manual – Factory Forklift Repair
Original price was: $94.25.$65.00Current price is: $65.00.
Related products
-
Sale!

2011 Parts Catalog – International 7400 SFA 6X6 – 1886 Pages of OEM Part Numbers
Original price was: $32.00.$25.00Current price is: $25.00. -
Sale!

Service Manual – International HS 2.8L Engine – 130 Pages of Factory Specs
Original price was: $56.40.$40.00Current price is: $40.00. -
Sale!

1991 Operators Manual – International Truck OEM Specs (108 Pages)
Original price was: $13.63.$10.99Current price is: $10.99. -
Sale!

1989 Service Manual – International 2000-8000 Electrical Systems
Original price was: $72.00.$50.00Current price is: $50.00.
Charles W. –
This is exactly what I needed. The pages are clean and well indexed. Contains detailed bolt torque specs for Toyota. Great value for money.
pro_mechanic –
This is exactly what I was looking for. The text is searchable and well indexed. It assisted me to fix my Toyota Celica electrical system. Great value for money.
Robert M. –
I am very pleased with this manual. The document quality is excellent. It helped me to rebuild my Toyota Celica electrical system. Saves me hundreds of time.
Michael T. –
I am very pleased with this manual. It is easily zoomable on my iPad without blur. Every torque spec is included for Toyota Celica. I will definitely buy again.