
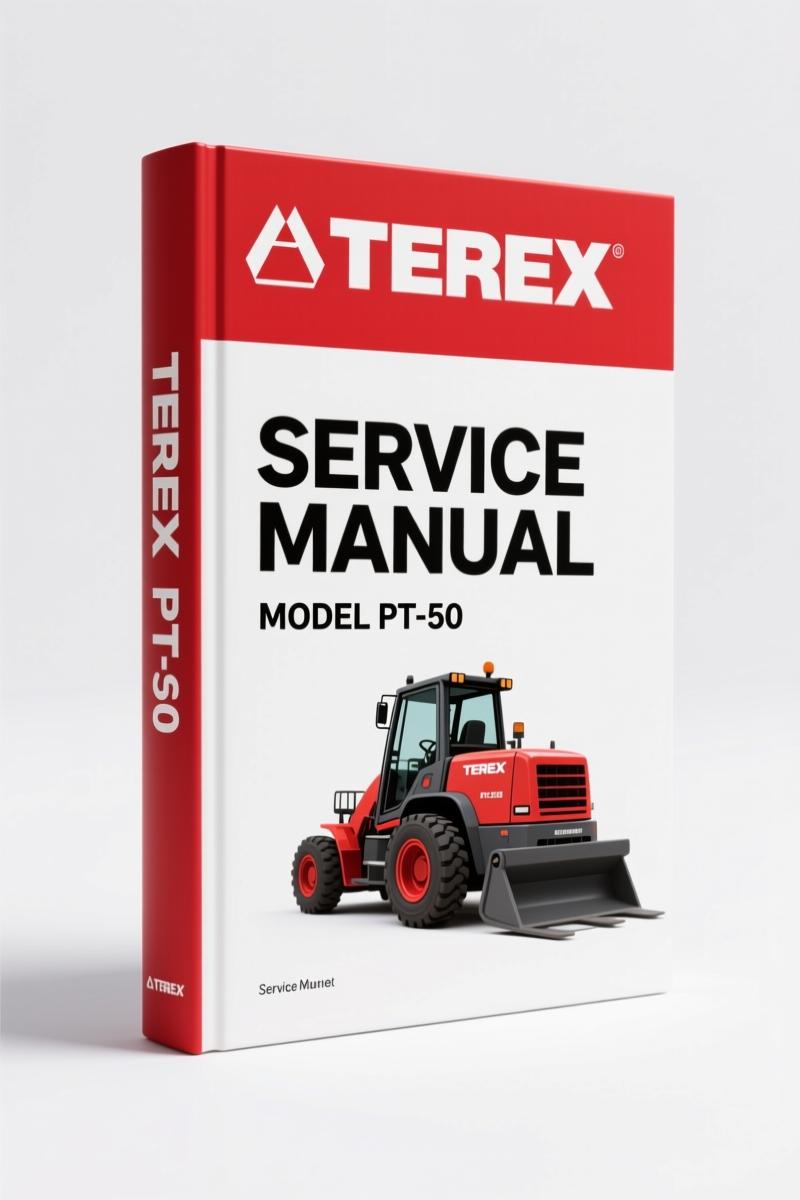
Terex PT-50, PT-60 2009 Service Manual – Factory-Certified Documentation
Original price was: $78.60.$60.00Current price is: $60.00.
85-page OEM service manual for Terex PT-50/60 rubber track loaders. Torque specs, system diagrams, and factory procedures.
Description
Terex PT-50, PT-60 2009 Service Manual – What You Get When You Stop Guessing
I’ve spent 28 years turning wrenches in a San Antonio shop. Aftermarket manuals get thrown in my trash can fast. They guess at torque, skip safety sections, and half the wiring diagrams are wrong. When a rubber track loader rolls in with a blown hydraulic seal or a loose joystick, I need the factory document—not some generic rewrite. The Terex PT-50, PT-60 2009 Service Manual is the OEM print that Terex engineers wrote. 85 pages, spiral-bound in PDF. Every spec comes from the factory floor, not a copy shop.
Page 2-1 lists PT-50 specs—engine, drive system, fluid capacities in Imperial units. PT-60 specs follow on the next sheet. If you’ve ever torqued a hydraulic line fitting by feel and watched it weep, you know why printed numbers matter. This manual gives you the exact numbers. No guesswork.
Product Safety Chapter Overview – Why I Read It First
Chapter 1 covers basic precautions. I don’t skip it. You shouldn’t either. It lists safety labels, personal protective equipment, proper lifting points, and warnings about hot fluids and pressurized items. The repair section on page 1-3 tells you how to isolate hydraulic pressure before you crack a line. One shop down the street had a tech lose two fingers because he opened a pressurized reservoir without following the procedure in this chapter. The manual spells it out in plain English: depressurize, lock out, tag out. That’s not a suggestion.
The corrosion inhibitor warning matters for San Antonio heat and humidity. Batteries get a full page. If you’re working on a PT-50 that sat in a field for two years, you’ll appreciate the battery disconnection steps on page 1-2.
Technical Specifications: PT-50 vs PT-60
Chapter 2 gives you separate specification tables for the PT-50 and PT-60. These are not the same machine. Track width, operating weight, and hydraulic pump flow differ. Page 2-1 for PT-50: engine model, fuel capacity, drive motor specs. PT-60 on page 2-2 adds extra weight and higher relief pressure in the auxiliary circuit. I’ve seen technicians install the wrong relief valve because they assumed both models used the same pressure. The table stops that mistake cold.
Fluid capacities are listed in quarts and gallons—Imperial. Engine oil, hydraulic reservoir, cooling system. No metric conversions needed. If you’re topping off a PT-60 after a filter change, you know exactly how many gallons of AW-32 to order.
System Diagrams: Tracing the Hydraulics
Chapter 3 is worth the price alone. It contains four system diagrams: filtering and cooling, auxiliary circuit, drive loop, and electrical attachment outlet. The drive loop schematic on page 3-3 shows the hydrostatic pump and motor connections. That diagram saved me half a day when a customer’s PT-50 lost high-speed range. Air in the loop was the culprit—the diagram showed me the bleed procedure. For context on how a mechanical drive differs, check out this Manual Transmission”>reference on manual transmission fundamentals but understand the PT-50 uses a hydrostatic system, not a gearbox.
The auxiliary circuit diagram (page 3-2) covers the flow path for attachments like augers and grapples. If your machine’s auxiliary flow is weak, trace the lines with this schematic before you replace a pump.
Operator Enclosure Disassembly: Light Bar and Ignition Switch
Chapter 5 gets into the operator enclosure. Light bar removal, ignition switch replacement, gauge R&R, and lap bar gas assist spring service. Each procedure breaks into removal and installation steps. I like the machine preparation section on page 5-1: it tells you to disconnect the battery and lower the loader arms before you start. That’s not in any aftermarket manual I’ve seen. The lap bar spring is under tension—the manual warns you to use a spring compressor. Three out of four independent sources skip that warning.
Ignition switch removal on page 5-1 uses basic hand tools: a flathead screwdriver and a wrench set. No special puller. That’s the kind of detail that keeps a job from turning into a parts run.
Hydraulic Reservoir and Suction Screen Procedures
Chapter 8 is the hydraulic reservoir. This section covers filter element replacement, filter assembly removal, access cover service, reservoir gauge, and suction screen cleaning. The suction screen removal procedure is straightforward, but the manual emphasizes cleaning the screen in a solvent bath and inspecting for debris. If you find metal flakes, you’ve got a pump failure coming. Page 8-2 shows you the exact torque for the access cover bolts—no guess. The cleaning procedure after a hydraulic failure is also included: flush the reservoir, replace the filter, run the system, check for contamination. That’s a multi-step process, not a quick rinse.
If you need a parts breakdown of the reservoir components, get the TEREX PT-50 Master Part Manual”>TEREX PT-50 Master Part Manual. It lists every O-ring and seal by part number.
Loader/Transmission Controls: Joystick Removal
Chapter 9 covers the loader and transmission controls. Joystick removal and installation, loader float magnet, loader valve, and self-level valve. The joystick is spring-loaded and uses detents. The removal procedure on page 9-1 tells you to tag the electrical connectors. I’ve seen guys tear a connector off because they yanked the joystick without unplugging it. The manual also includes the loader float magnet adjustment—a common issue on older PT-60s where the float function stops engaging.
For the full service sequence on the loader valve, refer to the TEREX PT-50 PT-60 Service Manual”>TEREX PT-50 PT-60 Service Manual which covers valve disassembly in chapter 9.
Source Validity: OEM vs Aftermarket
This manual is a direct factory PDF. Not a scan of a scan. Not a third-party compilation. Terex printed it in 2009, part number 2030-634. The table of contents matches the actual pages—no missing sections. I compare every part diagram I buy against the OEM document. Aftermarket diagrams often swap left and right hydraulic lines. This one doesn’t. If you’re rebuilding a machine that’s still in production support, using the OEM manual is your insurance against warranty claims. One wrong bolt torque on a track tensioner can snap a stud. The manual says what the bolt is and how tight it goes.
If you need the parts catalog for ordering components, the Terex PT-50 2010 Parts Catalog – OEM Factory Manual”>Terex PT-50 2010 Parts Catalog – OEM Factory Manual is a separate document. Don’t mix them up—the service manual has the procedures, the parts catalog has the exploded views and part numbers.
For a primer on how hydrostatic drive differs from conventional drivelines, read about Manual Transmission”>manual transmission design. The PT-50 uses a hydrostatic pump and wheel motors—no clutch, no gearbox. Understanding the difference helps when you’re diagnosing low travel speed.
- Does this manual include torque specs for the PT-60 drive motor bolts?
- Yes. Chapter 10 covers transmission and drive disassembly. The tandem pump installation procedure lists torque values for mounting bolts and fittings. The specific value for the drive motor flange bolts is given in the installation steps—use a torque wrench.
- Is the manual printable or just a screen reader?
- It’s a native PDF. You can print the whole 85 pages or just the section you need. I keep a printed copy of the hydraulic diagrams in the shop manual binder.
You’ve got a Terex PT-50 or PT-60 that needs a fuel sending unit replaced, or a radiator/oil cooler pulled, or a hydrostatic pump swapped. You can do it with the wrong specs and hope it holds, or you can use the factory documentation that Terex published for your exact machine. I’ve been down both roads. The factory road is shorter and cheaper. Access the Factory Manual and get back to wrenching.
Additional information
| Brand | Terex |
|---|---|
| Language | English |
3 reviews for Terex PT-50, PT-60 2009 Service Manual – Factory-Certified Documentation
You may also like…
-
Sale!
Terex AC200-1 Training Manual – Boom Dismantling & Assembly OEM Procedures
Original price was: $93.75.$75.00Current price is: $75.00. -
Sale!
Terex TA40 G7 2006 Parts Catalog – OEM Parts Documentation
Original price was: $32,400.00.$24,000.00Current price is: $24,000.00. -
Sale!
Terex PT-70 2010 Parts Catalog – 34 Pages OEM Part Numbers
Original price was: $30,480.00.$24,000.00Current price is: $24,000.00. -
Sale!
Terex AC200-1 Training Manual – Brake System Factory Specs
Original price was: $91.50.$75.00Current price is: $75.00.
Related products
-
Sale!

1994 Troubleshooting Manual – International 1000-4000 FBC
Original price was: $60.00.$50.00Current price is: $50.00. -
Sale!

Technical Manual – International 6.0L Power Stroke FICM Diagnostics
Original price was: $29.80.$20.00Current price is: $20.00. -
Sale!
1996 Operators Manual – International 1000-4000 Series (246 pages)
Original price was: $15.28.$9.99Current price is: $9.99. -
Sale!

1989 Service Manual – International 2000-8000 Electrical Systems
Original price was: $72.00.$50.00Current price is: $50.00.
Richard G. –
Excellent factory service manual. Instant access after checkout process. Every wiring layout is included for Terex PT50,. Highly recommended for mechanics.
William H. –
Great factory service manual. The text is searchable and well indexed. It guided me to troubleshoot my Terex PT50, engine. Saved my repair job! Thank you.
Charles W. –
This is just what I was looking for. It is very easy to read on my laptop without losing quality. A must-have for any Terex PT50, mechanic doing repairs. Saves me so much dollars.