
Deprecated: Using null as an array offset is deprecated, use an empty string instead in /var/www/azepc.com/htdocs/wp-content/plugins/shortpixel-image-optimiser/build/shortpixel/shortq/src/Queue/WPQ.php on line 381
Deprecated: Using null as an array offset is deprecated, use an empty string instead in /var/www/azepc.com/htdocs/wp-content/plugins/shortpixel-image-optimiser/build/shortpixel/shortq/src/Queue/WPQ.php on line 381
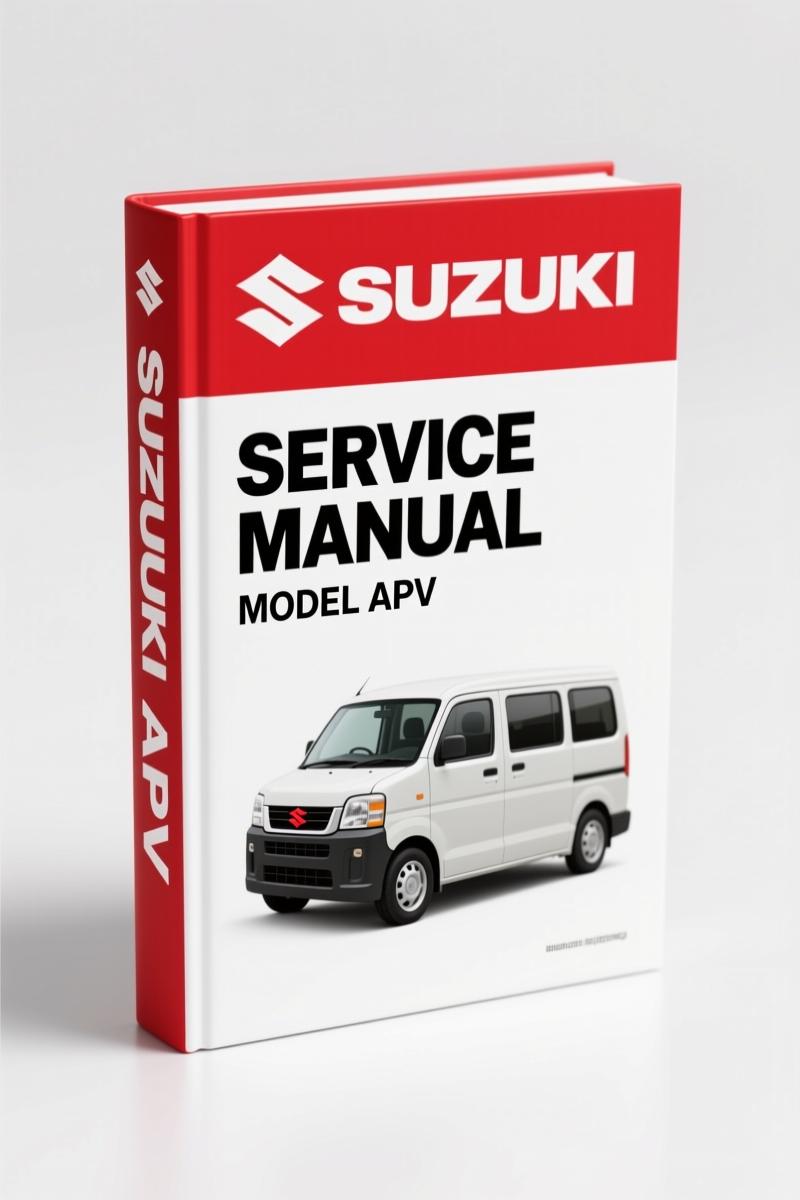
Suzuki APV 2005 Service Manual – Factory Specs for Diagnostics and Overhaul
Original price was: $47.70.$30.00Current price is: $30.00.
Factory service manual for Suzuki APV 2005. 1161 pages covering diagnostics, wiring, and overhaul. Official OEM specs.
Description
Suzuki APV 2005 Service Manual – Factory OEM Repair Guide
If you’ve ever been burned by an aftermarket manual that lists the wrong torque for a head bolt – and I’ve seen it happen – you know the value of an original Suzuki print. This is the real deal: the Suzuki APV 2005 Service Manual, 1161 pages, stamped by PT. Indomobil Suzuki International. I’ve torqued more fasteners than I can count, and I’ll tell you flat out: you don’t want to trust a critical step like valve lash adjustment or brake fluid replacement to a third-party reprint that leaves out the warning about the airbag system (page 2 spells it out). This manual is for the guy who wants the exact factory procedure, not a generic interpretation.
What You Get in Section 0A: General Information and Fastener Torque Specs
Section 0A isn’t just fluff – it’s the foundation. You get the full warning/caution/note breakdown, including the specific precautions for vehicles with Supplemental Restraint Systems (airbags). There’s a whole subsection on Electrical Circuit Inspection Procedure that covers intermittent and poor connections – the kind of stuff that drives you nuts on a Saturday afternoon. And the fastener information? Metric fasteners with strength identification and standard tightening torque. No more guessing if that bolt is a 10.9 or 8.8 – it’s right there. The manual tells you exactly how to lift the vehicle, too – page references for lifting points. Skip this section and you might crack a frame rail.
Maintenance Schedule and Service: Section 0B Breakdown
Section 0B is where the rubber meets the road. It’s the full maintenance schedule under normal and severe driving conditions. Timing belt replacement, valve lash inspection, engine oil and filter change, coolant flush – everything with the OEM intervals. The manual even includes inspection procedures for things like the PCV valve, fuel evaporative emission control system, and propeller shaft. If you’re doing a 60,000-mile service on an APV, this is your checklist. And the torque spec table at the end of the section? That’s what you need to avoid stripping threads on the oil pan drain plug. Use the special tools list, too – Suzuki calls out part numbers for the clutch alignment tool and others.
Heater and Air Conditioning: Sections 1A and 1B Overhaul
Both HVAC sections are here. Section 1A covers the heater core, blower motor, resistor, and control assembly – removal and installation steps with inspection criteria. Section 1B goes into the A/C system: refrigerant type, system description, major components, and the full wiring circuit diagram. There’s a refrigerant charge operating procedure that walks you through recovery and charge – exactly what you need if you’re evacing and recharging the system. The diagnosis tables list abnormal noises and performance checks. Don’t try to recharge without this – you’ll overfill and blow the compressor seal. The manual tells you the correct amount, but you gotta read it.
Source Validity: Why Factory Manuals Beat Aftermarket Copies
I’ve seen aftermarket manuals list a 50 ft-lb torque for a bolt that Suzuki says is 30 N·m (about 22 ft-lb). That’s a stripped thread waiting to happen. This is the original OEM document, not a re-scanned copy with missing pages. The copyright is 2005 from PT. Indomobil Suzuki International – same as what the dealer techs get. The PDF is high-res, searchable, and every page matches the factory print. If you want to see how the genuine article compares, check out this Automotive Industry Overview for context on why OEM documentation matters across manufacturers.
Electrical Diagnostics: Wiring Diagrams and Circuit Inspection
The Electrical section (spread across several sections) includes the complete wiring circuit for the A/C system, heater, and more. There’s a dedicated subsection in 0A on Electrical Circuit Inspection Procedure that teaches you how to test for intermittent and poor connections – the root cause of half the electrical gremlins I see. If you’re tracing a short or a no-start, this manual gives you the factory-approved sequence. For related schematics, pair this with the Suzuki APV Carry 2005 Wiring Diagram – Factory OEM Schematics and the Suzuki APV & Carry 2005 Electrical Schematic – Factory Wiring Diagrams for a complete electrical package.
3 Maintenance Tasks You Can Nail with This Manual
First, timing belt replacement – the manual gives you the inspection and replacement steps with the exact alignment marks. Second, valve lash adjustment – you get the clearance specs and the cold engine procedure. Third, brake system overhaul – front disc and rear drum inspection, fluid replacement, and bleeding sequence. All three require precise torque values that are listed in the tightening torque specification tables. Don’t guess – use the numbers.
FAQ
- Does this manual cover the Suzuki APV with the G15A engine?
- It covers the APV model as listed, but specific engine variants aren’t called out in the TOC. The manual says it’s for the APV, and it includes engine identification number information – you can cross-reference your VIN. For absolute certainty, check your engine code against the manual’s specs.
- Can I print the entire 1161 pages?
- Yes – the PDF is not locked. Print what you need.
- Is the wiring diagram in color?
- The manual appears to be black-and-white, but the circuit diagrams are clear and labeled with component names, not just wire colors. The wiring circuit for the A/C system is in Section 1B.
- What about the automatic transmission – is the fluid change procedure covered?
- Yes – Section 0B includes automatic transmission fluid level inspection and replacement steps. The torque specs for the pan bolts are in the tightening torque specification table. Don’t skip the cooler hose inspection.
I’ve been turning wrenches for 28 years, and I don’t recommend manuals lightly. This one belongs on your bench if you’re touching an APV. Get the factory data, not a reprint. Suzuki VLR1800 2008 Service Manual – OEM Factory Repair Guide is another manual from the same source, but for now, focus on your APV. Access the Factory Manual and get it done right.
Additional information
| Brand | Suzuki |
|---|---|
| Language | English |
3 reviews for Suzuki APV 2005 Service Manual – Factory Specs for Diagnostics and Overhaul
You may also like…
-
Sale!
Suzuki Hatch Service Manual – 151 Pages Factory Repair Data
Original price was: $54.80.$40.00Current price is: $40.00. -
Sale!
Suzuki SWIFT 1988 Service Manual – Factory Repair Docs for 1300 GTi
Original price was: $67.05.$45.00Current price is: $45.00. -
Sale!
Suzuki GC415 2004 Service Manual – 770 Pages Factory Specs
Original price was: $58.95.$45.00Current price is: $45.00. -
Sale!
Suzuki GSX-R600 Service Manual – 2001-2002 Factory Repair Data
Original price was: $51.60.$40.00Current price is: $40.00.
Related products
-
Sale!

1993 Electrical Schematic – International 1000/3000/4000 Bus Chassis OEM Wiring Diagrams
Original price was: $29.26.$22.00Current price is: $22.00. -
Sale!
1993 Operators Manual – International Bus 1000-3000 OEM Specs
Original price was: $12.30.$7.99Current price is: $7.99. -
Sale!
1989 Service Manual – International 1000-4000, 7000, 8000 Instruments
Original price was: $58.80.$40.00Current price is: $40.00. -
Sale!
1995 Operators Manual – International 1000-4000 Series | OEM Documentation
Original price was: $12.49.$9.99Current price is: $9.99.
diy_master –
I am very pleased with this manual. The pages are clean and easy to navigate. Contains precise wiring diagrams for Suzuki. Saves me so much dollars.
John S. –
I am so happy with this manual. Immediate link after payment. A must-have for any Suzuki APV owner doing maintenance. Saved my repair job! Thanks.
workshop_guy –
This is just what I was looking for. It is easily zoomable on my iPad without losing quality. A must-have for any Suzuki APV owner doing repairs. Saves me a lot of dollars.