
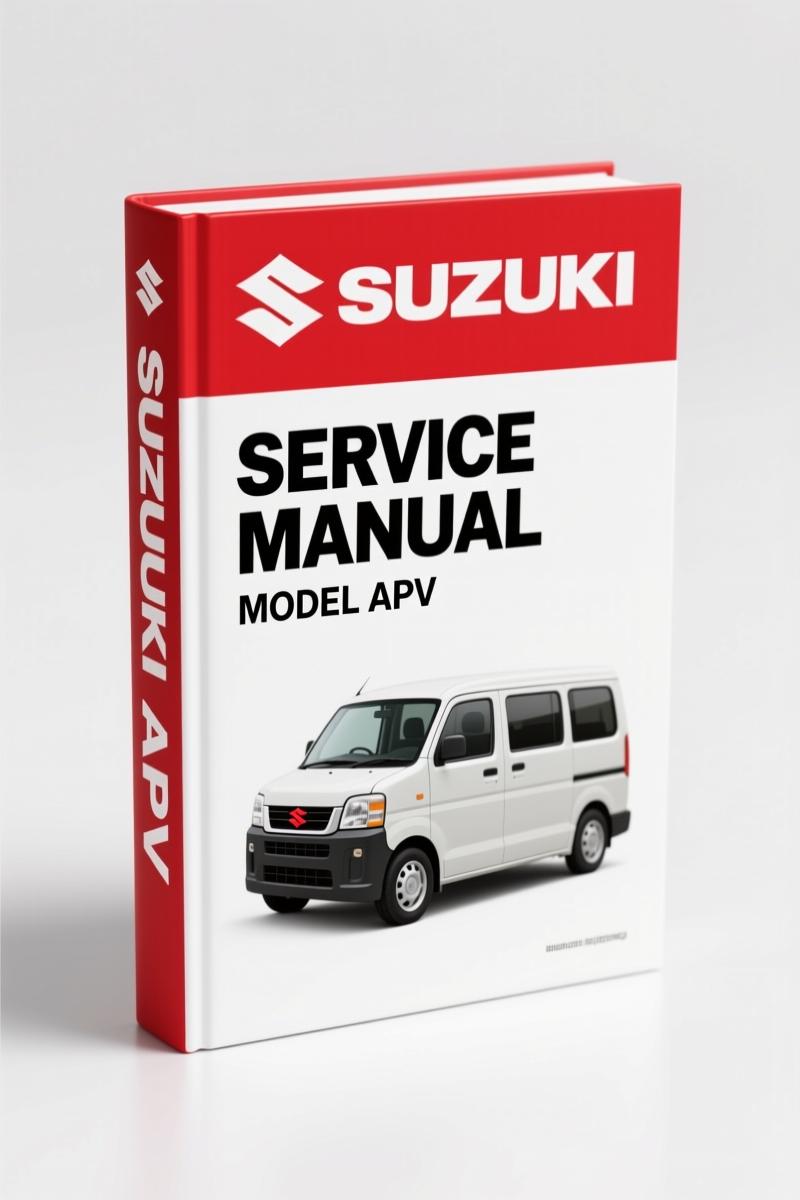
Suzuki APV, Carry 2005 Electrical Schematic – Factory Wiring Diagram
Original price was: $31.20.$24.00Current price is: $24.00.
Factory 136-page electrical schematic for Suzuki APV and Carry 2005. Includes connector layouts, ground points, power supply and system circuit diagrams.
Description
Suzuki APV & Carry 2005 Electrical Schematic – Factory Wiring Diagrams
I’ve seen too many guys burn up a harness because they grabbed some aftermarket wiring diagram off a forum. Color codes are wrong, pinouts don’t match, and suddenly your customer’s APV has a dead short in the tail light circuit. This Suzuki APV, Carry 2005 Electrical Schematic is pulled straight from Section 8A of the factory service manual. It’s the same book Suzuki techs used when these vans and trucks were new. If you’re touching any wire on a 2005 APV or Carry, this is the only map you should trust.
The manual runs 136 pages and covers every possible production variant — van, truck, left-hand drive, right-hand drive. You get connector layout diagrams, ground (earth) points, power supply diagrams, and system circuit diagrams for the whole vehicle. Page 1 tells you the exact VIN ranges so you can confirm fitment before you even open a panel. No guesswork, no third-party re-draws.
Precautions: Don’t Skip the First Section
Section “Precautions” is three pages that most DIY guys blow past. Bad idea. It lists things like the safe way to disconnect a battery on these models (you need to wait 30 seconds after key-off to let the airbag capacitor discharge) and which circuits have permanent power even with the key out. I’ve seen a guy short a 12V constant to ground because he didn’t read that note. That’s a blown fuse and a fried BCM. Read the precautions. Save yourself an afternoon of chasing phantom draws.
General Information: What the Manual Actually Contains
“General information” gives you an overview of the wiring system architecture for the APV and Carry. It explains how the harness is routed, what gauge wire is used on main feeds, and the color-code conventions Suzuki follows. For example, black with a white stripe is always ground — that’s consistent across every circuit. If an aftermarket diagram shows black/white as something else, toss it. This manual doesn’t leave you guessing.
Connector Layout Diagram: Find Any Connector in the Vehicle
You know the drill: you need to check C-36 at the ECU, but where is it? The connector layout diagram section maps every connector by location — under dash, in engine bay, behind kick panels. It gives you the connector shape, number of pins, and the Suzuki part number. No more crawling around with a test light hoping you’re on the right plug.
Ground (Earth) Point: The Most Overlooked Diagnostic Step
A bad ground will fool you into replacing sensors. The ground point section lists every chassis ground location on the APV and Carry, with the exact bolt size and torque spec (10 N·m for M6, 20 N·m for M8). It also shows how the ground circuits are tied together — for instance, G101 and G102 share a common stud on the firewall. If you lose one, you lose both. Check grounds before you touch anything else.
Power Supply Diagram: Trace the 12V Path
The power supply diagram section shows how battery voltage flows through the main fuse box, ignition switch, and into each subsystem. It includes the fuse ratings (20A for the main EFI circuit, 10A for the combination meter, etc.) and the wire colors at each junction. Want to know why your headlights are dim? Look at the power supply diagram for the left headlamp feed — it runs through a 15A fuse and a relay that can corrode. This manual tells you exactly where to probe.
7 System Circuit Diagrams for APV and Carry
The meat of this manual is the system circuit diagrams. Seven main systems are covered:
- Engine and fuel injection
- Charging and starting
- Lighting (head, tail, turn, hazard, interior)
- Combination meter (instrument cluster)
- Air conditioning
- Wipers and washers
- Heater blower motor
Each diagram shows every wire, connector pin, splice, and splice location. The colors are printed (not black and white shadings) so you don’t mix up red/white and pink/black. And the manual includes the legend for the Japanese-English terms used in some of the original drawings.
Connector List and Glossary: Two Quick-Reference Sections
The connector list is a table at the back — all connectors in the vehicle with pin counts, wire colors, and the mating connector part number. The glossary translates common terms like “A/C amplifier” and “main relay” across the three languages (German, French, Spanish) if you happen to get a multilingual copy. Most of the book is in English, but the part numbers are universal.
Source Validity: Why OEM Beats Aftermarket
I’ll say it plain: aftermarket wiring diagram publishers redraw the circuits and sometimes miss a splice or swap a color. When you’re dealing with a 20-year-old Suzuki, the last thing you need is guesswork. This is a direct scan of the official Suzuki publication — part number 99500B61J00N01E for the APV service manual’s wiring section. No modifications, no “improved” layouts. It’s what the factory put in the glovebox of every dealership service department.
If you need the full service manual — not just the electrical section — check the Suzuki APV 2005 Service Manual”>Suzuki APV 2005 Service Manual. For the Carry’s supplementary data, there’s also the Suzuki Carry & Every F6A English Service Manual 2008″>Suzuki Carry & Every F6A English Service Manual 2008. And if you want every wire diagram for these models in a single file, grab the Suzuki APV & Carry Wiring Diagram Manual 2005″>Suzuki APV & Carry Wiring Diagram Manual 2005.
For general background on automotive wiring systems, you can reference the Automotive Industry Overview”>Automotive Industry Overview and the Automotive Battery”>Automotive Battery page.
FAQ
- Is this electrical schematic the same as a full service manual?
- No. This is only Section 8A – Wiring Diagram from the electrical system section. It includes all circuit diagrams, connector layouts, ground points, and the power supply diagram, but it does not contain engine repair procedures, torque specs, or diagnostic flow charts. You need the APV Service Manual for that.
- Does the manual include wiring for both the APV van and the Carry truck?
- Yes. The same PDF covers both models. The VIN ranges are printed on page 1 – APV (MHYGDN71V…) and Carry (MHYGDN71T…, MHYGDN41T…). Circuits that differ between van and truck are clearly labeled. If the vehicle you are working on has a VIN outside those ranges, the manual still covers the base wiring but double-check component locations.
If you are tired of chasing electrical ghosts with hand-drawn junk from the internet, stop. Access the Factory Manual and get the real Suzuki data. It will save you hours of probing blind — and keep you from turning a simple taillight fix into a harness replacement.
Additional information
| Brand | Suzuki |
|---|---|
| Language | English |
2 reviews for Suzuki APV, Carry 2005 Electrical Schematic – Factory Wiring Diagram
You may also like…
-
Sale!

Suzuki Hatch Service Manual – 151 Pages Factory Repair Data
Original price was: $54.80.$40.00Current price is: $40.00. -
Sale!
Suzuki GSX-R600 Service Manual – 2001-2002 Factory Repair Data
Original price was: $51.60.$40.00Current price is: $40.00. -
Sale!

Suzuki GC415 2004 Service Manual – 770 Pages Factory Specs
Original price was: $58.95.$45.00Current price is: $45.00. -
Sale!

Suzuki SWIFT 1988 Service Manual – Factory Repair Docs for 1300 GTi
Original price was: $67.05.$45.00Current price is: $45.00.
Related products
-
Sale!

Technical Manual – International 6.0L Power Stroke FICM Diagnostics
Original price was: $29.80.$20.00Current price is: $20.00. -
Sale!

1989 Service Manual – International 2000-8000 Electrical Systems
Original price was: $72.00.$50.00Current price is: $50.00. -
Sale!

Acura NSX 1991 Service Manual – 1420 Pages OEM
Original price was: $102.05.$65.00Current price is: $65.00. -
Sale!

2011 Parts Catalog – International 7400 SFA 6X6 – 1886 Pages of OEM Part Numbers
Original price was: $32.00.$25.00Current price is: $25.00.
John S. –
Excellent OEM spec sheet. It is very easy to read on my phone without blur. A must-have for any Suzuki APV, DIYer doing maintenance. Saved my repair job! Thank you.
diy_master –
Excellent quality! The text is searchable and easy to navigate. It helped me to rebuild my Suzuki APV, electrical system. Saves me so much time.