
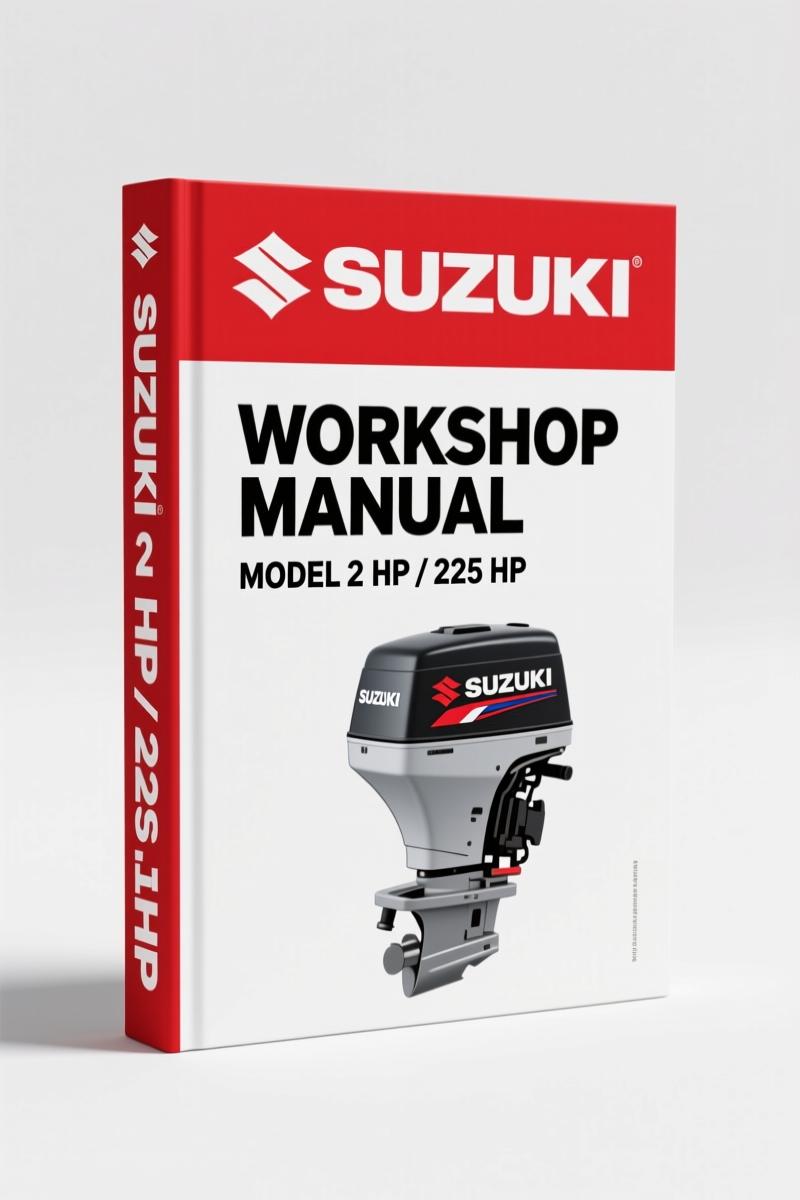
Suzuki 2 HP, 225 HP Workshop Manual – 1988-2003 Factory Specs
Original price was: $47.40.$30.00Current price is: $30.00.
Factory-certified Suzuki outboard workshop manual covering 2 HP to 225 HP models 1988-2003. 396 pages of OEM torque specs, wiring diagrams, and overhaul procedures.
Description
Suzuki 2 HP, 225 HP Workshop Manual – 396 Pages of Factory-Grade Information
I’ve been turning wrenches for 28 years. ASE Master, six bays, San Antonio heat. When I see a tech grab an aftermarket manual for a Suzuki outboard, I stop them. Aftermarket documentation leaves out torque sequences, uses generic diagrams, and skips safety sections. That is how you snap a powerhead bolt or cook a lower unit. This Suzuki 2 HP, 225 HP Workshop Manual is an OEM reprint – 396 pages of the same material Suzuki dealers used. It covers every motor from the little 2 HP kicker to the 225 HP V6, years 1988 through 2003. If you are overhauling a carburetor on a 9.9 or rebuilding the lower unit on a 200, you need the factory spec, not a guess.
How to Use This Manual – Start Here
The first chapter is not a fluffy introduction. Page 1-2 tells you where to begin, how to avoid trouble, and how to decide if you should do maintenance or a real repair. Suzuki wrote this for factory-trained mechanics, but the language is direct. “CAN YOU DO IT?” is a question they ask you honestly – if the job is above your skill level, they say so. The manual also includes purchasing parts guidance and a list of common mistakes. I have seen DIY guys skip the “AVOIDING THE MOST COMMON MISTAKES” section (page 1-3) and end up with a seized engine because they used the wrong grease. Read that section.
Boating Safety and Regulations
This manual devotes an entire chapter to boating safety – not because Suzuki is paranoid, but because ignorance kills. Section 1-4 covers vessel documentation, hull identification numbers, capacity information, and ventilation requirements. If you operate a homemade rig or a repowered boat, you need to know the federal standards for fire extinguishers (types of fires, page 1-5) and personal flotation devices. There is a full breakdown of warning systems and sound-producing devices. The manual also lists equipment that is not required but strongly recommended – second means of propulsion, bailing devices, first aid kit, anchors. I keep a copy of page 1-10 laminated in my toolbox for customer consultations.
Safety in Service – Do’s and Don’ts
Page 1-12 is a list of do’s and don’ts that every tech should have tattooed on their forearm. “Do wear safety glasses. Do use a hoist when lifting heavy components. Don’t run the engine in an enclosed area. Don’t wear loose clothing around rotating parts.” Suzuki does not pad this section. It is half a page of hard rules. Aftermarket manuals skip this entirely. You want to know why there are so many garage fire stories? Because people ignore ventilation specs. The manual spells out the ventilation system requirements (page 1-5) in plain English.
Tools and Equipment – What You Need
Chapter 2 is called TOOLS AND EQUIPMENT and it starts on page 2-2. It lists every tool you should have on hand before opening a Suzuki outboard: torque wrenches (inch-pound and foot-pound), feeler gauges, spark plug gap tool, compression gauge, multimeter (analog for CDI systems), and specialty tools like the Suzuki flywheel puller. Page 2-5 gets into specific tools for powerhead removal, lower unit disassembly, and carburetor synchronization. If you have never done a carburetor sync on a 3-cylinder, the manual tells you exactly which vacuum gauge adapters fit. Do not improvise with a homemade adapter – the manual warns you on page 2-10. Also includes fasteners, measurements, and conversion charts (page 2-14) so you can convert metric to SAE without guessing.
Engine Mechanical and Powerhead Reconditioning
Chapter 7 covers ENGINE MECHANICAL (page 7-2) and includes full powerhead reconditioning on page 7-32. Torque specs for cylinder head bolts, crankcase screws, and flywheel nut are listed by model. Need the charge pressure for the oil injection system? That is in chapter 6. The manual does not leave you hanging. Lower unit overhaul (chapter 8) goes through every shim, seal, and bearing. Jet drive models get their own section on page 8-51. For tilt and trim, chapters 9 covers manual tilt, gas-assisted tilt, power tilt, and power trim/tilt. You get the factory procedure for bleeding the hydraulic system – not a three-line summary, but a step-by-step with pressures and fluid types.
Understanding Electrical Systems – CDI and Wiring Diagrams
Chapter 5 is the electrical bible: UNDERSTANDING AND TROUBLESHOOTING ELECTRICAL SYSTEMS. Starts with breaker points ignition (magneto), then capacitor discharge ignition (CDI) on page 5-11. Suzuki used CDI on most models by the late ’80s. The manual explains how to test stator resistance, trigger coils, and the CDI module using an analog ohmmeter. Then it moves to the charging circuit (page 5-39) and finally ignition and electrical wiring diagrams (page 5-52). These diagrams are Suzuki OEM – not redrawn by some intern. Wire colors, connector pins, ground points – all accurate. If you are swapping a powerhead from a 2 HP to a 225 HP, you need these diagrams to match the harness.
Why the 2 HP and 225 HP Workshop Manual Covers Both Ends
You might think a manual that covers a 2 HP single-cylinder and a 225 HP V6 is too broad. It is not. Suzuki shared many design principles across the 2-stroke line: same reed valve architecture, similar CDI systems, same oil injection logic. The manual handles variations with separate tables and footnotes. For example, carburetor service (page 4-11) lists jets for each model by engine code. The fuel pump service (page 4-27) includes diaphragm pressure specs for both the 2 HP and the 225 HP. The supplement (page 12-2) covers DTSY (Digital Throttle & Shift) models and updated carburetor and ignition specs. You get 396 pages of precisely that – not one page wasted on fluff.
FAQ – Four Questions You Might Have
- Does this manual cover the 2 HP model completely?
- Yes. The 2 HP is not an afterthought. It gets its own sections in engine maintenance, carburetor, ignition, and lower unit.
- What torque values are listed for powerhead bolts?
- Torque sequences for cylinder head, crankcase, and flywheel are given by model in Chapter 7. For the 225 HP, head bolts are typically torqued in three stages with a final angle – the manual spells out the pattern and the numbers. Do not trust internet forums. Use the factory page.
- Are the wiring diagrams color-coded?
- Yes, the diagrams on page 5-52 use solid lines and dashed lines for different harnesses, with connector views. Wire colors are indicated by abbreviations (e.g., B/L for Black with Light Blue stripe).
- Can I use this manual for a 1992 9.9 HP?
- The manual covers all 2-stroke Suzuki outboards from 2 HP to 225 HP built between 1988 and 2003. Your 1992 9.9 HP is included. Check the supplement for any late-model updates.
I have been using this manual in my shop for years. It pays for itself the first time you avoid a stripped thread or a misdiagnosed electrical fault. Stop rolling the dice with aftermarket garbage. Access the Factory Manual and get the same information Suzuki technicians rely on.
Related manuals you may need: Suzuki EN05 Training Manual – Starting System Diagnosis & Theory, 1992 Suzuki Samurai A/C Installation Manual | 38 Pages, Suzuki Samurai Sidekick Tracker 1986-1996 Repair Manual. For broader automotive context, see Automotive Industry Overview and Automotive Industry Overview.
Additional information
| Brand | Suzuki |
|---|---|
| Language | English |
3 reviews for Suzuki 2 HP, 225 HP Workshop Manual – 1988-2003 Factory Specs
You may also like…
-
Sale!
Suzuki GC415 2004 Service Manual – 770 Pages Factory Specs
Original price was: $58.95.$45.00Current price is: $45.00. -
Sale!
Suzuki Hatch Service Manual – 151 Pages Factory Repair Data
Original price was: $54.80.$40.00Current price is: $40.00. -
Sale!
Suzuki GSX-R600 Service Manual – 2001-2002 Factory Repair Data
Original price was: $51.60.$40.00Current price is: $40.00. -
Sale!
Suzuki SWIFT 1988 Service Manual – Factory Repair Docs for 1300 GTi
Original price was: $67.05.$45.00Current price is: $45.00.
Related products
-
Sale!

Technical Manual – International 6.0L Power Stroke FICM Diagnostics
Original price was: $29.80.$20.00Current price is: $20.00. -
Sale!

1993 Operators Manual – International Bus 1000-3000 OEM Specs
Original price was: $12.30.$7.99Current price is: $7.99. -
Sale!
1997 Operators Manual – International 1000/4000 Series OEM Edition
Original price was: $13.49.$9.99Current price is: $9.99. -
Sale!

2005 Parts Catalog – International NGD 3.0 L Engine (77 pages)
Original price was: $44.70.$30.00Current price is: $30.00.
John S. –
This is just what I needed. The document looks clean. It assisted me to troubleshoot my Suzuki 2 electrical system. Saves me so much time.
Thomas B. –
Great buy! The file is very clear. A must-have for any Suzuki 2 owner doing maintenance. Saves me a lot of time.
pro_mechanic –
Superb resource! Immediate link after checkout process. It guided me to troubleshoot my Suzuki 2 electrical system. Saved my weekend project! Thanks.