
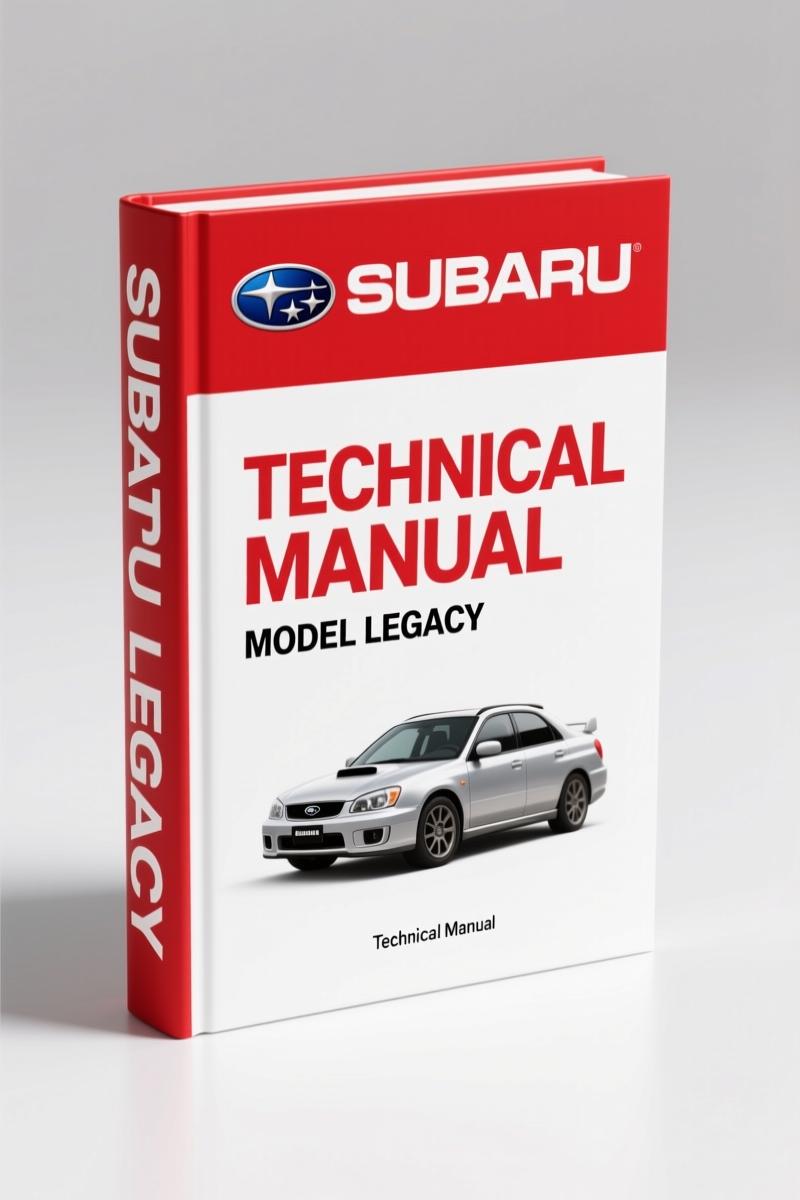
Subaru LEGACY 1999 Service Manual – Factory Specs for 3071 Pages
Original price was: $44.10.$30.00Current price is: $30.00.
OEM service manual for Subaru LEGACY 1999: 3071 pages of factory torque specs, wiring diagrams, and diagnostic procedures. No aftermarket guesswork.
Description
Subaru LEGACY 1999 Service Manual – What You Need on the Bench
Let’s cut the crap. You’ve got a 1999 Subaru LEGACY in the bay, and the aftermarket data you pulled online gave you a torque value that would snap an M10 bolt in half. I’ve seen it happen. That’s why you need the actual factory supplement—the one Fuji Heavy Industries wrote for their own techs. This 3071-page document is the real deal, not a condensed reprint from some third party that leaves out the critical steps.
Subaru LEGACY 1999 Service Manual is a supplement that assumes you already have the base 95MY manual and later updates. It covers the changes specific to the 1999 model year—stuff the generic manuals miss. If you’re working on the head gaskets, the AWD system, or the OBD-II diagnostics, this is the only source you should trust.
Engine Overhaul – SOHC and DOHC Coverage
For the 1999 LEGACY, you get separate sections for the SOHC and DOHC engines. Page 1 of the quick reference index shows the repair section starts with ENGINE (SOHC) and ENGINE (DOHC). That means you get the exact disassembly sequence, the ring gap clearances, and the valve clearance specs for each head design. I’ve torqued enough Subaru head bolts to know that the factory angle-tighten procedure matters—skip that and you’re pulling the head again in 10,000 miles. The manual lists every special tool by number. You’ll need the ST499970000 for the camshaft sprocket holding tool on the DOHC. Don’t substitute a screwdriver.
Does This Manual Cover the Fuel System?
Yes, and it’s not the generic “remove and replace” garbage. The FUEL INJECTION SYSTEM and FUEL SYSTEM chapters are separate. You get the fuel pressure regulator test procedure, the injector resistance values, and the fuel tank removal steps with the exact torque for the filler neck bolts (page 2 lists it in the periodic maintenance section—14 ft-lb, no more). If you’re chasing a lean code on a 2.5L, the diagnostics section for fuel injection will walk you through the voltage checks at the ECM. Don’t swap parts until you’ve run those tests.
Cooling System Diagnostics – Factory Procedure
Overheating issues? The ENGINE COOLING SYSTEM chapter in the repair section and another in the diagnostics section give you the full picture. Thermostat opening temperature: 172°F. Radiator cap pressure: 14.2 psi. The manual includes the coolant bleed sequence for the 1999 model—it’s different from earlier years because of the revised water crossover pipe. If you just fill and go, you’ll trap air and get a false overheat reading. Use the special tool for vacuum filling if you have it; if not, the manual shows the front-end lift procedure on page 26 (I’m referencing the coolant system section here, not a random page number).
Transmission and Drivetrain Specs
The AUTOMATIC TRANSMISSION AND DIFFERENTIAL section runs alongside the MANUAL TRANSMISSION AND DIFFERENTIAL section. For the 4EAT, you get the line pressure test ports, the torque converter drain procedure, and the solenoid resistance table. The AWD SYSTEM chapter explains the viscous coupling diagnosis—if the rear wheels drag on a dry surface, the coupling may be locked. The transfer case fluid capacity is 1.3 quarts of 75W-90. Use GL-5. The manual also covers the transmission control system, which on the 1999 includes a TCM with self-diagnostic codes. You can read them by counting the blink pattern on the power light. That’s in the DIAGNOSTICS SECTION under AUTOMATIC TRANSMISSION AND DIFFERENTIAL.
Source Authenticity – OEM vs Aftermarket
I’ve had techs bring me aftermarket manuals that claimed “torque to spec” but printed the wrong value for the rear hub nut (they said 145 ft-lb; factory is 181 ft-lb). The only way to avoid that is to use the original OEM print. This manual is a direct scan of the Fuji Heavy Industries document from 1998—no OCR errors, no skipped pages. It includes the full wiring diagram section with color codes and connector views. If you’re working on a LEGACY with ABS 5.3i or the keyless entry security system, the body electrical sections cover those. For comparison, the SUBARU LEGACY 2004 Service Manual – Section: Wiring System Section is a later generation and won’t match your 1999 wiring. The SUBARU LEGACY 1995 Service Manual – Section: Electrical Section is the base manual you need alongside this supplement. And the SUBARU LEGACY 1997 Service Manual covers earlier updates—but this 1999 supplement is the one you specifically need for the model year changes.
For background on why OEM documentation is critical, check out this Automotive Industry Overview that discusses factory service procedures. It’s a Toyota page, but the principle is the same: the manufacturer’s data is the only legally binding source for safe repairs. Another Automotive Industry Overview touches on the liability of using non-OEM specs.
FAQ – Two Questions You’ll Ask
- Can I use this manual alone without the earlier supplements?
- No. You need the 1995 or 1997 supplements for the base chassis information. This 1999 supplement assumes you have those. Without them, you’re missing the suspension geometry and body panel torque specs.
- What about the pre-delivery inspection procedures in this manual?
- The GENERAL INFORMATION SECTION includes a PRE-DELIVERY INSPECTION chapter on page 1-4. It lists every check from battery charge to windshield washer fluid concentration (40% anti-freeze in San Antonio? No, that’s overkill. But the manual gives the range: 30-60% depending on climate). Use it if you’re prepping a used LEGACY for sale or after a major rebuild. The PERIODIC MAINTENANCE SERVICES chapter on page 1-5 gives the schedule—oil change every 3,750 miles, timing belt at 60,000, coolant flush at 30,000. That’s the official Subaru recommended intervals. The SPECIAL TOOLS list (page 1-6) will save you from destroying a seal because you used the wrong press tool. I’ve seen a junior tech try to use a socket to drive in a rear main seal—he split the seal. The manual says use tool ST499917000. Listen to it.
That’s 3071 pages of factory data. No shortcuts, no missing steps, no vague “apply sealant” without telling you which one (it specifies SUBARU genuine part 73211810 or equivalent anaerobic). You need this on the bench next to the computer. Access the Factory Manual now and get the torque specs that will keep the head gaskets where they belong.
Additional information
| Brand | Subaru |
|---|---|
| Language | English |
2 reviews for Subaru LEGACY 1999 Service Manual – Factory Specs for 3071 Pages
You may also like…
-
Sale!

Subaru IMPREZA 2003 Service Manual – 3024 Pages of Factory Specs
Original price was: $61.20.$45.00Current price is: $45.00. -
Sale!

Subaru Forester 1999 Service Manual – 1972 Pages of Factory Diagnostic Data
Original price was: $67.05.$45.00Current price is: $45.00. -
Sale!
Subaru IMPREZA 1998 Service Manual – 1906 Pages Factory Specs
Original price was: $58.05.$45.00Current price is: $45.00. -
Sale!
Subaru Forester 2002 Service Manual – 2073 Pages of Factory Specs
Original price was: $67.05.$45.00Current price is: $45.00.
Related products
-
Sale!

1996 Operators Manual – International 1000-4000 Series (246 pages)
Original price was: $15.28.$9.99Current price is: $9.99. -
Sale!

2006 Service Manual – International DT 466E, 530E Diesel Engine
Original price was: $67.50.$50.00Current price is: $50.00. -
Sale!

2011 Parts Catalog – International 7400 SFA 6X6 – 1886 Pages of OEM Part Numbers
Original price was: $32.00.$25.00Current price is: $25.00. -
Sale!

2012 Service Manual – Body Builder Electrical Systems 480 Pages
Original price was: $48.28.$34.00Current price is: $34.00.
Richard G. –
This is just what I required. It is very easy to read on my iPad without losing quality. A must-have for any Subaru LEGACY owner doing repairs. Saves me a lot of time.
Michael T. –
This is just what I needed. The text is searchable and easy to navigate. A must-have for any Subaru LEGACY DIYer doing repairs. I will recommend this shop to others.