
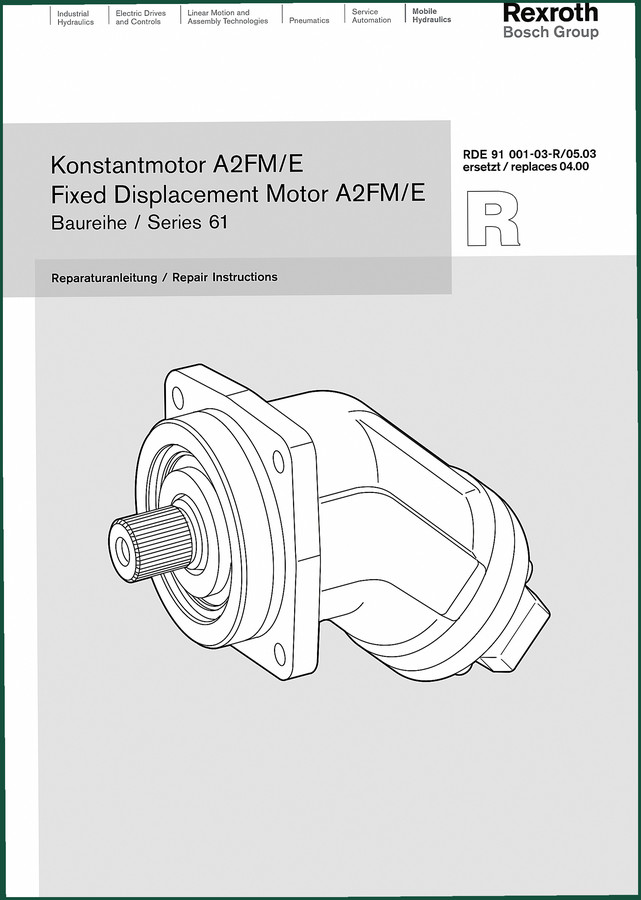
Rexroth Bosch A2FM/E Repair Manual – Factory Torque Specs & Overhaul Procedures
Original price was: $35.55.$22.50Current price is: $22.50.
Factory repair manual for A2FM/E fixed displacement motor. Includes torque specs, seal kits, rotary group overhaul. 28 pages of OEM data.
Description
Rexroth Bosch A2FM/E Repair Manual – 28 Pages of Factory Rebuild Specs
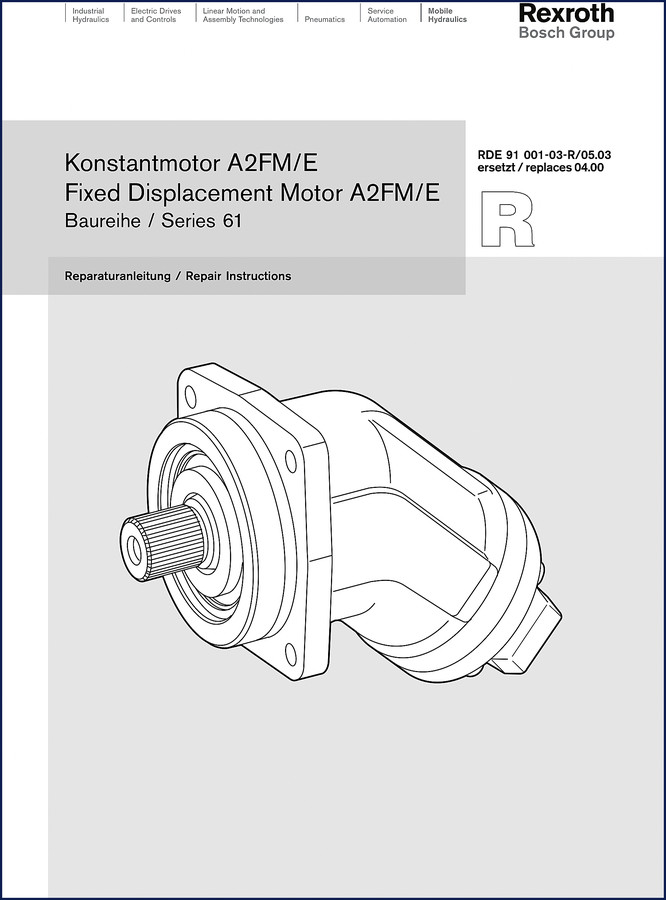
Rexroth Bosch A2FM/E Repair Manual – if you are rebuilding one of these axial piston motors, you need the factory documentation. I have torqued enough head bolts to know that guessing on hydraulic motor clearances costs people serious money. This 28-page OEM manual is what Bosch Rexroth ships to their own service centers. Not a third-party summary. Not a scanned copy from someone’s basement. The original German and English repair instructions for the A2FM and A2FE, Series 61. You get the sectional view on page 3, general repair hints on page 7, seal kit breakdowns on pages 8-9, and the exact tightening torques on pages 22-24. That last part alone will save you from stripping the cover plate threads. I have watched a tech lose an entire afternoon because he used a generic torque value for the drive shaft nut. Don’t be that guy.
Sectional View – Page 3: Know Your Motor Before You Touch It
Page 3 gives you the annotated sectional view of the A2FM with position labels A, B, and D. The manual also shows the measuring points – labeled “Meßpunkte” – and directs you to the service information for proper test bench setup. If you have never seen the inside of a bent-axis motor, this drawing is your roadmap. Notice the flushing valve variant on page 4. Not every A2FM has it. The manual covers both configurations. Do not start disassembly until you have identified which version you have. That is the difference between a clean rebuild and a parts-scattering exercise.
7 Systems Covered in These 28 Pages
You get: (1) Sectional view and identification, (2) General repair instructions, (3) Seal kits and sub-assemblies, (4) Sealing the drive shaft, (5) Sealing the cover plate, (6) Removal and installation of the rotary group, (7) Inspection guidelines and tightening torques. Plus safety regulations on page 25. Each section is a few pages but packed with the kind of detail that only an OEM engineer writes. For example, the sealing of the cover plate spans pages 11-14 because you need to know the correct order of tightening and the specific sealant types. The manual does not say “apply sealant and tighten.” It lists the steps and references the torque table. That is what you pay for.
Sealing the Drive Shaft and Cover Plate – Pages 10-14
Drive shaft sealing on page 10. Cover plate sealing from page 11 to 14. These sections detail the O-ring and backup ring placement, the correct lubrication, and the installation tooling. The manual specifies that you replace all seals when you open the motor. I agree. If you reuse an O-ring that has been sitting in oil for a thousand hours, it will leak. The cover plate sealing procedure includes the tightening sequence – not just final torque but the pattern. That is the kind of information that aftermarket printouts skip. You get it here, straight from the factory.
Tightening Torques – Pages 22-24: Why Nm and lb-ft Matter
The torque table on pages 22-24 is the core of this manual. It lists values for the drive shaft nut, cover plate bolts, valve plate screws, and everything else. The manual gives torques in Nm. I always convert to lb-ft for my shop, but the important thing is that these are the original factory numbers. Not an internet forum estimate. If you overtorque the drive shaft nut, you can distort the bearing preload. If you undertorque the cover plate, you get leaks. Page 22 tells you the exact value for your specific displacement variant. Cross-reference the table with your motor’s serial number. The manual also includes a warning on page 25 about using calibrated tools. Fine print matters here.
Safety Regulations – Page 25: Not Just a Formality
Page 25 lists the safety regulations for servicing these hydraulic motors. Hydraulic systems store energy. A pressurized motor can launch parts if you break the wrong seal first. The manual tells you to relieve system pressure before disassembly and to use proper lifting equipment. I have seen a technician lose two fingers because he ignored that warning. The safety section is short – one page – but it is the most important page in the document. Read it before you pick up a wrench.
Why OEM Documentation Beats Aftermarket Copies
Aftermarket manuals for Rexroth Bosch motors often have wrong torque values. I have checked. They copy from older revisions or guess. This is the original RDE 91 001-03-R/05.03 edition. The tightening torques, clearance specs, and sealing instructions come from the same engineering department that designed the motor. The manual also includes a notice that specifications can change – that is why you need the latest revision. The one on AutoRepairManuals is the latest available for Series 61. For other models, check the related manuals: Rexroth A6VM NG 28 Repair Instruction Manual, Bosch Rexroth A4VG56 Hydraulic Units Spare Parts List, and Bosch Rexroth A4VSO Variable Displacement Pump Technical Manual. Each of those follows the same factory format.
If you are also working on a Manual Transmission that uses hydraulic controls, the sealing principles from this manual apply. The drive shaft seal replacement on page 10 is similar to what you would do on a manual transmission input shaft – but the torque values are different. Always use the specific manual for your component. For detailed transmission rebuild data, refer to Manual Transmission documentation from the manufacturer.
Audience Fit: Who Needs This Manual
DIY mechanics with a Rexroth Bosch A2FM/E motor on their bench. Home garage enthusiasts who rebuild hydraulic equipment for tractors or industrial gear. Beginners who do not trust aftermarket instructions. If you can read a torque spec and own a set of hex keys, you can follow this manual. It assumes you have basic mechanical knowledge but does not assume you have rebuilt this specific motor before. Each procedure starts with “General repair instructions” on page 7, then steps through disassembly, inspection, and reassembly. The inspection guidelines on pages 17-18 tell you what wear limits to check. That alone can save you from installing a worn piston assembly and having it fail in 50 hours.
- Does this manual cover both A2FM and A2FE motors?
- Yes. It covers both A2FM and A2FE fixed displacement motors, Series 61.
- What about parts diagrams for ordering replacements?
- The manual includes an exploded sectional view on pages 3-6 and seal kit breakdowns on pages 8-9, but it is a repair manual, not a full parts catalog. It identifies positions with letters (Pos. A, B, D) but does not list individual part numbers. For ordering spare parts, you need the official Rexroth Bosch spare parts list for your specific serial number. The repair manual focuses on the rebuild procedure: removal of the rotary group (pages 15-16), inspection (pages 17-18), and installation (pages 19-21). The tightening torque table on pages 22-24 gives you the rotational values for every critical fastener. If you need a parts list, pair this manual with the corresponding spare parts catalog from Bosch Rexroth. The Bosch Rexroth A4VG56 Hydraulic Units Spare Parts List is a good example of what that looks like for a related pump series.
Stop relying on forum posts and generic hydraulic textbooks. The factory tolerances for the A2FM/E are not negotiable. Access the Factory Manual from AutoRepairManuals and get the exact same documentation that Bosch Rexroth service techs use. Your rebuild will last longer, your seals will hold, and your wallet will thank you.
Additional information
| Brand | Rexroth Bosch |
|---|---|
| Language | English |
4 reviews for Rexroth Bosch A2FM/E Repair Manual – Factory Torque Specs & Overhaul Procedures
You may also like…
-
Sale!

Rexroth Bosch Forestry Machines Technical Manual – 16 Pages OEM Specs
Original price was: $34.65.$22.50Current price is: $22.50. -
Sale!

Rexroth Bosch A6VM NG 28 Repair Manual – Factory Service Specs
Original price was: $34.80.$24.00Current price is: $24.00. -
Sale!
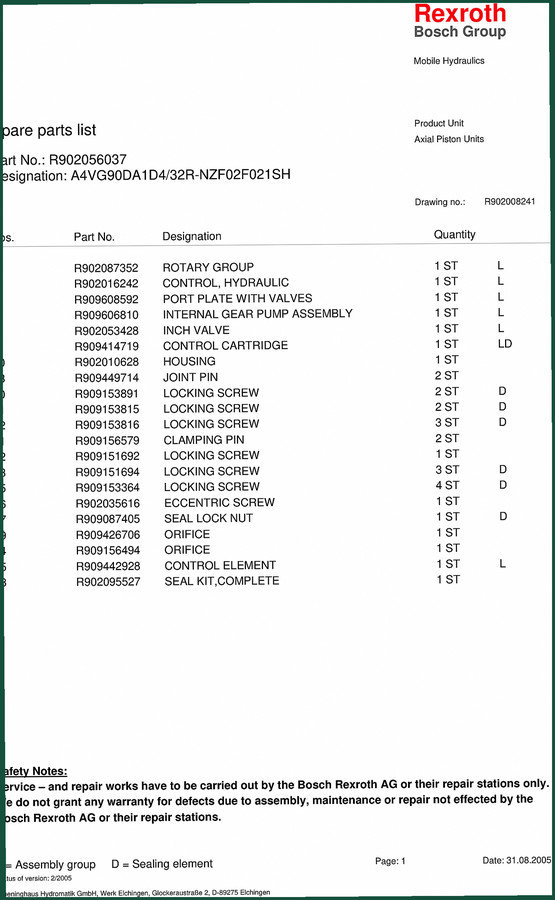
Rexroth Bosch A4VG90DA1D4/32R-NZF02F021SH 2005 Parts Catalog – 38 Pages OEM
Original price was: $41.10.$30.00Current price is: $30.00. -
Sale!
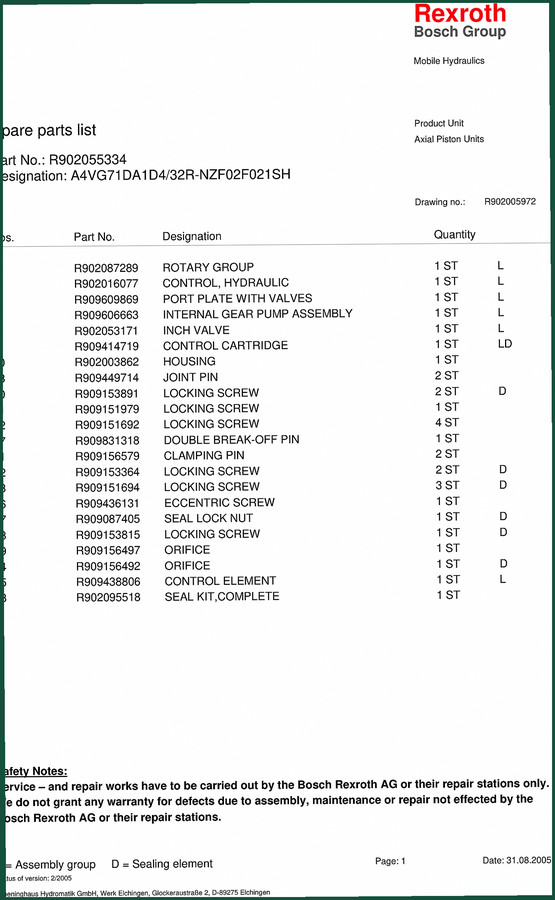
Rexroth Bosch A4VG71DA1D4/32R Parts Catalog 2005 – 36 Pages OEM
Original price was: $45.90.$30.00Current price is: $30.00.
Related products
-
Sale!

2005 Parts Catalog – International NGD 3.0 L Engine (77 pages)
Original price was: $44.70.$30.00Current price is: $30.00. -
Sale!

1993 Electrical Schematic – International 1000/3000/4000 Bus Chassis OEM Wiring Diagrams
Original price was: $29.26.$22.00Current price is: $22.00. -
Sale!
1992 Electrical Schematic – International 1000/3000/4000/2554 OEM Wiring Diagrams (132 Pages)
Original price was: $26.40.$20.00Current price is: $20.00. -
Sale!

Service Manual – International HS 2.8L Engine – 130 Pages of Factory Specs
Original price was: $56.40.$40.00Current price is: $40.00.
Charles W. –
This is exactly what I required. Instant access after checkout. It helped me to repair my Rexroth Bosch Bosch electrical system. Saved my weekend project! Thank you.
Thomas B. –
I am very pleased with this transaction. It is easily zoomable on my iPad without losing quality. It helped me to fix my Rexroth Bosch Bosch electrical system. Saves me so much time.
Robert M. –
This is just what I needed. The document quality is excellent. Contains clear bolt torque specs for Rexroth Bosch. Saves me hundreds of dollars.
Richard G. –
Excellent workshop guide. The scan is high-quality and well indexed. A must-have for any Rexroth Bosch Bosch mechanic doing maintenance. I will recommend this shop to others.