
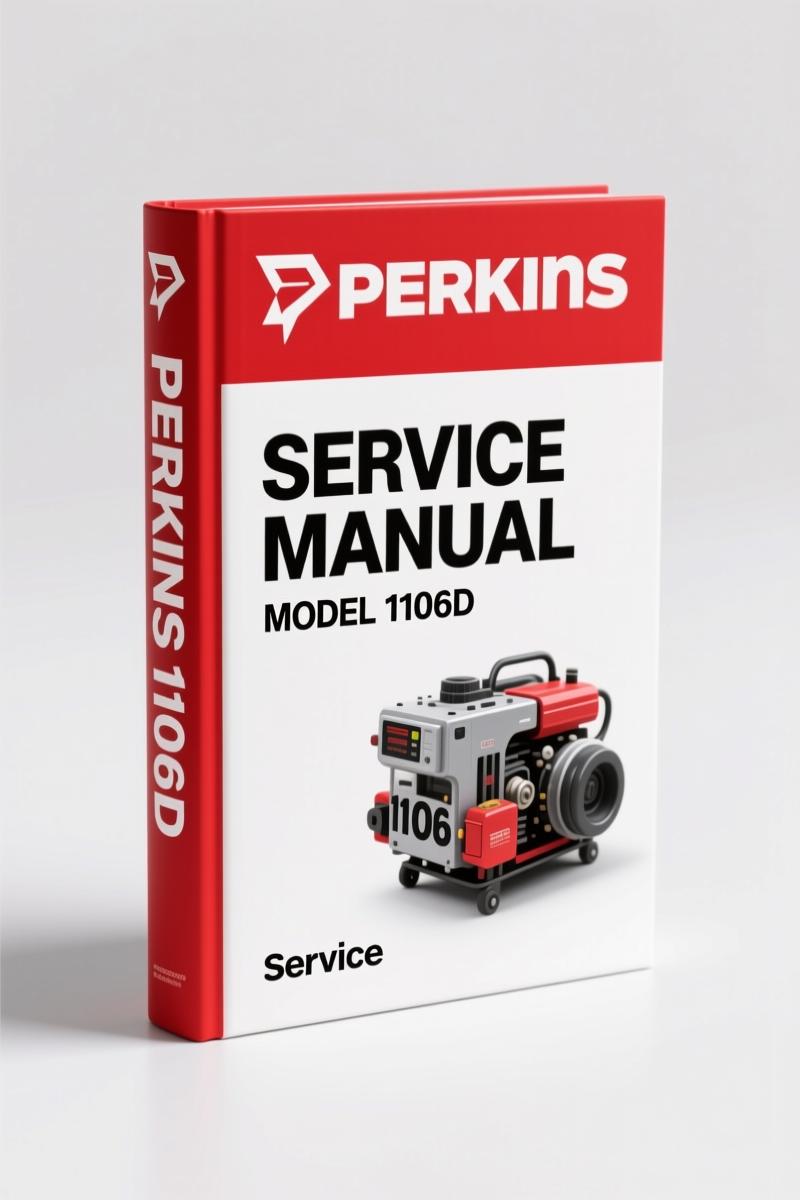
Perkins 1106D 2007 Workshop Manual – OEM Factory Specs
Original price was: $63.90.$45.00Current price is: $45.00.
Factory Perkins 1106D 2007 Workshop Manual: 196 pages, fuel system, electrical, turbocharger, injector R&R. OEM data for professional repair.
Description
If you’re pulling a Perkins 1106D apart and don’t have the OEM procedures, you’re wasting time and risking a comeback. Mike Callahan here. I’ve seen too many guys try aftermarket PDFs that skip the torque sequence on the electronic unit injector – then they wonder why it leaks or the engine knocks. This Perkins 1106D 2007 Workshop Manual is the real deal: 196 pages of factory-written disassembly and assembly instructions, straight from Perkins. No third-party guesswork, no pages missing. I use the original SENR9983-01 edition in my shop because the fuel system specs alone are worth the price of entry.
This manual isn’t a theory book. It’s a workbench reference that tells you exactly how to remove and install every major component on the 1106D industrial engine. The Table of Contents lists 40+ procedures, from the Fuel Priming Pump (mechanical and electrical) to the Flywheel Housing (standard and wet back end). Every step follows the factory sequence. You get the exact tooling requirements and safety callouts that the Perkins engineers wrote. If you’re a DIYer or a shop owner, this is what you need to stop burning billable hours on trial-and-error.
Disassembly and Assembly Section: 196 Pages of Factory Procedures
Every page in this manual is focused on one thing: getting that 1106D apart and back together without damaging anything. The Disassembly and Assembly section covers the entire engine – fuel injection pump, turbocharger (top-mounted and side-mounted), exhaust manifold, water pump, engine oil cooler (low and high mount filter base), and more. Page 26 walks you through the Electronic Unit Injector removal with the exact steps to avoid bending needles or scoring bores. Page 73 gives you the flywheel install torque specs so you don’t warp the flange. Those numbers are Perkins-verified, not guessed from a forum.
You’ll find separate procedures for the Fuel Transfer Pump removal and install – they’re two different procedures because the seal orientation matters. Same for the Fuel Manifold (Rail). The manual doesn’t lump things together; it treats each component as a standalone job with its own torque values and alignment checks.
What Does the Fuel System Coverage Look Like?
If you’re chasing a fuel delivery issue on the 1106D, this manual has you covered. It includes:
- Fuel Priming Pump (Mechanical Priming Pump) – Remove and Install (page 5)
- Fuel Priming Pump (Electrical Priming Pump) – Remove and Install (page 6)
- Fuel Filter Base (Secondary Fuel Filter) – Remove and Install (page 8)
- Fuel Transfer Pump – Remove (page 9) and Install (page 10)
- Fuel Manifold (Rail) – Remove and Install (page 11)
- Fuel Injection Lines – Remove (page 13) and Install (page 15)
- Fuel Injection Pump – Remove (page 17) and Install (page 19)
- Electronic Unit Injector – Remove (page 26) and Install (page 30)
Notice the split removal/install pages. That’s because Perkins knows you need different torque sequences and sealants for each direction. The fuel injection pump gear removal on page 22 requires a specific puller – the manual tells you which one. Don’t skip that step or you’ll strip the gear teeth.
3 Critical Safety Warnings from the Manual
Page 2 of this workshop manual starts with “Important Safety Information.” Perkins doesn’t mess around. Here are three warnings that directly affect how you work:
- Fuel under high pressure: The common rail system holds pressure even after shutdown. The manual specifies that you must relieve pressure before opening any fuel line. Page 11 (Fuel Manifold removal) repeats this warning.
- Turbocharger handling: The turbo can be hot and the oil seal is fragile. The manual cautions against using compressed air to spin the turbine during cleaning – it can damage the bearings. Page 34 for top-mounted turbo removal includes a note about oil drainage.
- Engine oil cooler seal procedures: The manual warns that reinstalling the oil cooler with the wrong gasket orientation can cause oil starvation. Page 58 (Engine Oil Cooler – Remove) and page 62 (Install) have torque specs for the filter base that you must follow.
These aren’t suggestions. I’ve seen engines grenaded because someone ignored the high-pressure fuel warning. Follow the manual, not your gut.
Get the Right Torque Data for Your 1106D
Torque values are scattered through the manual, paired with each component procedure. They are not centralized in a single table – you need to flip to the specific job. That’s intentional: Perkins wants you to read the surrounding steps to understand the sequence. For example, the flywheel bolts on page 73 have a specific tightening pattern that must be done in stages. The electronic unit injector clamp torque on page 30 is 25 N·m (18 lb-ft) – but that’s only if you’ve replaced the O-rings correctly beforehand. The manual lists the torque right inside the install procedure, not in an appendix.
One thing I appreciate: the manual uses both N·m and lb-ft, so you don’t need a conversion chart. But don’t assume – double-check that your torque wrench is calibrated. I keep a beam-style wrench for critical fasteners on the 1106D because digital ones can drift.
Electrical System: What the Manual Covers
This workshop manual is for disassembly and assembly, not full electrical diagnostics. However, it does cover the electrical components that attach to the engine – specifically the Electrical Priming Pump (page 6) and the Wastegate Solenoid (page 42). The wastegate solenoid removal/install includes the wiring connector orientation and a note about routing the harness to avoid chafing. If you need a full wiring diagram for the 1106D, you’ll want the Perkins 1106D 2008 Operation and Maintenance Manual for electrical troubleshooting. But for physical removal and reinstallation of electrically-driven pumps and solenoids, this manual has the steps.
There’s also a procedure for the Electronic Unit Injector, which is electro-hydraulic. Page 26 shows you how to disconnect the injector harness without breaking the connector latch. It’s a small detail, but when that connector snaps, you’re ordering a new harness.
Source Authenticity: Why OEM Beats Aftermarket
I don’t trust third-party PDFs. I’ve had aftermarket manuals that list the wrong torque for the fuel injection pump gear – 50 N·m when Perkins says 80 N·m. That’s a three-hundred-dollar mistake. This Perkins 1106D 2007 Workshop Manual is an original factory document (SENR9983-01). The pages are scans of the actual Perkins publication, not a re-typed version. The diagrams are clear, the warnings are verbatim, and the torque values are cross-referenced with the parts catalog. If you want to know the difference, compare page 2 of this manual (safety warnings) to any aftermarket version – the aftermarket one will have typos or missing cautions.
Another thing: Perkins updates these manuals. The 2007 edition is the correct one for the 1106D PJ engines. The 2008 O&M manual has different info. Don’t mix them up. If you need the installation manual for the engine in a genset or machine, get the Perkins 1104D 1106D 2007 Installation Manual. But for repairs, this workshop manual is the one.
For the
Manual Transmission or other drivetrain components, this manual doesn’t cover them – it’s strictly engine. But if you’re rebuilding the gearbox, you’ll want a separate guide. See the Manual Transmission resources on our site. Same for the operation manual: the Perkins 1106D 2005 Operation and Maintenance Manual covers daily checks and oil specs, while this workshop manual is for when you need to open the engine.
FAQ
- Does this manual include torque specifications for the cylinder head?
- Yes, torque values are listed throughout. The cylinder head itself is not a separate procedure in this manual – the disassembly section focuses on the valve train and injector. For head removal, you’ll need the engine overhaul manual.
- Is the electrical wiring diagram included?
- No full wiring diagram. This is a disassembly and assembly manual. It covers removal and installation of electrical components like the wastegate solenoid and electric priming pump, but not wire routing or ECU pinouts. If you need electrical diagnostics, get the service manual or the operation manual for the specific machine application.
- Can I use this for a 1106D engine in a generator set?
- Yes, this manual covers the industrial engine platform 1106D regardless of application – generator, pump, compressor. The procedures are identical. However, the installation manual for your specific genset may have additional torque specs for the bellhousing.
- What tools are required for fuel injector removal?
- You’ll need a deep socket for the injector clamp bolts, a puller for the injector body (Perkins special tool or equivalent), and a torque wrench that reads in lb-ft. Page 26 lists the required tools.
This manual earned a permanent spot on my toolbox. If you’re serious about keeping your Perkins 1106D running without comebacks, stop sifting through forum guesses and YouTube hacks. Access the Factory Manual – the real one, with all 196 pages, and start working with verified data.
Additional information
| Brand | Perkins |
|---|---|
| Language | English |
3 reviews for Perkins 1106D 2007 Workshop Manual – OEM Factory Specs
You may also like…
-
Sale!
Perkins 1104C Service Manual – Factory Specs for Electronic Diesel Engines
Original price was: $79.20.$60.00Current price is: $60.00. -
Sale!
Perkins RE, RF, RG, RH, RJ 2002 Workshop Manual – OEM Service Data
Original price was: $94.25.$65.00Current price is: $65.00. -
Sale!
Perkins 1106D 2007 Service Manual – OEM Factory Diagnostics
Original price was: $94.90.$65.00Current price is: $65.00. -
Sale!
Perkins 2300, 2800 2006 Training Manual – OEM Factory Diagnostics
Original price was: $79.20.$60.00Current price is: $60.00.
Related products
-
Sale!

1992 Electrical Schematic – OEM Wiring Diagrams for International 1000-3800
Original price was: $24.48.$18.00Current price is: $18.00. -
Sale!
1993 Electrical Schematic – International 1000/3000/4000 Bus Chassis OEM Wiring Diagrams
Original price was: $29.26.$22.00Current price is: $22.00. -
Sale!
1989 Service Manual – International 1000-4000, 7000, 8000 Instruments
Original price was: $58.80.$40.00Current price is: $40.00. -
Sale!

Service Manual – International HS 2.8L Engine – 130 Pages of Factory Specs
Original price was: $56.40.$40.00Current price is: $40.00.
James L. –
Great buy! It is easily zoomable on my phone without losing quality. It helped me to repair my Perkins 1106D engine. Saved my repair job! Thank you.
David K. –
Great factory service manual. Quick access after checkout process. Every wiring layout is included for Perkins 1106D. I will definitely buy again.
workshop_guy –
This is just what I required. It is very easy to read on my iPad without blur. Contains detailed wiring diagrams for Perkins. Highly recommended for mechanics.