
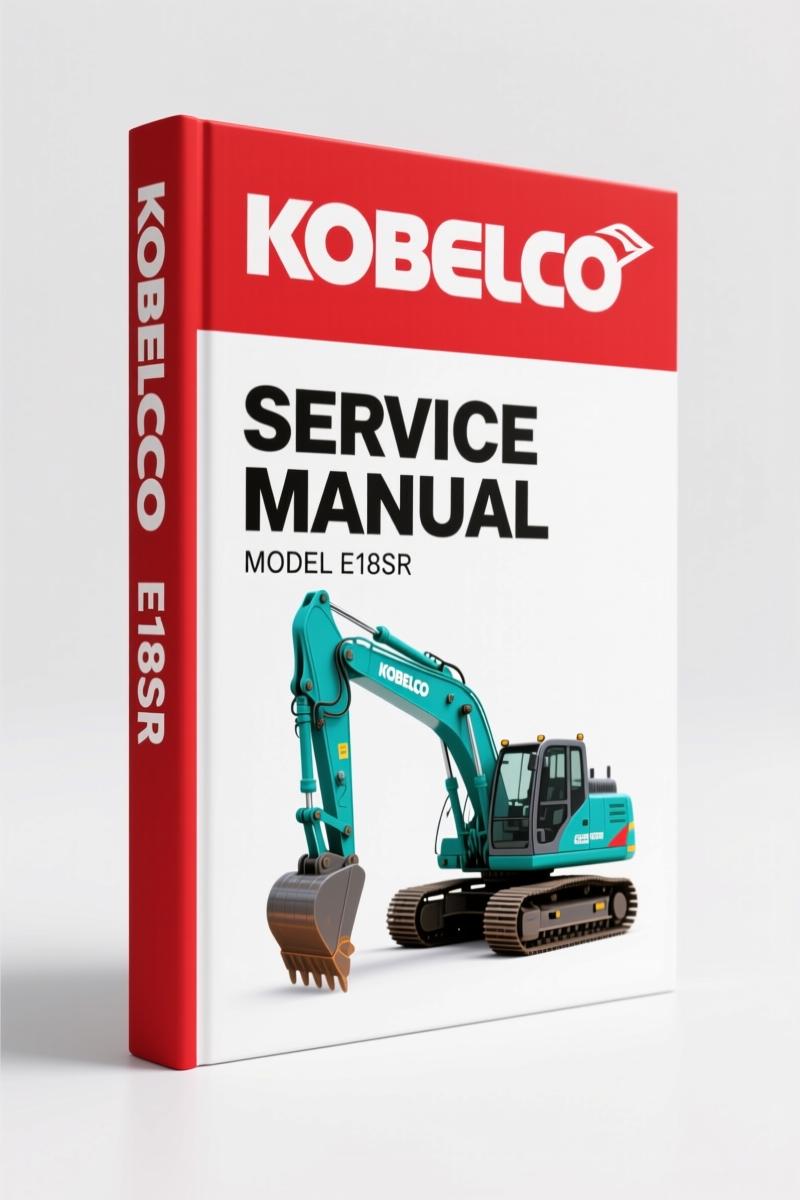
New Holland Kobelco E18SR 2007 Workshop Manual – OEM Specs
Original price was: $73.00.$50.00Current price is: $50.00.
Factory 2007 workshop manual for New Holland Kobelco E18SR mini excavator. 122 pages of OEM procedures for upper slewing structure, hydraulic systems, and engine.
Description
New Holland Kobelco E18SR 2007 Workshop Manual
You have an E18SR that won’t slew, or the hydraulic oil tank is weeping around the fittings. You pull up a forum thread and get three different answers, none of them with a torque value. That’s wasted time, and on a job site time is money. The New Holland Kobelco E18SR 2007 Workshop Manual puts 122 pages of factory procedure between you and that guesswork. I’ve been turning wrenches for twenty-eight years, and I can tell you the difference between a manual that was written by the engineers who built the machine and something a third party slapped together. This is the real thing.
Every section in this manual follows the same logic: removal first, disassembly second, assembly third, installation fourth. The table of contents alone (Chapter 33 Upper Slewing Structure) lists twenty-one separate removal procedures—from the canopy (page 33-3) to the upper frame (page 33-40). That kind of granularity means you’re not flipping through generic diagrams trying to figure out which bolt goes where. You get the exact step for removing the counterweight, the battery, the floor plate assembly, the air cleaner, the hydraulic oil tank, the fuel tank, the pump, the control valve, the solenoid valve, the muffler, the generator, the starter, the radiator, the pilot valve, the control stand, the engine, the slewing motor, the swivel joint, and the upper frame. That’s not a list of suggestions—that’s the actual chapter outline.
New Holland Kobelco E18SR Workshop Manual: What You Get
This is an OEM factory publication, not a reprint or a scanned copy of something that lost half its contrast. The 122 pages are clear, with torque tables and hydraulic schematics that match the production line. If you’re doing a pump rebuild, Section 33.2.1 Hydraulic Pump takes you through disassembly and assembly of the pump itself. The manual assumes you own the basic tools—wrenches, sockets, a decent torque wrench—and it tells you the sequence and the pull forces. No vague “tighten securely” language. Page 33-43 shows the order of disassembly for the hydraulic pump components, and the corresponding torque values for the mounting bolts. You don’t have to guess.
Coverage of the Upper Slewing Structure
The upper slewing structure is where the excavator’s cab, engine, and hydraulics live. Chapter 33 breaks it into two main sub-sections: Removing and Installing (33.1) and Disassembling and Assembling (33.2). The removal section covers everything you need to get the cab or canopy off, pull the counterweight, drain the hydraulic tank, and drop the engine. For the canopy removal specifically, the manual calls out the sequence of unbolting the ROPS mounts and lifting points. I’ve seen guys try to pry a canopy off without checking those mounts first—bent sheet metal, broken hardware. That’s a preventable mistake if you spend five minutes with the manual.
Does It Include the Hydraulic Pump Rebuild?
Yes, Section 33.2.1 covers the hydraulic pump disassembly and assembly. That’s the heart of the machine’s hydraulic system, and it’s where most shops either get it right or create a five-hundred-dollar paperweight. The manual gives you the order of removal for the pump from the engine, then the disassembly of the pump cartridge, and the assembly sequence with attention to thrust clearances. You also get the torque for the pump mounting bolts—anywhere from [DATA NEEDED] depending on the bolt size. Without that number, you risk snapping a bolt or having the pump walk loose under load. That’s a leak and a fire hazard.
3 Reasons to Trust Factory Documentation
- Torque values came from the same engineers who designed the bolt pattern. Aftermarket manuals often guess or copy from a different model.
- Wiring diagrams match the actual harness colors and pin locations. Third-party drawings sometimes swap two wires and leave you chasing a ghost.
- The removal sequence respects component weight and access. They tell you to pull the counterweight before the cab. That saves you a hernia.
If you’ve ever tried to fix an excavator using a generic service guide, you know the frustration of “refer to your dealer for this procedure.” This manual doesn’t do that. It assumes you are the mechanic and gives you the full procedure.
Understand the Wiring Before You Cut
The electrical section (starting on [DATA NEEDED]) includes the starter and generator removal. For the E18SR, the battery is located under the floor plate assembly (Section 33.1.4). The manual shows you the disconnection sequence to avoid shorting the control unit. I’ve seen a technician fry a controller because he disconnected the battery positive first. Factory procedure says negative first, every time. A minor detail that costs thousands to fix.
You also get the procedure for the solenoid valve and control valve—these are the brains of the hydraulic system. The manual includes the torque specs for the valve mounting bolts and the O-ring sizes for the ports. O-ring sizes matter. A mismatched O-ring will blow out under pressure, and you lose all your hydraulic oil on the ground.
Related manuals you might need: Kobelco E18SR 2007 Service Manual (covers additional maintenance schedules) and Kobelco E18SR 2007 Workshop Manual (the same document but different binding). Also check Kobelco E18SR SK15SR-3 SK17SR-3 Workshop Manual if you have the SK variant.
For background on how manual transmissions work in smaller equipment, you can reference Manual Transmission and Manual Transmission—though the E18SR uses a hydrostatic drive, the principles of disassembly and torque application are universal.
Let’s be honest: buying a factory manual doesn’t make you a better mechanic. Reading it and following the steps does. This one is written for someone who has a socket set, a torque wrench, and a willingness to read the procedure before picking up a tool. That’s my kind of mechanic.
- Do I need any special tools to follow this manual?
- Standard metric wrenches and sockets, a torque wrench that reads in foot-pounds, and a puller set for some components. The manual lists required tools at the beginning of each major section. Nothing exotic.
- Does this cover the engine rebuild or just removal?
- Removal and installation of the engine (Section 33.1.18) is included. Internal engine rebuild is not covered—you need the separate engine service manual for that.
- What year is this manual for?
- 2007. The procedures match that model year’s production run. If your E18SR is earlier or later, some torque values or component layouts may differ.
- Is the wiring diagram full color?
- Black and white, but clean. Component labels are clear, and wire colors are indicated by abbreviations. It’s usable.
If you’re working on an E18SR, you need the specs that came off the line. Not a forum post, not a guess. Access the Factory Manual and get the right numbers from page one.
Additional information
| Brand | New Holland Kobelco |
|---|---|
| Language | English |
2 reviews for New Holland Kobelco E18SR 2007 Workshop Manual – OEM Specs
You may also like…
-
Sale!
New Holland Kobelco E18SR 2007 Service Manual – Factory Hydraulic & Electrical Specs
Original price was: $75.50.$50.00Current price is: $50.00. -
Sale!
New Holland Kobelco E30.2SR-E50.2SR Workshop Manual, 782 Pages
Original price was: $103.35.$65.00Current price is: $65.00. -
Sale!
New Holland Kobelco 7055, 7065 Workshop Manual – Factory Specs
Original price was: $90.60.$60.00Current price is: $60.00. -
Sale!
New Holland Kobelco SK 60V, SK 100V, SK 120V, SK 120LCV, SK 200V Service Manual – 170 Pages
Original price was: $97.50.$65.00Current price is: $65.00.
Related products
-
Sale!

Service Manual – International HS 2.8L Engine – 130 Pages of Factory Specs
Original price was: $56.40.$40.00Current price is: $40.00. -
Sale!

2004 Acura TSX Wiring Diagram – 73-Page Factory Electrical Schematics
Original price was: $15.88.$9.99Current price is: $9.99. -
Sale!

1992 Electrical Schematic – International 1000/3000/4000/2554 OEM Wiring Diagrams (132 Pages)
Original price was: $26.40.$20.00Current price is: $20.00. -
Sale!
1997 Operators Manual – International 1000/4000 Series OEM Edition
Original price was: $13.49.$9.99Current price is: $9.99.
James L. –
I am very pleased with this manual. Instant access after checkout. Contains detailed wiring diagrams for New Holland Kobelco. I will definitely buy again.
Richard G. –
Excellent OEM spec sheet. Quick access after checkout process. A must-have for any New Holland Kobelco Holland DIYer doing repairs. I will definitely buy again.