
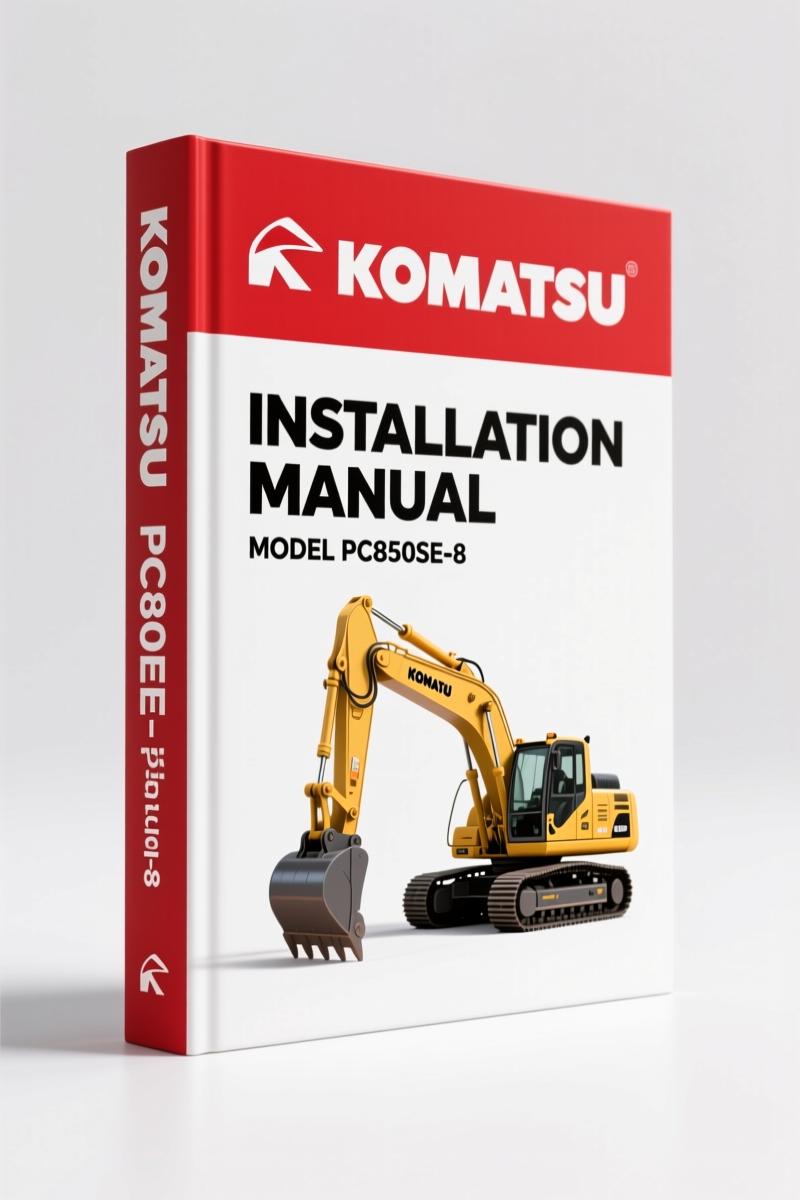
Komatsu PC800-8, PC800LC-8, PC800SE-8, PC850-8, PC850SE-8 Installation Manual Factory Specs
Original price was: $24.99.$19.99Current price is: $19.99.
Factory Installation Manual for Komatsu PC800-8 series excavators. 140 pages of OEM torque specs, assembly procedures, and hydraulic circuit flushing. Certified for field assembly.
Description
Komatsu PC800-8, PC800LC-8, PC800SE-8, PC850-8, PC850SE-8 Installation Manual
You have a 60-ton excavator sitting on a lowboy, and the work equipment is still in crates. Maybe you are a dealer tech, a field mechanic, or the owner who decided to self-assemble. Without the factory assembly procedure, you are guessing on hydraulic line routing, bolt torque, and the order of operations. Guessing on a machine that uses hydraulic pressure to lift itself puts everyone on the ground at risk.
This is the Komatsu PC800-8, PC800LC-8, PC800SE-8, PC850-8, PC850SE-8 Installation Manual — the same 140-page binder that ships with the crate from the factory. It is not a condensed aftermarket rewrite. It is Komatsu’s own field assembly instruction, written for the mechanic who has to build the machine before it digs a single yard of dirt.
Tightening Torque: Page 12 – Get It Right or Rebuild It
Every bolt on this machine has a specification. The manual lists tightening torque for all major fasteners in a dedicated section starting on page 12. You will find values for the track frame mounting bolts, the counterweight attachment, boom cylinder foot pins, and every hose clamp that matters. These are not suggested values; they are the numbers that prevent joint separation and hydraulic leaks. I have seen a field-assembled machine lose a counterweight because someone used a generic torque chart. Do not be that guy.
Base Machine Assembly: From Track Frames to Counterweight
Section A runs through 18 steps. You start with installation of left and right track frames (A-1), then travel pipes, top guard, radiator cover, rearview mirror, side step, handrails, muffler tail tube, and counterweight sheet. Each step calls out the tools you need — the manual includes a list of tools for field assembling before the torque section. When you get to A-16, testing track shoe tension, you need the tension gauge and the procedure. The manual gives you both. No guesswork on what PSI to set the track adjuster.
Work Equipment Assembly: Backhoe and Loading Shovel Procedures
Two separate sections cover backhoe (section B) and loading shovel (section C). Each one lays out the order of assembly for cylinders, booms, arms, and buckets. Section B alone has 16 steps: arm cylinder assembly, hose connections, boom foot installation, relieving residual hydraulic pressure (B-4), boom assembly, and then the bucket. The manual tells you to bleed air from cylinders after assembly (B-14). Skipping that step can destroy a cylinder seal within hours. The loading shovel section repeats the structure but with different piping for the bottom dump cylinder and flushing lines. You follow the section that matches your machine configuration.
Precautions for Field Assembly – They Mean It
The foreword and the precautions section are not filler. Komatsu spells out the chain of command: operation leader, person giving signals to the crane, local liaison officer. When you assemble a machine this size, multiple people work in dangerous positions — under the boom, near pressurized lines, on top of the chassis. The manual insists on a safety meeting before starting. If the crew speaks different languages, the local liaison officer must ensure everyone understands the signals. You ignore this section at your own liability.
Why Factory Specs Beat Aftermarket Copies
Aftermarket manuals reprint the same diagrams but they remove pages to save cost. They crop out the serial number ranges, omit the coating material chart, and replace Komatsu part numbers with generic references. This manual is original OEM print — every page matches what Komatsu shipped. The coating materials section (page 16) lists the exact adhesives and sealants required. If you use a different Loctite grade because the aftermarket book said “use threadlocker,” you risk fastener creep under vibration. I trust factory documentation because it has been tested with the actual production hardware.
Komatsu PC800-8, PC800LC-8, PC800SE-8, PC850-8, PC850SE-8 Installation Manual – Why It Matters
Your serial number tells you which version of the manual applies. PC800-8 starts at 50001, PC800LC-8 at 50001, PC800SE-8 at 50001, PC850-8 at 60001, PC850SE-8 at 60001. If you have a PC850SE-8, you use this manual. The field assembly inspection report pages at the back (both backhoe and loading shovel versions) let you document every check before the machine goes to work. That report is often required by warranty or insurance.
You need the related operation and maintenance manual for daily service — the KOMATSU PC800-8 PC800LC-8 Operation & Maintenance Manual covers fluid capacities and greasing intervals. For deeper repairs, get the Komatsu PC800 PC850-8 Workshop Manual. This installation manual is a one-time tool; you use it during assembly, then it sits on the shelf. But without it, you are throwing parts at the machine and hoping they line up. Unlike a Manual Transmission guide that covers a small subassembly, this document governs the entire structure of a 60-ton excavator. The Manual Transmission reference is irrelevant here — you need the big picture.
If you are assembling a PC850-8 from the crate, the Komatsu PC800-8 PC850-8 Field Assembly Instruction is the same manual. I have seen both names used; they point to the same PDF.
FAQ
- Does this manual cover the PC800SE-8?
- Yes. The serial number range includes PC800SE-8 from 50001 and up.
- What torque values are listed?
- The tightening torque section starts on page 12. It covers bolts from M12 to M30 with specific foot-pounds. Do not use generic charts.
- Is this for aftermarket parts or for OEM parts only?
- This is Komatsu’s own field assembly instruction for genuine Komatsu parts. Aftermarket components like cylinders or hoses may have different thread pitches or port locations. The manual assumes you are using factory parts with factory part numbers. If you substitute bolts or fittings, you must verify material grade and torque separately — the manual won’t account for those changes. I have seen a counterfeit counterweight bolt fail at 80% of spec because the aftermarket supplier used a different steel alloy. You cannot afford that corner.
- How many pages does the manual have?
- 140 pages.
You already know the risk of assembling a machine without the factory procedure. Access the Factory Manual now and keep it on the tablet next to the crate. Your fingers — and your crew — will thank you.
Additional information
| Brand | Komatsu |
|---|---|
| Language | English |
2 reviews for Komatsu PC800-8, PC800LC-8, PC800SE-8, PC850-8, PC850SE-8 Installation Manual Factory Specs
You may also like…
-
Sale!
Komatsu PC5500E-6 Workshop Manual – 1378 Pages
Original price was: $150.00.$100.00Current price is: $100.00. -
Sale!
Komatsu HD1200 1980 Workshop Manual – Factory Specs & Procedures
Original price was: $91.50.$75.00Current price is: $75.00. -
Sale!
Komatsu PC600LC-6 Workshop Manual – Factory Service Data for 732-Page Excavator Guide
Original price was: $112.80.$80.00Current price is: $80.00. -
Sale!
Komatsu D65EX, D65PX, D65WX Workshop Manual – 2820 Pages
Original price was: $108.75.$75.00Current price is: $75.00.
Related products
-
Sale!

1993 Operators Manual – International Bus 1000-3000 OEM Specs
Original price was: $12.30.$7.99Current price is: $7.99. -
Sale!
1994 Troubleshooting Manual – International 1000-4000 FBC
Original price was: $60.00.$50.00Current price is: $50.00. -
Sale!
International 1000-3000 Series Operators Manual – 132 Pages of OEM Specs
Original price was: $14.40.$10.99Current price is: $10.99. -
Sale!

2004 Acura TSX Wiring Diagram – 73-Page Factory Electrical Schematics
Original price was: $15.88.$9.99Current price is: $9.99.
Charles W. –
This is just what I required. Immediate link after payment. It guided me to rebuild my Komatsu PC8008, engine. Saves me so much money.
workshop_guy –
Excellent quality! It is very easy to read on my tablet without losing quality. A must-have for any Komatsu PC8008, owner doing maintenance. Great value for money.