
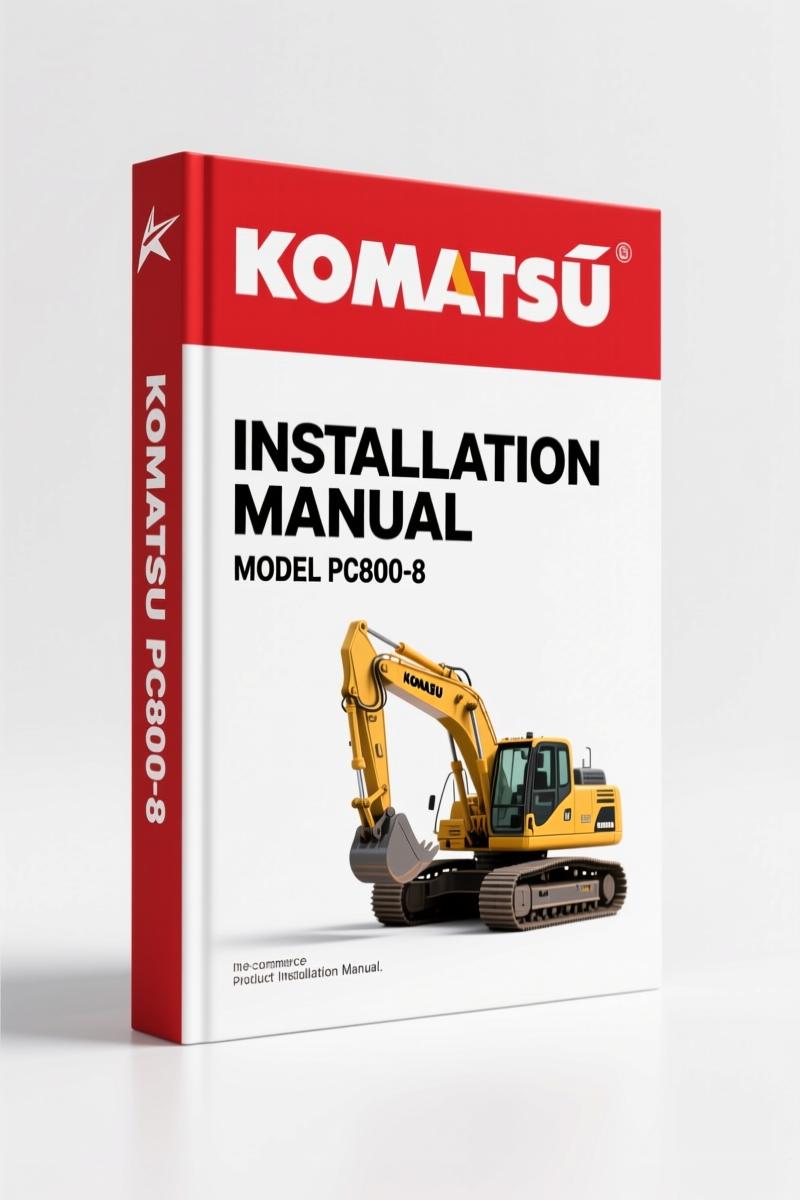
Komatsu PC800-8/PC800LC-8/PC800SE-8/PC850-8/PC850SE-8 Install
Original price was: $38.25.$25.00Current price is: $25.00.
Factory installation manual for Komatsu PC800-8 series. 180 pages of OEM torque specs and assembly procedures for field setup.
Description
Komatsu PC800-8, PC800LC-8, PC800SE-8, PC850-8, PC850SE-8 Installation Manual
If you’re assembling a Komatsu PC800-8, PC800LC-8, PC800SE-8, PC850-8, or PC850SE-8 from a shipping crate, the factory Installation Manual is not optional. It’s what Komatsu sends to their own field techs. 180 pages of steps that assume you’ve got the right tools and the sense to use them. No fluff, no third-party approximations – raw OEM data from the original PDF file.
Before you even touch a wrench, read the Precaution section. Page 2 tells you that the engine must be run to install work equipment. Miss that step and you’re fighting hydraulic locks you didn’t need to have. I’ve seen field-assembled machines leak from day one because somebody skipped the air bleed on a travel motor. That’s the kind of mistake this manual keeps you out of – if you follow it.
Torque Specs That Apply to Every Bolt
The Tightening Torque section (page 13) lists fastener specs for the whole machine – track frame bolts, counterweight mounts, cylinder pins. These are not suggestions. Komatsu engineers picked those numbers after testing. Use a calibrated torque wrench and check the thread condition. Hydraulic line fittings on these excavators hold pressures that will kill you if they blow. The manual also includes a coating material list (page 17) for thread locker and sealant – another detail aftermarket PDFs usually omit.
Does This Manual Cover the Full Machine Assembly?
Yes, and it splits the job into four logical blocks: Chassis Assembly (section A), Backhoe Work Equipment Assembly (section B), Loading Shovel Work Equipment Assembly (section C), and Counterweight Remover Assembly (section D). Each block has numbered sub-steps – from installing left and right track frames to greasing after work equipment assembly. You also get the field assembly inspection report templates at the end for backhoe and loading shovel. That’s useful if you’re certifying a rental unit or prepping a machine for dealer delivery. The manual also covers the KOMTRAX antenna and step light – small items that a generic guide would leave out.
Assembly of Chassis – What You’ll Find
Section A starts with the track frames and travel pipe. If you’ve ever bolted up a top guard without the radiator cover alignment, you know why the order matters. Step A-4 shows the radiator cover installation sequence. Later steps walk through the muffler tail tube, counterweight sheet sticking, and fuel/coolant/oil level checks. Each step references the kit layout diagram and tool list earlier in the manual. That’s the kind of interconnectivity aftermarket reprints miss – they’ll give you a vague “install the counterweight” without telling you which shims go where.
3 Reasons to Choose OEM Documentation Over Aftermarket
First, the torque values and hydraulic circuit pressure data come from Komatsu’s engineering department, not a transcriber in a basement. Second, the wiring diagrams for work equipment lighting (section B-15) and the KOMTRAX antenna are factory originals. Third, the field assembly inspection report at the end gives you a checklist that dealers use to sign off on new machines. You won’t get that from a third-party site. If you need the companion documents, check the KOMATSU PC800-8 PC800LC-8 Operation & Maintenance Manual”>Operation & Maintenance Manual for daily checks or the Komatsu PC800 PC850-8 Workshop Manual”>Workshop Manual for major overhauls.
Backhoe and Loading Shovel Assembly Procedures
Sections B and C are the meat of this manual. They cover arm cylinder assembly, boom foot dust seals, quick return hose installation, and bucket assembly. For the loading shovel variant, steps C-1 through C-21 include releasing residual hydraulic pressure from the circuit before you pull pins. That safety step is easy to skip when you’re in a hurry – but a pressurized line will spray hot oil in your face. The manual also tells you how to bleed air from hydraulic cylinders after assembly (step B-17). Ignore that and the machine will drift on the lift. I’ve seen a $400,000 excavator sit in the yard because the cylinder seals burned out after a dry start.
Counterweight remover assembly (section D) is a specialized sub-system that most aftermarket manuals don’t even mention. This one covers rubber cushion installation, shim adjustment, and greasing sequences. You also get the air bleed procedure for the counterweight remover circuit – page numbers vary but the info is in steps D-7 and D-8. For deep diagnostic work, pair this with the Komatsu PC800-8 Series Workshop Manual – 1129 Pages Factory Specs”>PC800-8 Series Workshop Manual which has 1129 pages of component repair data. If you need to understand transmission overhaul basics, there’s a good Manual Transmission”>reference on manual transmission for cross-platform knowledge.
- Can a home garage mechanic use this manual?
- No. This is written for trained field assemblers with proper lifting equipment and hydraulic testing tools.
- Does it list torque values for all major fasteners?
- Yes – the Tightening Torque section on page 13 covers bolts for track frames, counterweight, boom cylinders, and other structural components. However, you need to know the bolt grade and thread condition. The manual references coating materials on page 17 that affect clamping force (e.g., moly paste vs. engine oil). If you skip the coating spec and torque dry, you’ll get inaccurate preload. Always cross-check with the part number in the kit layout diagram. And never reuse bolts after torquing – Komatsu marks many fasteners as one-time use. That’s not in the torque table but it’s implied in the assembly notes.
Every shop that ships kit-built Komatsu excavators should have this manual on the bench. It’s the difference between a machine that passes inspection first time and one that comes back with a hydraulic weep. Access the Factory Manual and print it – you’ll reference it on every job.
Additional information
| Brand | Komatsu |
|---|---|
| Language | English |
2 reviews for Komatsu PC800-8/PC800LC-8/PC800SE-8/PC850-8/PC850SE-8 Install
You may also like…
-
Sale!
Komatsu D65EX, D65PX, D65WX Workshop Manual – 2820 Pages
Original price was: $108.75.$75.00Current price is: $75.00. -
Sale!
Komatsu PC600LC-6 Workshop Manual – Factory Service Data for 732-Page Excavator Guide
Original price was: $112.80.$80.00Current price is: $80.00. -
Sale!
Komatsu HD1200 1980 Workshop Manual – Factory Specs & Procedures
Original price was: $91.50.$75.00Current price is: $75.00. -
Sale!
Komatsu PC5500E-6 Workshop Manual – 1378 Pages
Original price was: $150.00.$100.00Current price is: $100.00.
Related products
-
Sale!

2011 Parts Catalog – International 7400 SFA 6X6 – 1886 Pages of OEM Part Numbers
Original price was: $32.00.$25.00Current price is: $25.00. -
Sale!

Technical Manual – International DT 530 & HT 530 (118 Pages)
Original price was: $37.00.$25.00Current price is: $25.00. -
Sale!

1996 Operators Manual – International 1000-4000 Series (246 pages)
Original price was: $15.28.$9.99Current price is: $9.99. -
Sale!

Service Manual – International HS 2.8L Engine – 130 Pages of Factory Specs
Original price was: $56.40.$40.00Current price is: $40.00.
John S. –
Excellent factory service manual. The PDF quality is excellent. Contains precise wiring diagrams for Komatsu. Saved my weekend project! Thanks.
gearhead88 –
This is just what I required. Instant access after checkout process. Every wiring layout is provided for Komatsu PC8008/PC800LC8/PC800SE8/PC8508/PC850SE8. Worth every penny.