
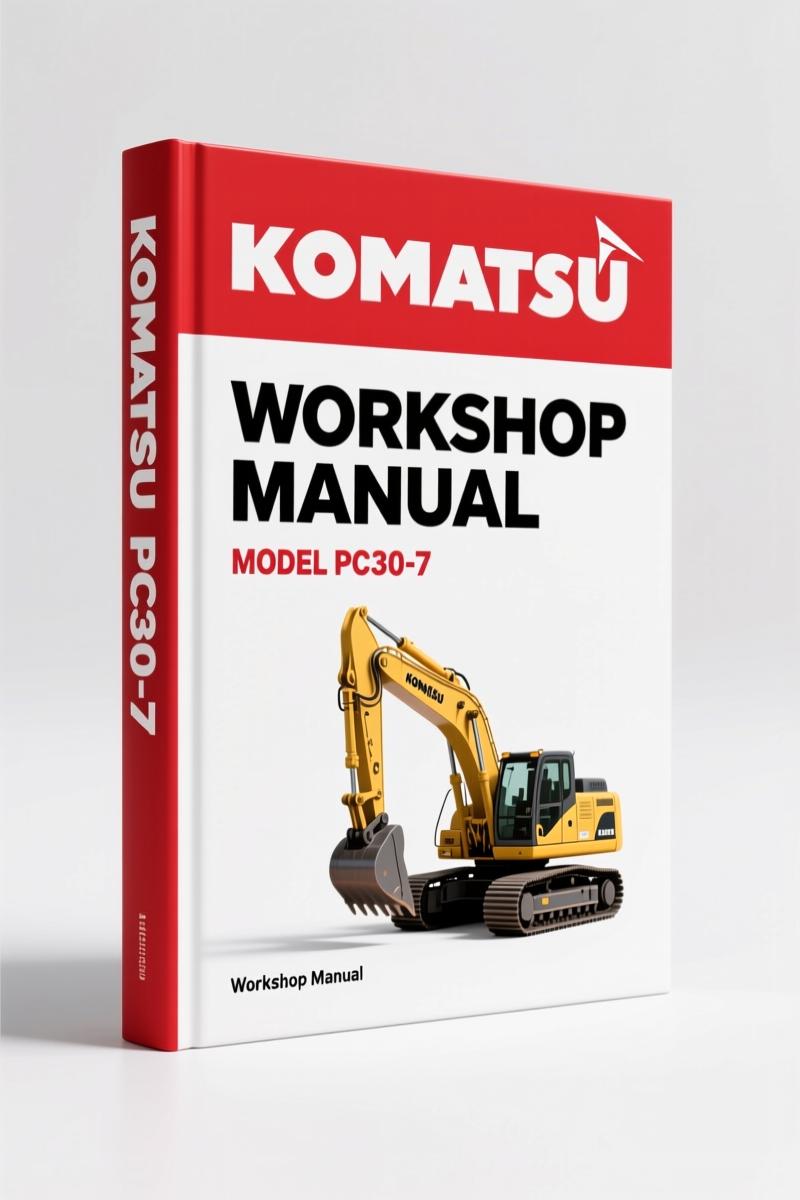
Komatsu PC25-1, PC30-7, PC40-7, PC45-1 1996 Workshop Manual – Factory Specs
Original price was: $91.65.$65.00Current price is: $65.00.
Factory OEM 387-page workshop manual for Komatsu PC25-1, PC30-7, PC40-7, PC45-1. Torque specs, fuel injection timing, hydraulic troubleshooting.
Description
Komatsu PC25-1, PC30-7, PC40-7, PC45-1 1996 Workshop Manual
If you have spent any time wrenching on a mini excavator, you know the difference between a part that goes back together right and one that comes apart again in two hours. This Komatsu PC25-1, PC30-7, PC40-7, PC45-1 1996 Workshop Manual is the same book the dealer techs used when these machines were new. It is a 387-page OEM print, not some aftermarket transcription where someone guessed the torque spec on a hydraulic fitting. I have pulled enough stripped bolts out of equipment owned by guys who “just looked it up online” to tell you: you want the factory numbers.
Standard Tightening Torque: The Numbers That Keep It Together
Every fastener on these machines has a specific torque range listed in the Foreword section of this manual. The table called STANDARD TIGHTENING TORQUE gives you the ft-lb values for metric bolts by size and grade. No “tighten until it feels right” — you get the actual spec. For example, a M10 bolt with a 9.8 property class gets a certain ft-lb number, and you better believe that matters on the swing circle bolts. Page 20-1 starts the Testing and Adjusting section where you verify those torques during reassembly. Skip that step and you will be pulling the track frame again.
Fuel Injection Timing – Get It Right or Pay the Fuel Bill
The 3D84-3 and 4D84-3 engines in these models use indirect injection. The manual has a dedicated procedure: MEASURING COMPRESSION PRESSURE and ADJUSTING FUEL INJECTION TIMING. You need the correct alignment marks and a dial indicator. This workshop manual walks you through measuring static timing and adjusting the fuel control lever. If you set it wrong, the engine either lugs or smokes. Page 10-1 in the Structure and Function section shows the fuel system layout so you know which line goes where before you crack an injector nut.
Testing and Adjusting: Step-by-Step Without the Guessing
Section 20 (starting on page 20-1) lists every tool you need: pressure gauges, flow meters, tachometer, timing light. It also includes a TABLE OF JUDGEMENT STANDARD VALUE — the acceptable pressure ranges for the work equipment, swing, and travel circuits. You want to know if your PPC valve output is within spec? The manual gives you the test port locations and the pressure readings in psi. It even covers bleeding air from the hydraulic circuit and releasing remaining pressure so you don’t get a face full of hot oil. If you ever had to troubleshoot a machine that drifts after a seal replacement, the section TESTING LOCATIONS CAUSING HYDRAULIC DRIFT OF WORK EQUIPMENT will save you hours of swapping parts.
Hydraulic System Diagrams and Troubleshooting Codes
The manual includes the full HYDRAULIC CIRCUIT DIAGRAM and ELECTRICAL CIRCUIT DIAGRAM. For the electrical system, there is a CONNECTION TABLE FOR CONNECTOR and a list of all connector positions. Troubleshooting is broken into E mode (electrical), H mode (hydraulic and mechanical), and M mode (monitor). Want to know why the travel speed does not increase when you press the acceleration pedal? Look at H-13 and H-14. Each failure mode has a step-by-step diagnostic flow chart. This is not a generic Chilton book — it is the exact procedure Komatsu wrote for their techs.
3 Reasons to Use OEM Documentation Over Aftermarket
Aftermarket manuals reprint the diagrams at lower resolution and often leave out the STANDARD TIGHTENING TORQUE table or the COATING MATERIALS section that tells you what thread locker to use on the center swivel joint bolts. This manual is a direct scan of the original 1996 Komatsu print, including the LIST OF REVISED PAGES at the front that shows every update. If you are trying to rebuild a travel motor or set the valve clearance on the 3D84-3, you need the factory numbers — not a summery. See also the Komatsu PC25-1 PC30-7 PC40-7 PC45-1 2003 Operators Manual for daily operation guides, or the Komatsu PC25-1, PC30-7, PC40-7, PC45-1 2003 Operators Manual – Factory OEM for a companion operator’s view. For other Komatsu equipment, the Komatsu WA65-5 WA70-5 WA80-5 2005 Workshop Manual is also available on site.
If you are not comfortable with how a Manual Transmission works in terms of gear ratios and shift forks, brush up on the basics because this manual assumes you understand powertrain fundamentals. The same goes for reading hydraulic schematics — the Manual Transmission reference on Wikipedia is a good primer for understanding how power flows, but the manual itself gives you the exact valve stack and port numbers.
FAQ
- Can I use this manual to repair the hydraulic breaker attachment?
- Yes. Section 10 includes a HYDRAULIC BREAKER subsection covering structure and function. Section 20 has TESTING HYDRAULIC BREAKER GAS PRESSURE.
- Does the manual include specifications for the 4D84-3 engine used in the PC40-7 and PC45-1?
- Absolutely. The manual covers both the 3D84-3 (PC25-1, PC30-7) and the 4D84-3 (PC40-7, PC45-1) engines with separate valve clearance specs, fuel injection timing procedures, and compression pressure values. It references the 84 Series Engine Shop Manual for deep detail, but all the adjustments for these models are in these 387 pages. The STANDARD TIGHTENING TORQUE table is engine-agnostic — it applies to the whole machine. You get the torque for the cylinder head bolts, the main bearing caps, and the flywheel housing. If you are rebuilding the 4D84-3 from the block up, you need the engine supplementary manual, but for installation and adjustment of the engine in the chassis, this workshop manual gives you everything: the mounting bolt torques, the fuel line routing, the PTO alignment specs, and the cooling system hose sizes. It also covers the electrical connection diagram for the glow plug system and the alternator wiring. I have used this manual to set the fuel injection timing on a PC40-7 that had been sitting for two years — it fired on the first crank because the numbers were right. Do not trust a forum post for something like that. Get the factory spec.
This is the manual you pull out when the machine is down and the job is waiting. Every torque value, every test pressure, every wire color code is from Komatsu’s engineering department — not a third-party guess. If you own any of these four models, this is your insurance policy against comebacks and broken parts. Access the Factory Manual now and put the right number on every bolt.
Additional information
| Brand | Komatsu |
|---|---|
| Language | English |
4 reviews for Komatsu PC25-1, PC30-7, PC40-7, PC45-1 1996 Workshop Manual – Factory Specs
You may also like…
-
Sale!
Komatsu D65EX, D65PX, D65WX Workshop Manual – 2820 Pages
Original price was: $108.75.$75.00Current price is: $75.00. -
Sale!
Komatsu PC5500E-6 Workshop Manual – 1378 Pages
Original price was: $150.00.$100.00Current price is: $100.00. -
Sale!
Komatsu PC600LC-6 Workshop Manual – Factory Service Data for 732-Page Excavator Guide
Original price was: $112.80.$80.00Current price is: $80.00. -
Sale!
Komatsu HD1200 1980 Workshop Manual – Factory Specs & Procedures
Original price was: $91.50.$75.00Current price is: $75.00.
Related products
-
Sale!

2004 Acura TSX Wiring Diagram – 73-Page Factory Electrical Schematics
Original price was: $15.88.$9.99Current price is: $9.99. -
Sale!

1992 Electrical Schematic – OEM Wiring Diagrams for International 1000-3800
Original price was: $24.48.$18.00Current price is: $18.00. -
Sale!

Service Manual – International HS 2.8L Engine – 130 Pages of Factory Specs
Original price was: $56.40.$40.00Current price is: $40.00. -
Sale!

1989 Service Manual – International 2000-8000 Electrical Systems
Original price was: $72.00.$50.00Current price is: $50.00.
diy_master –
This is exactly what I needed. The pages are clean and well indexed. A must-have for any Komatsu PC251, DIYer doing maintenance. Saves me so much money.
James L. –
This is exactly what I needed. The PDF is very clear. Every spec sheet is provided for Komatsu PC251,. Saved my weekend project! Thank you.
Thomas B. –
I am very pleased with this transaction. The PDF is high resolution. Every spec sheet is provided for Komatsu PC251,. Saved my weekend project! Thank you.
John S. –
This is exactly what I needed. The document is very clear. Every torque spec is provided for Komatsu PC251,. I will recommend this shop to others.