
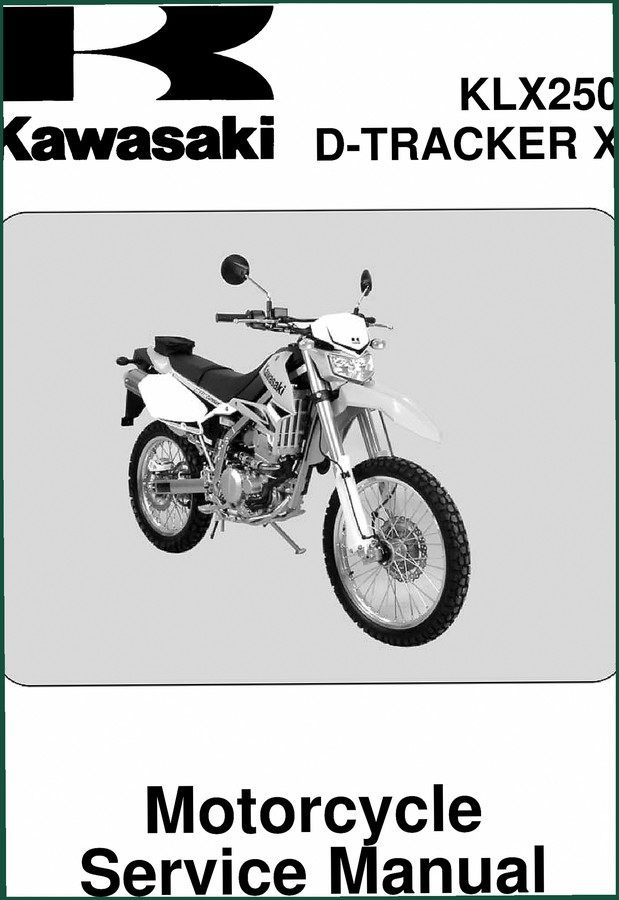
Kawasaki KLX250, D-TRACKER X Service Manual – 558 Pages OEM Specs
Original price was: $41.40.$30.00Current price is: $30.00.
558-page OEM service manual for KLX250 and D-TRACKER X. Covers DFI troubleshooting, torque specs, and maintenance schedules.
Description
Kawasaki KLX250, D-TRACKER X Service Manual
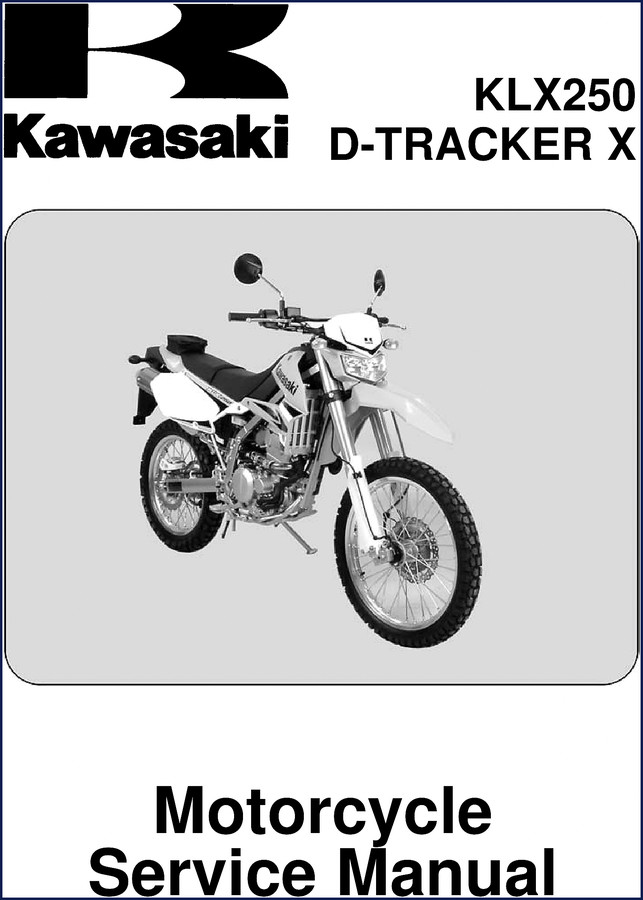
I’ve been turning wrenches for 28 years. ASE Master Technician, six bays in San Antonio. If I’m working on a KLX250 or a D-TRACKER X, this is the book I pull off the shelf. Not aftermarket junk with torque values pulled out of thin air. This is the OEM Kawasaki document – 558 pages, factory original, no reprints. You want to do a valve clearance adjustment without bending a shim? You need the spec off page 76. That’s not a guess; that’s the factory number.
Periodic Maintenance: 20 Pages of Inspection Charts
This manual starts with a periodic maintenance chart that covers everything from air cleaner element cleaning to spoke tightness and rim runout. Each procedure has its own torque and locking agent spec. The fuel system (DFI) section alone walks you through idle speed adjustment, throttle control system inspection, and evaporative emission control system inspection for SEA and TH models. If you skip the chart and just tighten bolts by feel, you’ll be chasing oil leaks on Monday. I’ve seen it happen. The chart is on page 34, and it lists intervals in miles and hours. Stick to it.
DFI Troubleshooting: Service Codes 11–14 Explained
The DFI system on these bikes is solid, but when it acts up you need the self-diagnosis procedure. This manual gives you service code 11 (main throttle sensor), code 12 (inlet air pressure sensor), code 13 (inlet air temperature sensor), and code 14 (water temperature sensor). For each code, there’s a removal/adjustment procedure, input and output voltage inspections, and resistance checks. No vague wiring diagrams – actual voltage ranges. The troubleshooting guide works through rider inquiries first, then goes straight into the code table. That’s how you fix a DFI issue in under an hour, not three hours of swapping parts.
Torque Specs and Locking Agents – Where to Find Them
Every damn fastener in the manual has a torque value and a recommended locking agent. Head bolts, fork clamps, caliper mounting bolts – all specified. The periodic maintenance chapter includes a dedicated table for torque and locking agent on page 49. Don’t rely on your memory. I’ve seen a guy snap a swingarm pivot bolt because he thought 80 ft-lb felt right. The spec was 58 ft-lb. This book keeps you honest.
Valve Clearance Adjustment: Shimming Method from the Factory
The engine top end chapter covers valve clearance inspection and adjustment with shims. The procedure is laid out step by step: remove the camshaft, measure clearance, select the correct shim thickness, reinstall. The manual lists the standard clearance values for intake and exhaust. If you’re off by 0.001 inch, you’ll get a tick or a burned valve. The spec is on page 102. No shortcuts – you’ll need a micrometer and a set of shims. That’s the right way.
Does This Manual Cover the Cooling System and Electrical?
Yes. The cooling system chapter includes coolant change procedures, radiator hose and O-ring replacement, and bleed methods. The electrical system chapter covers lights and switches operation, headlight aiming, sidestand switch inspection, and engine stop switch operation. There’s even a section on the battery and charging system. Every wire color is printed. Page 320 has the full wiring diagram. That’s OEM accuracy – not a generic schematic from the internet.
3 Reasons to Trust OEM Documentation Over Aftermarket
First, the unit conversion table is factory-calculated. Second, the special tools list is exact – part numbers, not descriptions like ‘special socket’. Third, the oil filter replacement procedure tells you the torque for the filter cap and the oil drain plug. Aftermarket manuals often leave that out. You end up with a crushed O-ring or a stripped pan. Not here. This manual was printed by Kawasaki Heavy Industries, Ltd. in 2008, sixth edition. That’s the source.
- Does this manual cover the D-TRACKER X?
- Yes. D-TRACKER X is in the title and all chapters apply.
- What service codes are covered in the DFI section?
- Service codes 11 through 14. Code 11 is main throttle sensor, code 12 is inlet air pressure sensor, code 13 is inlet air temperature sensor, and code 14 is water temperature sensor. Each has complete removal, installation, and voltage inspection procedures. The manual also tells you how to enter self-diagnosis mode and erase codes after repair. That section runs from page 80 to page 126, including the service code table and backups. If you’re chasing a DFI problem, that’s where you start.
- Kawasaki Ninja 250R Service Manual – 428 Pages of Factory Specs
- Kawasaki Ninja ZX-6R Motorcycle Service Manual
- Kawasaki Ninja ZX-6R Motorcycle Service Manual – Section: Appendix
If you want to work on this bike right – without guesswork, without rounded bolts, without wasted Saturdays – access the factory manual. It’s the same 558 pages I trust in my shop. Manual Transmission fundamentals are covered in the appendix if you need a refresher on transmission internals. Manual Transmission details are also there for deeper understanding.
Additional information
| Brand | Kawasaki |
|---|---|
| Language | English |
2 reviews for Kawasaki KLX250, D-TRACKER X Service Manual – 558 Pages OEM Specs
You may also like…
-
Sale!
Kawasaki KLF 250, BAYOU 250 Service Manual – 322 Pages Factory Specs
Original price was: $63.00.$45.00Current price is: $45.00. -
Sale!
Kawasaki 92ZV-2 2011 Workshop Manual – 541 Pages Factory Specs
Original price was: $83.20.$65.00Current price is: $65.00. -
Sale!
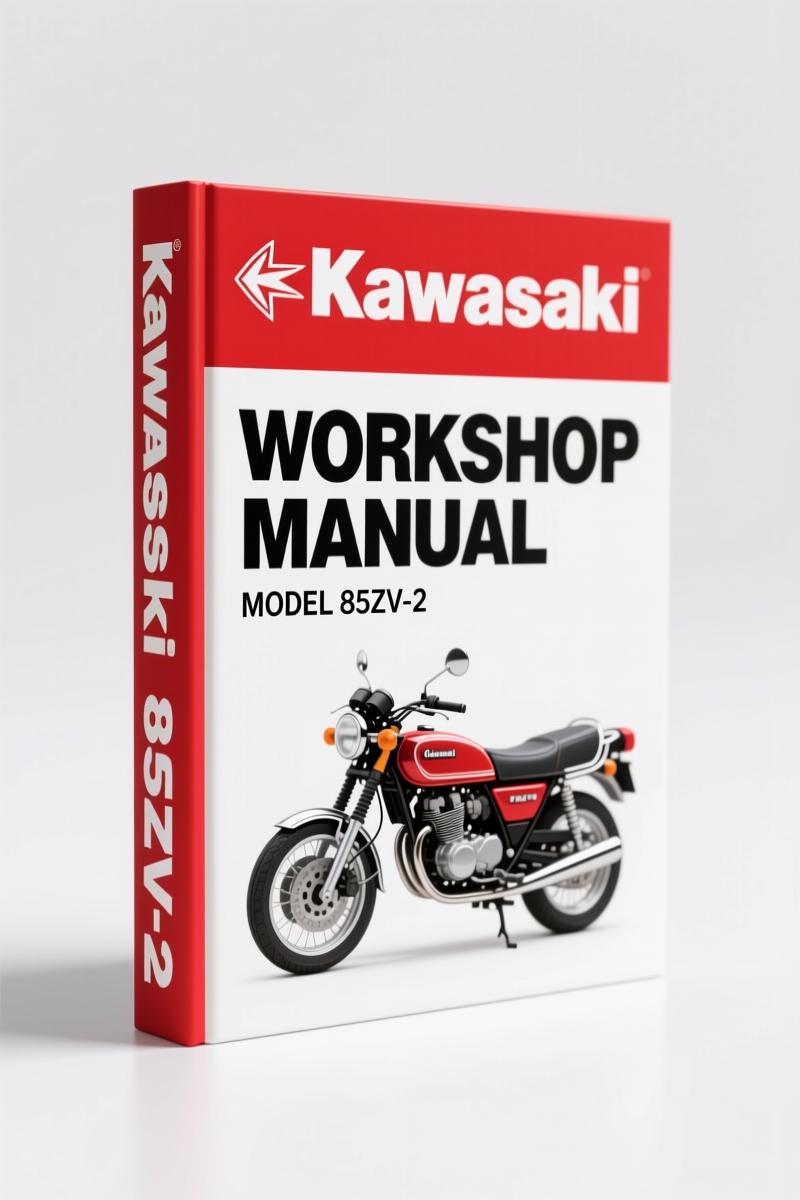
Kawasaki 85ZV-2 2011 Workshop Manual – 555 Pages Factory Specs
Original price was: $91.00.$65.00Current price is: $65.00. -
Sale!
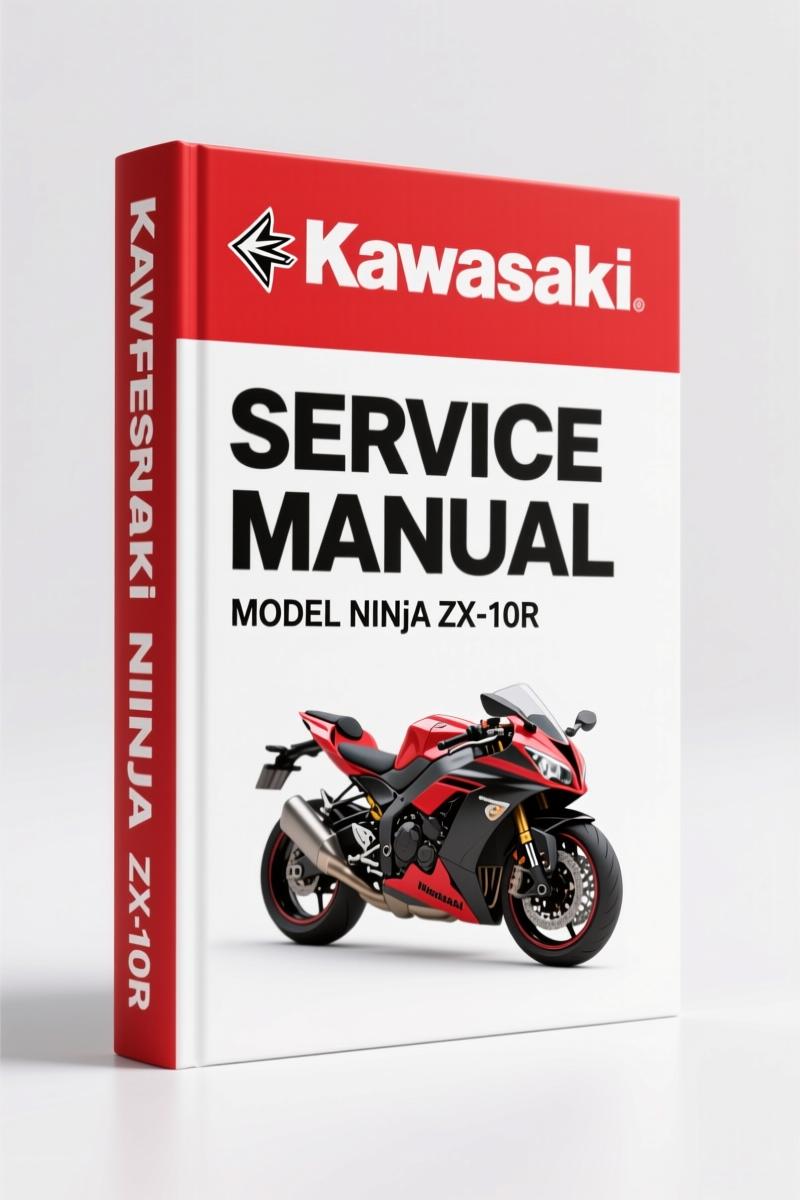
Kawasaki Ninja ZX-10R Service Manual – Factory OEM Specs
Original price was: $60.75.$45.00Current price is: $45.00.
Related products
-
Sale!

1995 Operators Manual – International 1000-4000 Series | OEM Documentation
Original price was: $12.49.$9.99Current price is: $9.99. -
Sale!

2004 Acura TSX Wiring Diagram – 73-Page Factory Electrical Schematics
Original price was: $15.88.$9.99Current price is: $9.99. -
Sale!
1994 Troubleshooting Manual – International 1000-4000 FBC
Original price was: $60.00.$50.00Current price is: $50.00. -
Sale!

2006 Service Manual – International DT 466E, 530E Diesel Engine
Original price was: $67.50.$50.00Current price is: $50.00.
Richard G. –
Highly recommended! It is very easy to read on my iPad without losing quality. Contains clear schematics for Kawasaki. I will recommend this shop to others.
workshop_guy –
Great buy! Instant access after checkout. Contains precise wiring diagrams for Kawasaki. Saved my repair job! Thank you.