
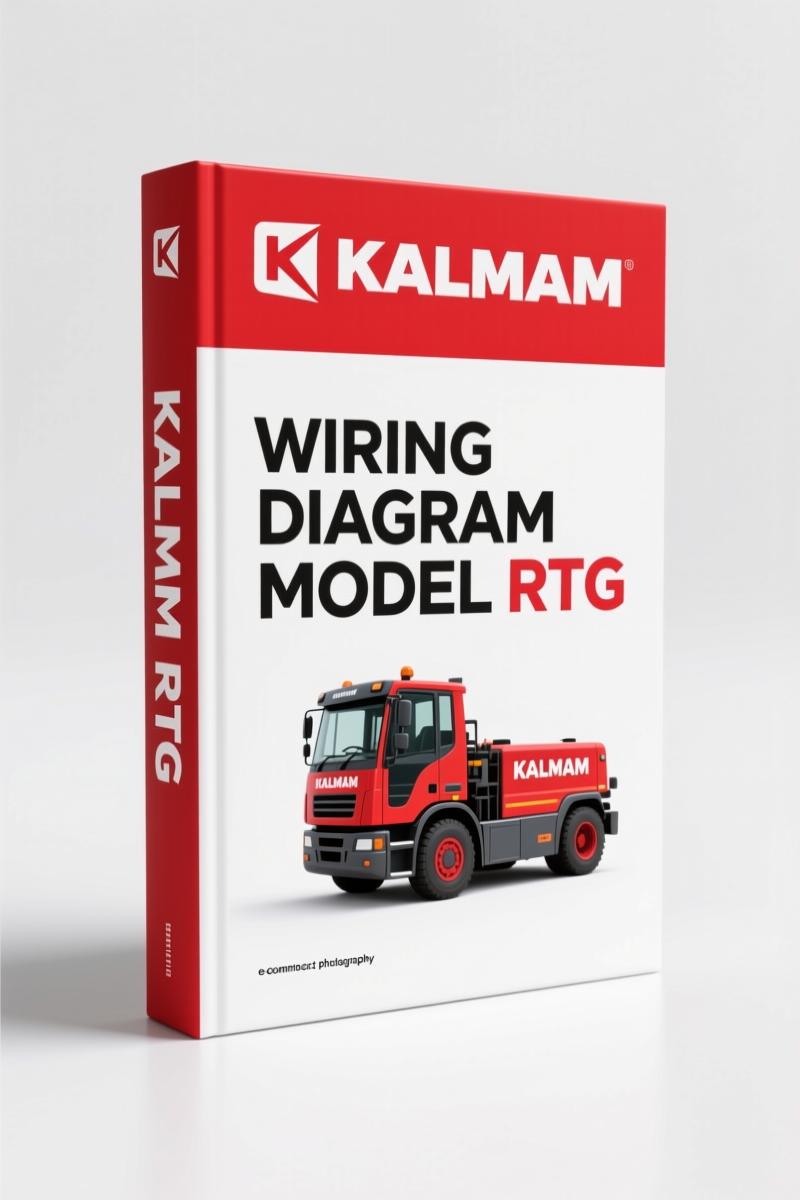
Kalmar RTG Wiring Diagram – 57-Page OEM Electrical Schematics
Original price was: $31.60.$20.00Current price is: $20.00.
OEM Kalmar RTG wiring diagram: 57 pages of AC power distribution, device lists, cable lists, and control schematics. Factory certified.
Description
Kalmar RTG Wiring Diagram – The Only Factory Schematic You Should Trust
If you’re chasing an electrical ghost in a Kalmar RTG Wiring Diagram, you don’t need guesswork. You need the factory wiring diagram – the one that shows every conductor, every connector, every device. I’ve spent more hours than I care to count flattening a meter against a schematic that didn’t match the machine. This 57-page OEM document from Cargotec’s Kalmar division is the real deal – no third-party redraw, no generic symbols. It starts with a single line diagram on page 1 that shows the basic system architecture: main components, fuse ratings, motor specs. From there it fans out into the full circuit diagrams.
What the Kalmar RTG Wiring Diagram Covers
This manual is a pure wiring diagram – don’t expect repair procedures or torque specs. What you get is sheet-by-sheet coverage of the entire electrical system: AC power distribution from 1A through 1S, ground power distribution sheets 1T-1V, host drive (1W-1X), gantry drive (1XX-1Y), and an emergency stop circuit that spans sheets 1Z through 2A. The power unit section runs from 2B to 2M, and you’ll find 24VDC inputs and steering inputs in sheets 2N through 2U. If you need to trace trolley inputs or outputs, those are sheets 2F through 2K and 2N-2P. Spreader inputs and outputs sit on sheets 2L and 2M. Cabin wiring (3A-3D), cable lists (6A-6E), connector pinouts (7A-7D), and a massive device list (8A through 14B) let you cross-reference every component. The last sheets (15A-15C) cover the 380V steering contactors.
AC Power Distribution: 18 Sheets of High-Voltage Detail
Power distribution is where most failures start – blown fuses, corroded bus bars, mis-wired contactors. The manual dedicates sheets 1A through 1S to AC power distribution. Each sheet shows the three-phase path from the incoming line through main breakers, contactors, and transformers to the drives. If you’re chasing a no-power condition on the host or gantry, start at sheet 1A and trace forward. The device list (sheets 8A-14B) includes the exact part numbers and ratings – you don’t need to guess what fuse goes where. Grab a multimeter, set it to continuity, and follow the copper.
Host Drive and Gantry Drive Circuits
The host drive (1W-1X) and gantry drive (1XX-1Y) are the muscle of the RTG. These sheets show the drive controller wiring, motor connections, feedback encoders, and brake circuits. If the hoist won’t lift or the gantry slews erratically, you need to check the drive command signals and resolver wiring. This diagram shows every wire number and terminal designation. I’ve seen aftermarket docs label the brake release pin as “B+” when it’s really pin 14 on connector X3. This manual gets it right.
EM Stop Circuit and Power Unit
Emergency stop wiring is safety-critical – one wrong jumper and the machine won’t drop its load when the button is slammed. Sheets 1Z and 2A show the entire E‑stop chain, including the safety relay logic and how the 24VDC control power gets dropped. The power unit section (2B-2M) covers the DC power supplies, aux mounted printer power, and 24VDC aux power supply. If your RTG’s cabin display goes dark, check sheet 2D for the 24VDC aux power supply circuit and sheet 2C for the printer. Those details save hours of chasing power from the wrong source.
Cable Lists and Cross-Reference
Sheets 6A through 6E are cable lists – they tell you the gauge, length, and core count for every harness in the machine. When a conductor chafes through in the trolley festoon, you can order the exact replacement cable. The connector sheets (7A-7D) show pin positions, and the spare connections sheet (7D) is useful for adding aftermarket accessories. Device lists (8A-14B) index every contactor, relay, sensor, and motor with its schematic reference. That means you can jump from a fault code to the correct sheet without flipping through all 57 pages.
Is This Manual for You?
If you’re a DIY mechanic or a small-fleet owner maintaining a single RTG, this wiring diagram is essential. Beginners should be comfortable reading schematic symbols and using a multimeter. Professional technicians will appreciate the sheet index on page 2 that maps each title to its sheet number – no guesswork, just flip to 2Z for the EM stop circuit. The document is a direct scan of the original Kalmar release, so the print is crisp and the line weights are consistent.
Why Factory OEM Wiring Beats Aftermarket Reproductions
I’ve seen aftermarket manuals that redraw Kalmar schematics using generic symbols and drop critical notes like “see sheet 2B for fuse details.” That note is there for a reason. This copy comes from Cargotec’s official distribution – the same PDF that Kalmar dealers use. You get the original single line diagram on page 2, the circuit diagram layout, and the sheet numbering system that matches the machine’s actual panel stickers. Using a third-party re-draw will cost you billable hours and possibly a fried controller.
- Does this wiring diagram cover the telephone system?
- Yes, sheet 4E covers the telephone system wiring.
- How do I trace a fault in the trolley inputs when the spreader won’t twist?
- Start at the trolley input sheets (2F-2K) and locate the specific input for the twist-lock solenoid. Use the device list (8A-14B) to find the solenoid’s reference designation (e.g., SOL‑105). Then trace the wire number back through the connector sheets (7A-7D) and cable list (6A-6E) to identify the harness and pin. Test for 24VDC at the solenoid connector with the controller active. If power is present but the solenoid doesn’t click, check resistance across the coil – should be around 20–30 ohms. If open, replace the solenoid. If no power, back-probe the controller output at sheet 2K to verify the command signal.
- Are there any torque specifications in this manual?
- No. This is a wiring diagram only – no bolt torque values, fluid capacities, or mechanical repair procedures.
- Can I use this diagram for a different Kalmar model, like an older DC or DRF series?
- Only if the electrical architecture matches. The RTG uses dedicated drive controllers and a specific power distribution layout. For other models, see the Kalmar LMV DC 9-16 1993 Technical Manual, the Kalmar DRF 400 DRF 450 Operators Manual – Factory Specs, or the Kalmar DRF 400 DRF 450 Workshop Manual – 1040 Pages Factory Specs. Those documents have their own wiring schematics that match the respective machines.
If you work on industrial electrical systems, you know that one wrong assumption can cascade into a multi-day repair. This factory Kalmar RTG Wiring Diagram gives you the exact signal paths, device references, and cable descriptions that the engineers intended. Access the Factory Manual and keep a physical copy in your shop’s binder – you’ll thank yourself when the next fault code hits. For more on basic automotive wiring principles, check out Automotive Wiring and Automotive Wiring for foundational knowledge that applies here.
Related Manuals:
Additional information
| Brand | Kalmar |
|---|---|
| Language | English |
4 reviews for Kalmar RTG Wiring Diagram – 57-Page OEM Electrical Schematics
You may also like…
-
Sale!
Kalmar DCE 90, DCE 180, DCE 70-32E3, DCE 70-35E4 2006 Workshop Manual – 974 Pages OEM Specs
Original price was: $102.70.$65.00Current price is: $65.00. -
Sale!
Kalmar DRF 400, DRF 450 Technical Manual – 600 Pages of OEM Specs
Original price was: $57.15.$45.00Current price is: $45.00. -
Sale!
Kalmar DRF 400, DRF 450 Workshop Manual – 1216 Pages OEM Specs
Original price was: $78.65.$65.00Current price is: $65.00. -
Sale!
Kalmar DRT 450 Workshop Manual – 842 Pages OEM Factory Specs
Original price was: $90.35.$65.00Current price is: $65.00.
Related products
-
Sale!

Baoli CPCD 80, CPCD 100 Service Manual – 112 Pages OEM Factory Specs
Original price was: $44.48.$32.00Current price is: $32.00. -
Sale!
KION Baoli CPCD20F-CPQYD20F Service Manual – 102 Pages OEM
Original price was: $39.75.$25.00Current price is: $25.00. -
Sale!

CDS 705C, 706C, 708C 1981 Parts Catalog – OEM Forklift Specs
Original price was: $61.60.$40.00Current price is: $40.00. -
Sale!

CDS 840D, 844D Parts Catalog – OEM Parts Identification for Forklifts
Original price was: $58.50.$45.00Current price is: $45.00.
Thomas B. –
Perfect workshop guide. The pages are clean and easy to navigate. A must-have for any Kalmar RTG mechanic doing maintenance. Saves me a lot of time.
pro_mechanic –
This is just what I required. The pages are clean and well indexed. Every wiring layout is provided for Kalmar RTG. I will recommend this shop to others.
Richard G. –
This is exactly what I was looking for. Quick access after checkout process. It helped me to troubleshoot my Kalmar RTG transmission. Saved my repair job! Thank you.
workshop_guy –
Excellent quality! Immediate link after checkout. Every spec sheet is included for Kalmar RTG. I will recommend this shop to others.