
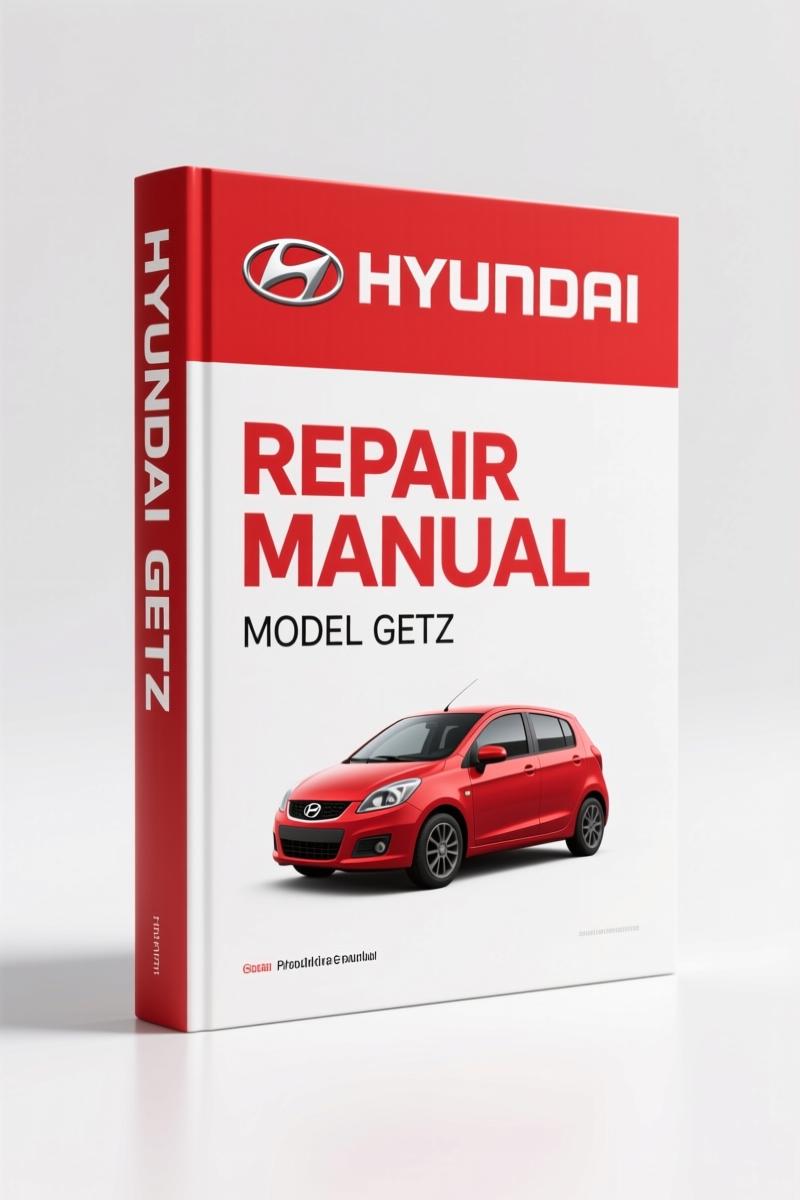
Hyundai Getz 2002 Repair Manual – Body Construction & SRS Data
Original price was: $22.19.$14.99Current price is: $14.99.
OEM Hyundai Getz 2002 body repair manual with SRS airbag precautions, welding specs, and corrosion protection. 137 pages. Factory-certified.
Description
Hyundai Getz 2002 Repair Manual
If you’re hacking a Getz back together and guessing which panel to cut, you’re wasting time and risking a car that will never track straight again. The official Hyundai body repair manual for the 2002 Getz—Hyundai Getz 2002 Repair Manual—137 pages—gives you the exact sectioning locations, torque specs, and panel replacement procedures. I’ve been turning wrenches for 28 years, and I can tell you: aftermarket body guides are full of half-truths. This is the original OEM print, not a rehash.
Page 7 spells out the SRS airbag precautions. If you so much as look at the steering column without disabling the system per those instructions, you’re betting your face on a 70-psi explosive. The SRS section alone is worth the price of admission. The manual also covers electronic parts handling, corrosion protection and sealing, and welding procedures—all from the factory that built the car.
General Guidelines and Precautions
Before you pick up a grinder or a welder, you need to read pages 6-9. The factory lays out what tools are required—flange clamps, spot-weld cutters, and seam-sealer applicators. No shortcuts. The manual warns against sectioning in any location not marked in the diagrams. Bolt holes and weld points are measured to within a millimeter. I’ve seen backyard guys cut a strut tower out of a donor car and weld it in by eye. They end up with a 3-degree camber mismatch and a car that eats tires every 5,000 miles. This manual catches that before you start.
SRS Air-Bag: Factory Safety Protocol
Page 7 is your safety insurance. The SRS airbag system in the Getz uses a dual-stage driver inflator and a passenger bag that covers the full dash. The manual tells you to disconnect the battery and wait three minutes before touching any yellow connector. It also lists torque values for the bag mounting bolts—those are not optional. Use a beam-style torque wrench; click-types can drift on low range. If you skip this step, you’re rolling the dice on a bag that deploys in your face while you’re fishing a wiring harness behind the glovebox.
Body Construction: Zinc-Galvanized and High-Strength Steel Panels
The Getz uses a mix of zinc-galvanized panels (hood, fenders, roof) and high-strength steel in the A-pillar and rocker panels. The manual identifies which panels are which on pages 14-16. Zinc-galvanized steel requires a different weld technique—you have to grind the zinc coating off the weld zone or you get porosity. High-strength steel must be sectioned with a cold saw, not a torch. Heat softens the martensite structure. I’ve had guys argue with me about this. The manual settles it. If you follow the diagrams in the body construction chapter, you’ll preserve the factory crush zones and the car will still crumple as intended in a collision.
3 Reasons OEM Body Dimensions Are Non-Negotiable
Pages 56-59 give you the upper body and side body measurement methods. Here are three reasons you need that data:
- Frame straightening without factory dimensions is guesswork. You’ll chase dimensions by feel, and you’ll never get the door gaps even.
- Glass installation tolerances are tight on the Getz. If the roof rail is off by 3u202fmm, the windshield will leak and the HUD alignment (if equipped) will be off.
- Alignment pin holes for floor pans are listed in the interior dimensions section. You need a tram gauge and the manual’s coordinates to set the subframe mounts correctly.
Welding: Sectioning Locations You Must Follow
The manual shows specific sectioning joints for the front body rails, side body panels, and floor. Each joint is marked with a saw-cut line and a notch. You do not deviate. The Getz body shell was designed so that repairs at those joints don’t require removal of the entire panel—you retain the original factory welds at the pillars. That saves hours and keeps the structural integrity. For example, page 50 shows how to replace the front lower rail without cutting into the dash panel. The repair procedure specifies plug-weld spacing: 25u202fmm centers with a 8u202fmm hole. Use a spot-weld cutter; don’t drill through the back layer.
Hyundai Getz 2002 Repair Manual: Audience Fit and Real-World Use
Who should buy this? Anyone pulling a salvage-yard Getz back onto the road after a front-end hit. Also body shop owners who want to give their junior techs a written procedure so they stop making up their own sectioning lines. Beginners should not attempt SRS components without this manual—it’s that clear. For the drivetrain and internal engine work, you’ll want the separate Getz shop manual, but for body and collision repair, this is the only source you trust. Check out the related manuals if you need deeper electrical or MDPS diagnosis:
Hyundai Getz 2007 Workshop Manual – Tools & Equipment Guide
Hyundai ACCENT, Getz, HD Training Manual – MDPS Diagnosis That Works
Hyundai ACCENT, ELANTRA, Getz, COUPE (TIBURON), SONATA (Y-3) Troubleshooting Man
For an overview of how OEM documentation differs from aftermarket, see Automotive Industry Overview. The same principle applies here: only the factory knows the exact tolerance stack-ups. Automotive Industry Overview provides context on why manufacturers like Hyundai print their own repair manuals—to avoid the liability of a flimsy back-yard weld.
Frequently Asked Questions
- Is this manual for the entire vehicle or just the body?
- Body only. Engine and drivetrain are in the separate shop manual.
- What about torque specs for suspension?
- This manual covers body dimensions, sectioning, and welding. Torque for structural fasteners is on page 56. For suspension, you need the Getz shop manual.
- Can I use this for rust repair?
- Yes. It includes corrosion protection and sealing procedures on page 8. But if the rust is structural, you need to follow the sectioning guidelines exactly. Cutting in the wrong location compromises crash integrity. The manual specifies the use of zinc-galvanized steel panels for replacement, and high-strength steel in certain areas. Do not substitute materials.
- Is the SRS airbag section detailed enough?
- Page 7 covers general guidelines. You must disable the system per the manual. Not for guessing.
You’ve got the specs. You’ve seen the sectioning joints. Now get the actual document on your tablet or bench before you make that first cut. Access the Factory Manual.
Additional information
| Brand | Hyundai |
|---|---|
| Language | English |
2 reviews for Hyundai Getz 2002 Repair Manual – Body Construction & SRS Data
You may also like…
-
Sale!
Hyundai HDF50III, HDF70III Service Manual – Factory Repair Specs
Original price was: $70.20.$45.00Current price is: $45.00. -
Sale!
Hyundai HD65, HD72, County Training Manual – A/C Diagnostics
Original price was: $65.00.$50.00Current price is: $50.00. -
Sale!
Hyundai HDF15-5, HDF18-5 Service Manual – 227 Pages
Original price was: $61.65.$45.00Current price is: $45.00.
Related products
-
Sale!

1991 Electrical Schematic – 112-Page OEM Wiring Diagram for International 1000-3000 Series
Original price was: $22.75.$17.50Current price is: $17.50. -
Sale!
1993 Electrical Schematic – International 1000/3000/4000 Bus Chassis OEM Wiring Diagrams
Original price was: $29.26.$22.00Current price is: $22.00. -
Sale!

Acura Integra 1998 Service Manual – 1891 Pages Factory OEM Documentation
Original price was: $31.75.$25.00Current price is: $25.00. -
Sale!

2011 Parts Catalog – International 7400 SFA 6X6 – 1886 Pages of OEM Part Numbers
Original price was: $32.00.$25.00Current price is: $25.00.
Robert M. –
This is exactly what I required. The pages are clean and well indexed. Contains precise schematics for Hyundai. I will recommend this shop to others.
pro_mechanic –
I am very pleased with this purchase. The scan is high-quality and easy to navigate. It assisted me to rebuild my Hyundai Getz transmission. Saves me so much money.