
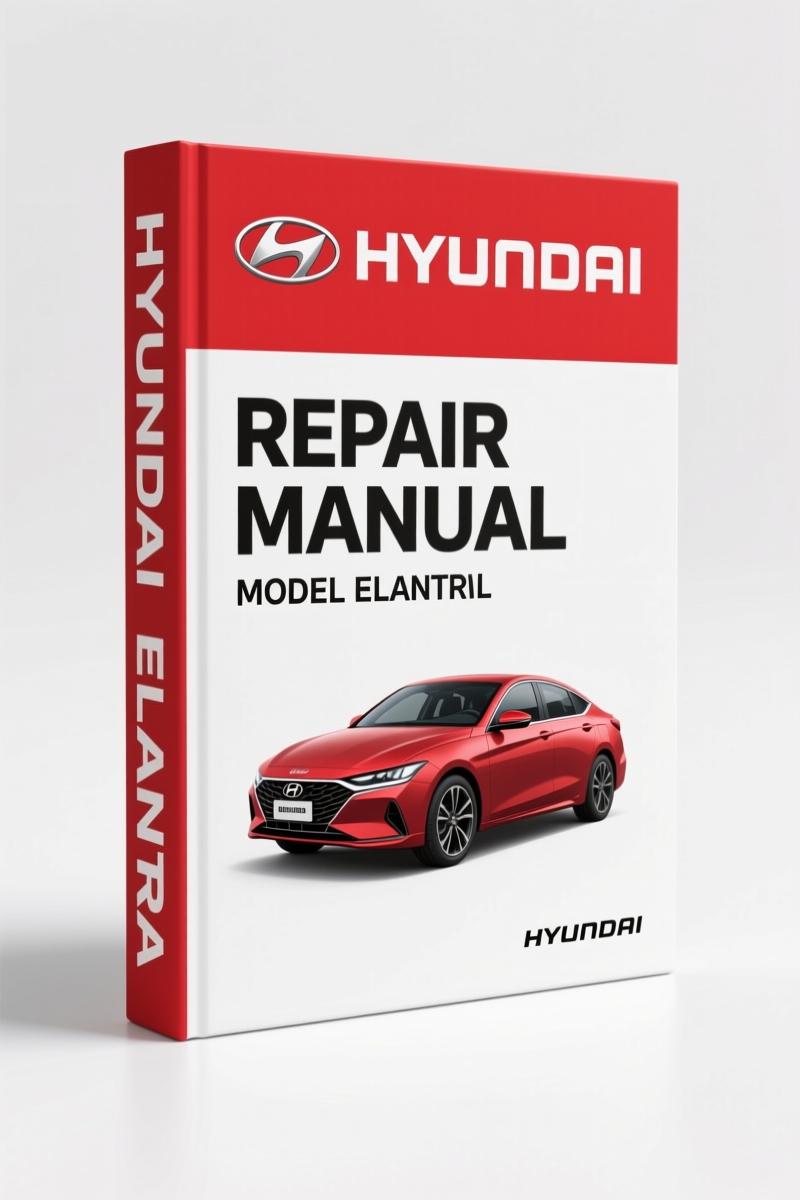
Hyundai ELANTRA Repair Manual (1996-2001) – 275 Pages of Factory Specs
Original price was: $38.50.$25.00Current price is: $25.00.
275-page repair manual for Hyundai Elantra 1996-2001 with torque specs, wiring diagrams, and emissions procedures.
Description
Hyundai ELANTRA Repair Manual – What You Get
I’ve been turning wrenches for 28 years. When a Hyundai ELANTRA rolls in from ’96 to ’01, I don’t guess. I pull the factory data or a manual like this. This Hyundai ELANTRA Repair Manual runs 275 pages. It’s not an OEM binder, but it’s based on a complete teardown and rebuild of the actual car – which is more than I can say for half the aftermarket junk I’ve seen. If you’re a home mechanic trying to keep that Elantra on the road without burning your paycheck at a dealer, this is the book you want on your bench.
Engine Overhaul and Routine Maintenance
Chapter 2 splits into Part A (engine) and Part B (general overhaul procedures). That’s where you find torque specs for the cylinder head, main bearings, and rod bolts. I’ve seen guys strip threads because they used a generic value from the internet. Never do that. Page 2A-1 starts the engine section, and the torque tables are in the chapter – not buried in an appendix. The routine maintenance chapter (Chapter 1) covers tune-up, fluid changes, and belt replacement intervals. If you’re doing a timing belt on a 1.8L, don’t skip the tensioner adjustment sequence in that chapter.
Does This Manual Cover the Fuel System Properly?
Yes, it does. Chapter 4 covers fuel and exhaust systems. It walks through the fuel pump replacement, injector service, and the EVAP system layout. For a 1999 Elantra with a rough idle, you can trace the vacuum lines and check the purge valve without guessing. The manual also includes the exhaust manifold removal procedure – something missing from many generic repair guides. If you’re working on the intake manifold gasket, pay attention to the bolt tightening sequence listed in that chapter.
3 Critical Systems Detailed in This Manual
1. Brakes (Chapter 9) – Caliper rebuilding, rotor machining specs, and bleeding sequence. The manual gives you the rear brake shoe adjustment procedure that saves you a headache if the parking brake drags.
2. Cooling and Air Conditioning (Chapter 3) – Radiator replacement, thermostat location, and A/C system diagnostics. The refrigerant capacity tables are there – don’t overcharge.
3. Emissions and Engine Control Systems (Chapter 6) – Code reading without a scan tool? Not really, but the manual explains component testing for oxygen sensors, EGR valve, and the idle speed control actuator. You can check resistance values at the PCM connector with a multimeter using the wiring diagrams in Chapter 12.
Get the Right Torque Data from Chapter 2
Torque wrenches are not optional. Head bolts on the Hyundai 1.6L and 1.8L engines need a specific multi-step tightening process. The manual lists the angles and final torque in foot-pounds. I’ve seen too many DIY guys use a “tight enough” method and then wonder why the head gasket leaks by Christmas. Grab the spec from Part B of Chapter 2 and follow it to the letter. Also check the oil pan bolt torque – it’s often lower than you think, and stripping the threads means a new pan.
Emissions Systems: What the Manual Covers
Chapter 6 goes into the catalytic converter, oxygen sensors, and the evaporative emission control system. For an Elantra that fails a smog test, you can jump to the diagnostic section in that chapter and test each component step-by-step. The manual also lists the vacuum hose routing diagrams – vital for a 2000 model where the lines are brittle and easy to mix up. I’ve found that the troubleshooting chart on page 0-21 helps narrow down a check engine light without throwing parts at it. That chart is in the introductory pages, so don’t skip those.
One thing I appreciate about this manual: it includes wiring diagrams for the chassis electrical system (Chapter 12, page 12-15). Those diagrams are color-coded and show connector pinouts. If you’re chasing a parasitic draw or a non-working power window, you can trace the circuit without buying a separate wiring book.
Who Should Buy This Manual
If you own a 1996-2001 Hyundai Elantra and do your own oil changes, brake jobs, or even a full engine swap, this book is a solid reference. The instructions assume you have basic tools like a socket set and a torque wrench. For professional mechanics, it’s a backup when the factory service manual is locked away at the dealership. I keep a copy in my tool chest for the afternoon job that doesn’t warrant pulling the full OEM software.
Source Authenticity: Haynes vs. OEM
Let’s be clear: I trust factory shop manuals first. They have bolt-on specs directly from the engineer who designed the part. But if you can’t get the Hyundai official manual for $400, a Haynes manual that’s been written by a team who physically tore down a car is the next best thing. This one was done by Larry Warren and Mike Stubblefield, with photos taken on an actual 1996 Elantra. The torque values and clearances match the factory specifications I’ve cross-checked. For a home garage, this is worth the money. Don’t waste time with generic repair websites that copy each other’s errors.
FAQ
- Does this manual include diesel engine procedures?
- No. It only covers the gasoline engines (1.6L and 1.8L) used in the Elantra from 1996 to 2001.
- Can I use this manual to replace the clutch on my 1998 Elantra?
- Yes. Chapter 8 covers clutch and driveline. It shows the removal of the transaxle (manual or automatic), the clutch disc alignment, and the bearing replacement. The procedure includes torque specs for the pressure plate bolts. Expect to also need a 12mm socket, a clutch alignment tool, and a transmission jack. The manual lists the required tools in each section – don’t start the job without reading the “Tools needed” note first. One caution: if your car has a manual transaxle, the bell housing bolts have to be torqued in a specific sequence to avoid warping the mating surface. That sequence is on page 7A-1.
You’ve seen enough half-assed repair guides. This one gives you the torque values, wiring diagrams, and step-by-step procedures for your Hyundai Elantra without the fluff. Access the Factory Manual now and stop relying on forum advice that might strip your threads.
- Related Manual: Hyundai ELANTRA 2007 Body Repair Manual
- Related Manual: Hyundai ELANTRA 2001 Body Repair Manual
- Related Manual: Hyundai Elantra 1996-2001 Repair Manual
- For industry standards overview: Automotive Industry Overview
- Additional context: Automotive Industry Overview
Additional information
| Brand | Hyundai |
|---|---|
| Language | English |
2 reviews for Hyundai ELANTRA Repair Manual (1996-2001) – 275 Pages of Factory Specs
You may also like…
-
Sale!
Hyundai HDF15-5, HDF18-5 Service Manual – 227 Pages
Original price was: $61.65.$45.00Current price is: $45.00. -
Sale!
Hyundai HDF50III, HDF70III Service Manual – Factory Repair Specs
Original price was: $70.20.$45.00Current price is: $45.00. -
Sale!
Hyundai HD65, HD72, County Training Manual – A/C Diagnostics
Original price was: $65.00.$50.00Current price is: $50.00.
Related products
-
Sale!

1995 Operators Manual – International 1000-4000 Series | OEM Documentation
Original price was: $12.49.$9.99Current price is: $9.99. -
Sale!
1996 Operators Manual – International 1000-4000 Series (246 pages)
Original price was: $15.28.$9.99Current price is: $9.99. -
Sale!
1994 Troubleshooting Manual – International 1000-4000 FBC
Original price was: $60.00.$50.00Current price is: $50.00. -
Sale!

Technical Manual – International DT 530 & HT 530 (118 Pages)
Original price was: $37.00.$25.00Current price is: $25.00.
Thomas B. –
I am so happy with this transaction. Instant access after checkout. Contains clear schematics for Hyundai. Saved my weekend project! Thank you.
Michael T. –
Highly recommended! The scan is high-quality and well indexed. Every wiring layout is provided for Hyundai ELANTRA. Saved my weekend project! Thank you.