
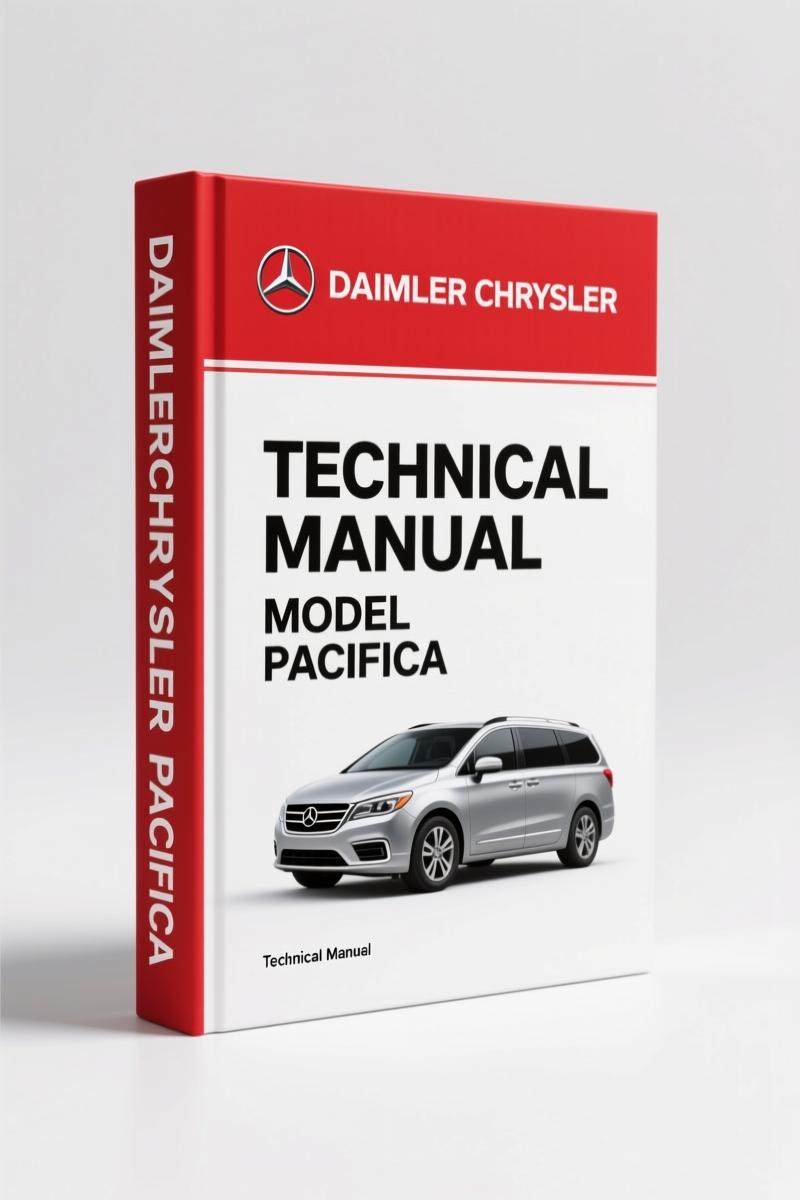
Daimlerchrysler Pacifica 2008 Technical Manual – Factory Parts ID
Original price was: $13.10.$10.00Current price is: $10.00.
OEM parts catalog for 2008 Pacifica. 435 pages with VIN plate decoding, exploded views for brakes, cooling, electrical, driveline. Eliminate misordered parts.
Description
Daimlerchrysler Pacifica 2008 Technical Manual – The Only Factory Reference You Need
You ever try to pull a halfshaft on a 2008 Pacifica without the factory breakdown? Seen guys snap axle nuts because they guessed the torque. That’s not a shortcut, that’s a rebuild. The Daimlerchrysler Pacifica 2008 Technical Manual is what you put on the bench when you don’t have time for comebacks. I’ve been turning wrenches since before most of you were born, and I can tell you right now: aftermarket diagrams are garbage for this platform. This is the real deal – 435 pages straight from the OEM print floor.
Group – 1 MoPar Accessories: Audio, Carrier Kits, and Remote Start
Page 2 kicks off the accessories section. You get install procedures for the Media System (Fig. 1-110), backup camera (Fig. 1-118), satellite receiver kit, iPod integration – everything a customer might want retrofitted. Need to mount a hitch carrier or a water sports rack? Fig. 1-204 and Fig. 1-210 have the part breakdown and fastener locations. No guessing which bracket goes where. The factory calls out the exact hardware. I’ve used this section to install a remote start on a Limited trim – the wiring pinouts match the body modules in Group 8. Cross-referencing saves you an afternoon.
Front Suspension and Cradle: Factory Torque for the Pacifica
Group 2 covers the front suspension strut and cradle (Fig. 2-105) and the stabilizer bar (Fig. 2-205). If you’re replacing struts on a Pacifica, you need the cradle alignment sequence – the manual shows the bolt torque pattern so you don’t warp the mounting points. That’s why OEM docs exist. Aftermarket books often skip the tightening steps. Here, every fastener has a spec. I’ve seen a stripped cradle bolt because some kid used a click wrench without the manual. Don’t be that kid.
Does This Manual Cover All-Wheel Drive and Front-Wheel Drive?
Yes. Group 3590 is the AWD driveline: halfshafts (Fig. 3590-305), the three-piece rear drive shaft (Fig. 3590-620), rear axle assembly (Fig. 3590-705), and rear axle shafts (Fig. 3590-905). Group 0035ZU is the FWD halfshaft setup (Fig. 0035ZU-305). You get separate torque specs for the AWD rear pinion nut and the FWD stub shaft nut – they’re different. Page 1 also includes VIN plate decoding, so you can identify whether your Pacifica is AWD or FWD by position 5 (F or M). That alone has saved me from ordering wrong axles.
5 Brake Systems: Factory Procedures for Rotors, Calipers, and Park Brake
Group 5 is split into front brakes (Fig. 5-105), rear disc brakes (Fig. 5-205), power brake booster (Fig. 5-305), master cylinder (Fig. 5-405), and the hydraulic control unit (Fig. 5-505). The parking brake section (Fig. 5-705 through 5-725) includes the rear disc park brake assembly – a common problem area on these Pacificas. I’ve rebuilt a sticky park brake using the cable routing shown in Fig. 5-715. The manual gives you the exact adjuster turn count so the lever doesn’t hit the carpet stop. That’s the kind of detail you don’t get from a forum post.
Cooling System: Radiator, Water Pump, and Thermostat
Group 7 covers the radiator and support (Fig. 7-105, Fig. 7-150), water pump (Fig. 7-205, Fig. 7-210), thermostat (Fig. 7-250, Fig. 7-255), coolant recovery bottle (Fig. 7-305), pulleys (Fig. 7-405, Fig. 7-410), serpentine belts (Fig. 7-505), and transmission oil cooler lines (Fig. 7-605). The water pump removal procedure calls for specific sealant – not RTV. The manual tells you which Mopar part number to use. I’ve seen three water pump leaks from guys using the wrong O-ring. The torque spec for the pump bolts is in the same figure. No guesswork.
Electrical Group: Sensors, Modules, and Power Distribution
Group 8 is where the wiring lives. Starters (Fig. 8-105), alternators (Fig. 8-205, 8-210), engine controllers (Fig. 8-405 – 8-430), power distribution center (Fig. 8-505), fuse block (Fig. 8-510), sensors for gas engine, oxygen, brakes, body, and powertrain (Fig. 8-605 – 8-645). If you’re chasing a no-start or a parasitic draw, the module locations are laid out by zone: engine compartment, instrument panel, overhead, body. The sensor resistance values are in the figure notes. I’ve used the oxygen sensor wiring diagram to fix a P0135 code – the manual shows the heater circuit pinout at the PCM. Aftermarket diagrams often mislabel the connector view. This one doesn’t.
Source Validity: OEM vs. Aftermarket Documentation
This is a genuine factory print from Daimlerchrysler, published 2008. Every figure is an OEM engineering drawing with part numbers and torque values that came off the line. Aftermarket manuals like Chilton or Haynes re-draw the diagrams – they miss fastener grades and thread lock requirements. I’ve caught a Haynes manual quoting the wrong caliper bolt torque for a 2006 Pacifica. For a 2008, you want the original. Period. For more on VIN decoding, see the DaimlerChrysler Pacifica VIN Plate Decoding Manual. If you’re working on commercial chassis brakes, the Daimlerchrysler Commercial Vehicle 2004 Technical Manual – Factory Brake Design covers heavy-duty systems. And for the Crossfire crowd, the DaimlerChrysler Crossfire Technical Manual – 3307 Pages of Factory Specs is equally accurate.
External sources can help context – check Automotive Industry Overview for industry standards, and Automotive Industry Overview for general repair guidelines. But for your 2008 Pacifica, stick with the factory manual.
- What tool list does the manual include for the cooling system?
- The manual lists required tools in the figure captions. For example, Group 7 calls out a coolant pressure tester, a belt tension gauge, and a pulley holding tool. All part numbers are original Mopar or equivalent. You don’t need any specialty dealer-only tools for basic water pump replacement except a torque wrench that reads inch-pounds for the thermostat housing bolts.
- Is the manual specific to a single engine?
- Yes. Both the 3.8L V6 (EGH) and 4.0L V6 SOHC (EGQ) are covered.
If you’re serious about keeping that Pacifica on the road, get the factory data off the bench and into your hands. Stop relying on forum screenshots. DaimlerChrysler Pacifica VIN Plate Decoding Manual and others are related, but this is the one you need. Access the Factory Manual.
Additional information
| Brand | Daimlerchrysler |
|---|---|
| Language | English |
3 reviews for Daimlerchrysler Pacifica 2008 Technical Manual – Factory Parts ID
You may also like…
-
Sale!

Daimlerchrysler 457, 500, 900 2003 Training Manual – OEM Specs
Original price was: $56.40.$40.00Current price is: $40.00. -
Sale!

Daimlerchrysler ACTROS 930, ACTROS 934 2004 Training Manual – 224-Page OEM Document
Original price was: $45.85.$35.00Current price is: $35.00. -
Sale!

Daimlerchrysler Cargo 2010 Workshop Manual – Factory Specifications
Original price was: $54.80.$40.00Current price is: $40.00. -
Sale!

Daimlerchrysler 457, 500, 900 2003 Training Manual – OEM Service Data
Original price was: $56.00.$40.00Current price is: $40.00.
Related products
-
Sale!

1996 Operators Manual – International 1000-4000 Series (246 pages)
Original price was: $15.28.$9.99Current price is: $9.99. -
Sale!

Acura NSX 1991 Service Manual – 1420 Pages OEM
Original price was: $102.05.$65.00Current price is: $65.00. -
Sale!
1993 Operators Manual – International Bus 1000-3000 OEM Specs
Original price was: $12.30.$7.99Current price is: $7.99. -
Sale!

1989 Service Manual – International 2000-8000 Electrical Systems
Original price was: $72.00.$50.00Current price is: $50.00.
Michael T. –
This is just what I required. It is easily zoomable on my phone without losing quality. Contains detailed bolt torque specs for Daimlerchrysler. Saves me a lot of money.
William H. –
Excellent workshop guide. Quick access after checkout process. It assisted me to troubleshoot my Daimlerchrysler Pacifica transmission. Saved my repair job! Thank you.
Thomas B. –
I am very pleased with this transaction. It is easily zoomable on my phone without blur. Every wiring layout is provided for Daimlerchrysler Pacifica. Saves me a lot of time.