
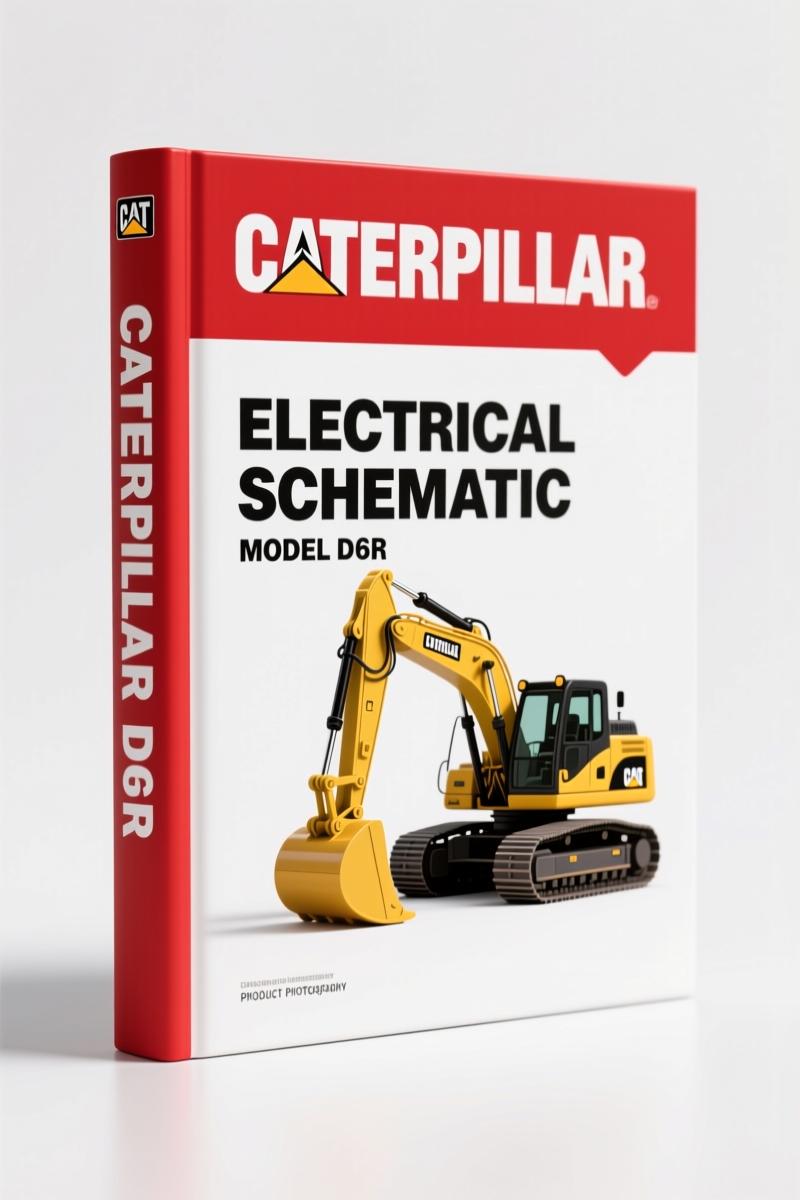
Caterpillar D6R 2010 Electrical Schematic – 30 Pages of Factory Wiring Data
Original price was: $22.23.$17.50Current price is: $17.50.
OEM electrical schematic for Caterpillar D6R (2010). 30 pages covering engine, chassis, cab wiring. Component and connector locations.
Description
Caterpillar D6R 2010 Electrical Schematic
If you’ve ever chased a phantom short on a D6R with a multimeter and a third-party wiring diagram that was wrong by three wire colors, you know the feeling. I’ve been turning wrenches for 28 years, and I can tell you that factory electrical schematics are the only thing that keep me from throwing a torque wrench through a window. This 30-page PDF from Caterpillar, published September 2010, is the real deal. It covers the D6R Track-Type Tractor electrical system in two volumes — Engine/Chassis and Cab/Chassis. No guesswork, no aftermarket abbreviations. Just pin locations, callouts, and OEM routing that actually match the harness on your machine.
What This Electrical Schematic Actually Covers
Open the file and you’ll find Caterpillar D6R 2010 Electrical Schematic broken into two volumes. Volume 1 is Engine and Chassis — that’s the starter, alternator, batteries, prelube pump, fuel priming pump, ROPS condensers, winch solenoid, and all the engine sensors (coolant temp, fuel pressure, injection actuation pressure, speed/timing, turbo in/outlet, etc.). Volume 2 covers Cab and Chassis: dash, blower, headliner, washer pump, LH and RH consoles, Accugrade wiring, cab precleaner, and rear machine wiring. Both volumes include component location tables (page 3‑4) that give you the schematic grid and machine location coordinates. That means you can find a connector on the PDF and walk straight to the machine and point at it.
7 Systems Covered by the Schematic
Seven major systems are fully laid out: Engine controls, prelube, HVAC, Product Link, winch, Accugrade, and dash/console. The machine views are split into 16 individual wiring diagrams — Engine (Left), Engine (Right) + Prelube, Hood Wiring, HVAC, Product Link, Rear Machine (Vol 1 & 2), RH Fender, Winch (Vol 1 & 2), Accugrade, Cab Precleaner, Dash & Blower, Headliner & Washer Pump, LH Console, RH Console. That’s not a generic overview; it’s a specific harness drawing for each subassembly.
Need the location of component J‑10? Page 4 of the component location table says it’s the Horn – Forward (High) and (Low) on the machine. The schematic coordinate G‑7 points you to the exact grid on the drawing. This kind of precision keeps you from pulling the wrong fuse or backprobing the wrong wire and cooking a $400 control module.
Factory OEM vs Aftermarket: The Real Difference
I’ve used aftermarket schematics that swap wire colors, omit pull‑up resistors, or show a connector that doesn’t exist on the machine. This is a direct OEM Caterpillar document — KENR8569, September 2010. The CID/MID/FMI tables (page 8‑12) give you the fault codes exactly as Caterpillar programmed them. The standard electrical section shows the data link resistors (CAN A) and the exact diode placement for the A/C clutch. If you’re diagnosing a “Fuel Pressure Sensor – Voltage High” (CID 0094 FMI 03), you can run the wiring back from the sensor (E‑4, sensor coolant temp? No, fuel pressure is E‑10, etc.) using the OEM coordinates. Aftermarket reprints lose those coordinates or renumber them. Don’t trust them.
Use the Interactive Schematic Features
This PDF is not a static scan — it’s an interactive schematic. The bookmarks panel lets you jump to any machine view. Blue underlined text are hyperlinks that navigate you between component tables and drawings. There’s a “View All Callouts” button in the top right of each machine view. Keyboard shortcuts: CTRL + / – to zoom, CTRL + 0 to fit to page, SPACEBAR for hand tool. The document says it’s best viewed at 1024 x 768 resolution — that’s still fine on modern monitors if you set scaling correctly. I run it on a 15” workbench laptop and it’s clear enough to read wire labels.
How to Navigate Volume 1 and Volume 2
The table of contents splits by volume. Volume 1 covers everything forward of the cab — engine bay, hood, fenders, winch mount. Volume 2 is cab interior and external chassis wiring. Both volumes have their own component location, connector location, CID/MID/FMI tables, and standard electrical info. If you’re chasing a cab power issue (e.g., dash blower dead), start in Volume 2, “Dash And Blower Wiring” machine view. The schematic uses grid coordinates (A‑1 through J‑13) on a 13‑column grid — you’ll see the component callouts listed in the table at page 3‑4. Cross‑referencing is consistent across both volumes.
For related training on the power train, check the Caterpillar D6R 938G 120H 416D Power Train Training Manual. If you need parts breakdowns, the Caterpillar D6R 1998 Parts Catalog is useful for older models. For diagnostic procedures beyond wiring, the Caterpillar D6R 2011 Diagnostics Manual gives you additional flow charts.
Fundamentals of Automotive Wiring apply here — color codes, gauge sizing, terminal crimp techniques. This manual is a practical example of the electrical standards used in modern construction equipment, part of the broader Automotive Industry Overview.
- Does this schematic cover the engine wiring and sensors?
- Yes. Volume 1 includes Engine (Left) and Engine (Right) And Prelube Wiring, plus the full sensor list: coolant temp, fuel pressure, injection actuation pressure, intake manifold air temperature, oil pressure, speed/timing (A and B), turbo inlet and outlet pressure, XMSN sump temp, atmospheric pressure, and more.
- What about the winch wiring?
- Winch wiring appears in both Volume 1 and Volume 2. Volume 1 shows the winch solenoid and power feed; Volume 2 shows the winch control wiring in the cab. Two separate machine views with their own component callouts.
- Can I print this PDF or use it on a tablet?
- Print is fine. The interactive features (bookmarks, hyperlinks) only work in a PDF reader. I keep a laminated copy in the machine cab for dirty work and use the digital version on a laptop with the interactive callout button.
- What if my D6R serial number is not listed (S6T1-UP, S6X1-UP, S6Y1-UP)?
- Those three serial number prefixes cover a specific production range. If your machine falls outside, the harness may differ. I’d verify against the actual harness before buying. That said, the component location and schematic coordinates are consistent across that range—most differences are in pinout variations documented in the connector location tables.
Nothing wastes billable time like assuming a wire color means something it doesn’t. With the factory Caterpillar D6R 2010 Electrical Schematic, you get OEM routing, fault codes, and machine views that match the real hardware. Access the Factory Manual and put the guesswork back where it belongs – in aftermarket reprints.
Additional information
| Brand | Caterpillar |
|---|---|
| Language | English |
3 reviews for Caterpillar D6R 2010 Electrical Schematic – 30 Pages of Factory Wiring Data
You may also like…
-
Sale!

Caterpillar 14M, 16M 2007 Training Manual – OEM Service Training Guide
Original price was: $108.50.$70.00Current price is: $70.00. -
Sale!

Caterpillar 3116, 3126, 3114 2010 Troubleshooting Manual – 89 Pages
Original price was: $107.10.$70.00Current price is: $70.00. -
Sale!

Caterpillar 3500B 2000 Service Manual – MEUI Fuel System
Original price was: $93.00.$75.00Current price is: $75.00. -
Sale!

Caterpillar CP-563E CS-563E CS-573E CS-583E 2002 Service Manual
Original price was: $102.70.$65.00Current price is: $65.00.
Related products
-
Sale!

2006 Service Manual – International DT 466E, 530E Diesel Engine
Original price was: $67.50.$50.00Current price is: $50.00. -
Sale!

1992 Electrical Schematic – International 1000/3000/4000/2554 OEM Wiring Diagrams (132 Pages)
Original price was: $26.40.$20.00Current price is: $20.00. -
Sale!

2005 Parts Catalog – International NGD 3.0 L Engine (77 pages)
Original price was: $44.70.$30.00Current price is: $30.00. -
Sale!
1993 Operators Manual – International Bus 1000-3000 OEM Specs
Original price was: $12.30.$7.99Current price is: $7.99.
Robert M. –
Great workshop guide. Quick access after checkout. Contains clear schematics for Caterpillar. I will recommend this shop to others.
diy_master –
Excellent OEM spec sheet. The PDF looks clean. Every torque spec is included for Caterpillar D6R. Saved my repair job! Thank you.
Richard G. –
Highly recommended! The text is searchable and well indexed. Every torque spec is included for Caterpillar D6R. Great value for money.