
Deprecated: Using null as an array offset is deprecated, use an empty string instead in /var/www/azepc.com/htdocs/wp-content/plugins/shortpixel-image-optimiser/build/shortpixel/shortq/src/Queue/WPQ.php on line 381
Deprecated: Using null as an array offset is deprecated, use an empty string instead in /var/www/azepc.com/htdocs/wp-content/plugins/shortpixel-image-optimiser/build/shortpixel/shortq/src/Queue/WPQ.php on line 381
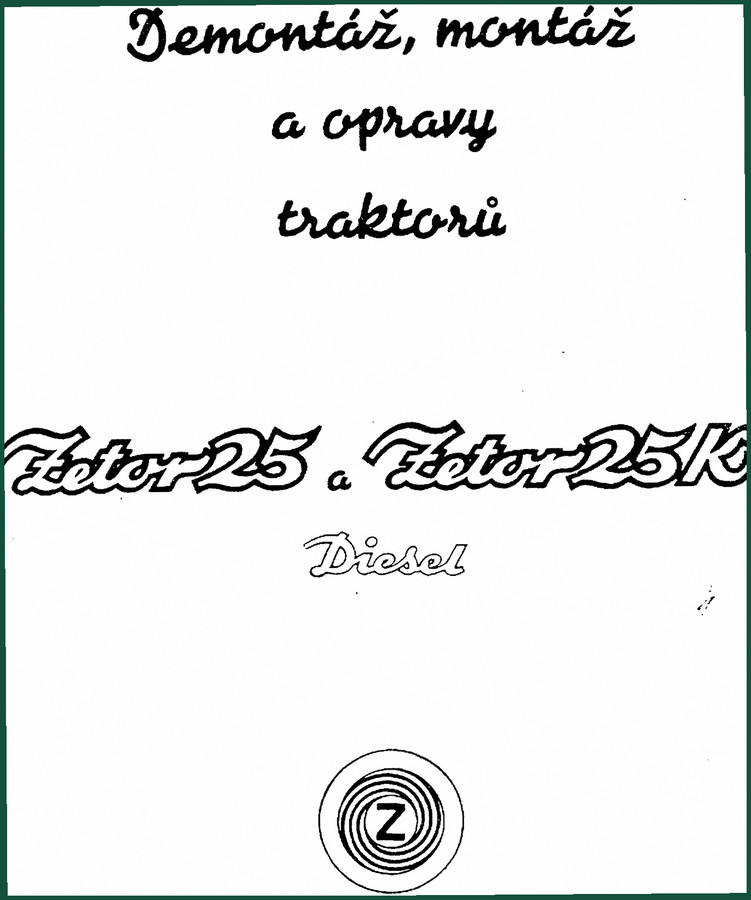
Zetor 25, 25K Technical Manual – Factory Disassembly & Repair Specs
Original price was: $43.50.$30.00Current price is: $30.00.
OEM Technical Manual for Zetor 25 & 25K – 181 pages covering engine, clutch, transmission, and fuel system repairs.
Description
Zetor 25, 25K Technical Manual – Factory Disassembly, Assembly & Repair
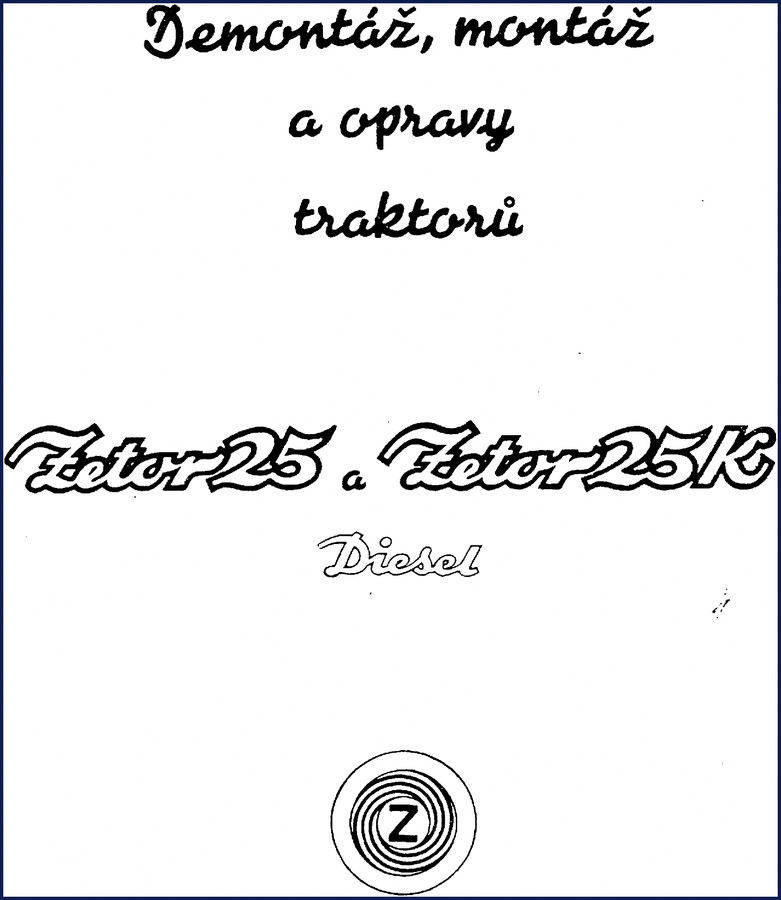
If you are cracking open a Zetor 25, 25K Technical Manual from the 1950s, you already know the two biggest pains: guessing the right way to split the tractor and finding a spec that actually matches the factory build. Aftermarket reprints blur the pictures and re-type the torque values until they are useless. This 181-page original is what the Czech factory sent to authorized repair shops. It assumes you have the operator manual and the parts catalog, and it tells you exactly how to take the machine apart and put it back together without breaking anything. I have pulled enough wrenches to tell you: start with this, not with a YouTube video shot by someone who thinks a 20 ft-lb head bolt is fine on a diesel.
Engine Disassembly and Valve Inspection (M-1/1 to M-1/2)
Cylinder head removal and valve work are covered starting on page 25. The procedure for removing the head and its accessories is laid out in M-1/1. M-1/2 on page 26 covers grinding the valves, checking sealing, and measuring how far below the head face the valves sit after seating. That depth is what determines whether you need to replace the valve or recut the seat – guess it wrong and you lose compression. The manual gives the maximum permissible wear limits on the engine components later in M-1/6 (page 33). You will not find those numbers in a Chilton book because Chilton never touched a Zetor.
Fuel Injection System Timing (M-5/6)
Setting the injection start on a Zetor diesel is not a eyeball job. M-5/6 on page 43 walks through mounting the injection pump onto the tractor and setting the beginning of fuel delivery. It references the timing marks and the adjustment procedure for the governor. If you are swapping a pump or adjusting delivery volume (M-6, page 47), you need the static timing figures from this section. An aftermarket manual will tell you to “align the marks” – this one tells you which marks and how to verify with a dial indicator. Manual Transmission theory applies to the fuel pump drive as well, but the factory book gives you the Zetor-specific details.
Clutch and Transmission Breakdown (S-1/3, R-3)
Section S-1/3 (page 61) details removing the sliding sleeve and the clutch adjustment procedure on page 62. The clutch lining replacement (S-1/5) is also there. To get to the transmission, you need to split the tractor between the engine and clutch housing (D-2, page 19) and then between the clutch and gearbox housing (page 21). The manual gives the sequence for removing the gearbox cover, fenders, and lower frame (R-1, R-2) before pulling the gearbox itself (R-3, page 69). Each step lists the special tools from Tables I–XIV – make sure you have them before you start, or you will fight a frozen shaft for an hour.
Differential, Brakes, and Rear Axle (R-4, R-6, R-7)
Brake disassembly (R-4, page 71) and rear half-axle removal (R-5, page 73) are covered with the factory sequence. Differential service starts at R-6 (page 75) and the adjustment procedure is R-7 (page 77). If the tractor is whining or the brake pedal sinks to the floor, these are the pages you need. The manual also covers removal of the reduction gear and the small differential gear (R-8, page 79), the clutch shaft (R-9, page 81), the countershaft (R-10, page 83), and the differential lock (R-11, page 85). A separate section covers the PTO drive housing (R-12, R-13).
Special Tools and Measurement Tables
Fourteen tables in the front of the book list every special tool required for these jobs – from pullers to setting fixtures. If you are a shop owner, you can decide which tools to buy and which to fabricate. The tables also include dimensions for press fits and clearance limits. Skipping the tool list is how you booger a bearing bore. Keep this manual open to the table while you order your supplies.
Source Authenticity: Original OEM vs Aftermarket
This is a direct scan of the official factory technical manual, not a third-party rehash. It retains the original page numbers, illustrations, and Czech nomenclature. The parts catalog numbers match exactly because the factory cross-referenced them. I have seen too many shops waste time on a misprinted foreign-language copy where the torque table got lost in translation. This one is clean and readable. If you want a reliable source for a 1950s Zetor, this is it. See also the Zetor MAJOR 60 / 80 Tractor Operator’s Manual for the operator side or the Zetor 4911 5911 6911 1977 User Manual for a later model. For this specific chassis, the only manual that matters is this one.
Who Needs This Factory Manual
If you own a Zetor 25 or 25K diesel tractor and are planning any repair beyond an oil change, you need this. The manual is aimed at a trained mechanic with access to basic tools and the special factory fixtures, but a careful DIYer with some mechanical experience can follow it. Every step is numbered, every fastener mentioned, every adjustment given as a measured value. You will not find a “wiggle it until it fits” instruction. It is dense. It is precise. It will save you from cracking a block by torquing a head bolt to the wrong spec on page 25.
Frequently Asked Questions
- Does this manual cover both the Zetor 25 and the Zetor 25K diesel models?
- Yes. The cover says both models and the internal sections apply to the diesel engines of both.
- What kind of torque specifications and wear limits are included?
- The manual includes maximum permissible wear on engine components (M-1/6, page 33), tolerances for piston and cylinder liner classification (M-3/7, page 33), and the adjustment specifications for the injection pump (M-5/4, page 40) and injection pressure setting (M-10, page 55). Torque values are given in the text for critical fasteners such as the cylinder head and connecting rod bolts – you will see kilopond-meter units which convert roughly to ft-lb. The clutch and brake adjustments also have specified clearances. If it has a thread or a fit, this manual tells you the number.
Stop pulling your Zetor apart with a generic tractor repair booklet that guesses the timing. Get the real factory procedures that your grandfather’s repair shop used. Access the Factory Manual from AutoRepairManuals and keep it on your workbench because it is your only source for the correct disassembly sequence and the exact specs that keep a 1950s diesel running another 50 years. Related manuals: Zetor 2511, 3511, 4511, 3545 Operators Manual – Factory Specs and the external Manual Transmission page for general theory.
Additional information
| Brand | Zetor |
|---|---|
| Language | English |
3 reviews for Zetor 25, 25K Technical Manual – Factory Disassembly & Repair Specs
You may also like…
-
Sale!

Zetor 8211, 8245, 9211, 9245, 10211 Parts Catalog – OEM Component Identification
Original price was: $58.50.$45.00Current price is: $45.00. -
Sale!

Zetor 5511 Repair Manual – Factory OEM Specifications
Original price was: $73.80.$60.00Current price is: $60.00. -
Sale!

Zetor 3011, 2011, 4011 Workshop Manual – 267 Pages of Factory Specs
Original price was: $66.15.$45.00Current price is: $45.00. -
Sale!

Zetor 8011, 8045, 12011, 12045 Parts Catalog – 418 Pages
Original price was: $52.40.$40.00Current price is: $40.00.
Related products
-
Sale!

1989 Service Manual – International 2000-8000 Electrical Systems
Original price was: $72.00.$50.00Current price is: $50.00. -
Sale!

1993 Operators Manual – International Bus 1000-3000 OEM Specs
Original price was: $12.30.$7.99Current price is: $7.99. -
Sale!

2012 Service Manual – Body Builder Electrical Systems 480 Pages
Original price was: $48.28.$34.00Current price is: $34.00. -
Sale!
1989 Service Manual – International 1000-4000, 7000, 8000 Instruments
Original price was: $58.80.$40.00Current price is: $40.00.
John S. –
This is just what I was looking for. The PDF quality is excellent. Contains detailed wiring diagrams for Zetor. Great value for money.
pro_mechanic –
Outstanding! The file is high resolution. Contains precise bolt torque specs for Zetor. Saves me so much time.
Charles W. –
I am very pleased with this purchase. The document looks clean. It assisted me to repair my Zetor 25, electrical system. I will definitely buy again.