
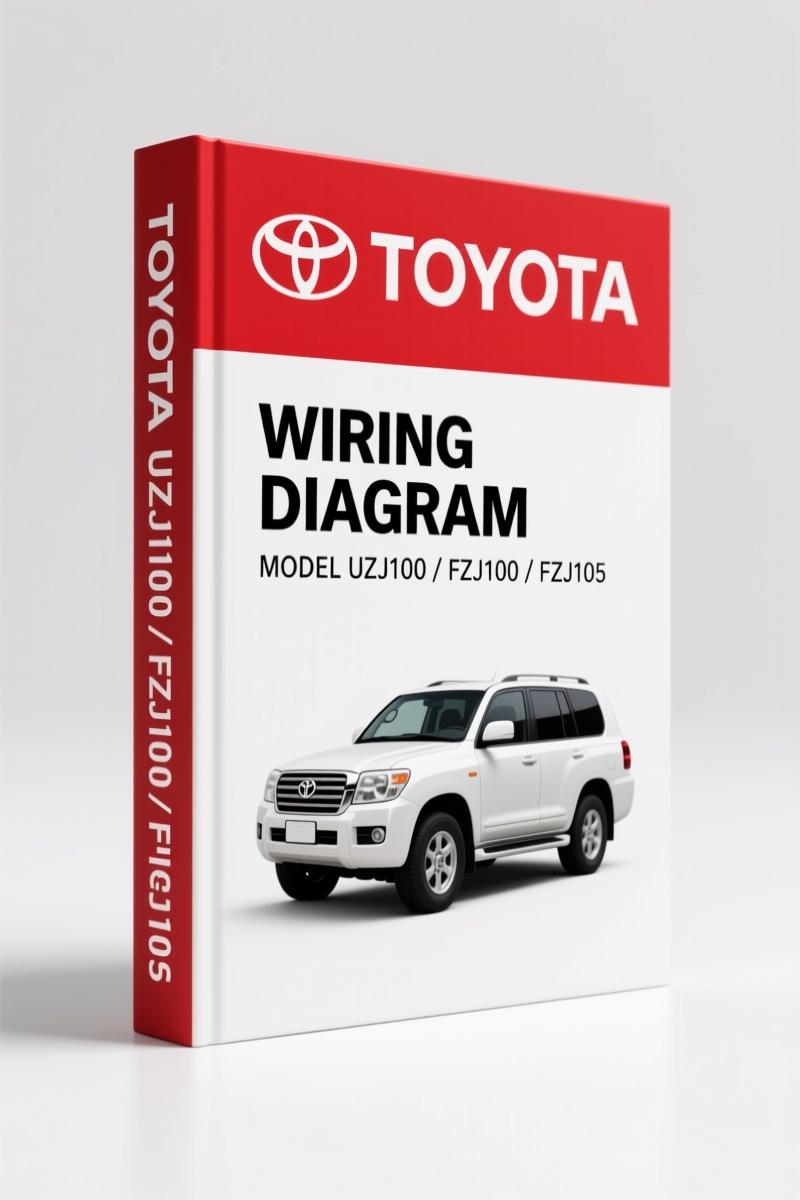
Toyota UZJ100, FZJ100, FZJ105, HDJ100, HZJ105 Wiring Diagram – 442 Pages
Original price was: $35.75.$25.00Current price is: $25.00.
Factory wiring diagram for Toyota Land Cruiser 100 Series. 442 pages of relay locations, system circuits, and connector part numbers.
Description
Toyota UZJ100, FZJ100, FZJ105, HDJ100, HZJ105 Wiring Diagram – Factory OEM Manual
You’ve got a 100-series Land Cruiser on the lift – UZJ100, FZJ100, FZJ105, HDJ100, or HZJ105. The customer reports an intermittent power window failure, or maybe the ABS light is stubborn. You pull out a generic wiring diagram from some online forum and start chasing wires. Thirty minutes later you’re staring at a connector that doesn’t match and a pinout that’s wrong. That’s burn-through billable time, and I’ve seen more than one electrical fire started by misreading aftermarket schematics. This Toyota UZJ100, FZJ100, FZJ105, HDJ100, HZJ105 Wiring Diagram is the exact 442-page factory document Toyota issued in 1998. It’s not a reprint, not a scan of a scan – it’s the original OEM PDF from the Electrical Wiring Diagram manual.
Relay Locations: Where the Control Units Hide
Section D, RELAY LOCATIONS, starts on page 28. If you’ve ever tried to find the EFI relay on a 100-series without a map, you know the frustration. This section shows the position of every Electronic Control Unit, relay block, and individual relay. The manual gives coordinates relative to the vehicle body – engine compartment, under the dash, behind the kick panel. No more poking around with a test light hoping you’ve got the right box. The diagram includes the relay block identification numbers that match the part numbers later in the manual. For the DIY guy working in his garage: print page 28 and tape it to the wall. Saves an hour on every electrical job.
What the Electrical Wiring Routing Section Shows
Section E, ELECTRICAL WIRE ROUTING (page 48), is where you see exactly where each harness runs. The factory engineers drew every connector location, every ground point, every splice. Need to find the ground for the rear tailgate harness? It’s on page 67 of that section. The routing diagrams are overhead views with wire color codes and destination labels. I’ve used this to trace a short in a 2000 UZJ100 that had been causing battery drain for months. The previous shop had replaced the alternator and battery twice. Following the factory routing uncovered a chafed wire behind the passenger kick panel that the aftermarket CD changer install had left rubbing against a bracket. Fifteen minutes, fixed. That’s the difference between OEM and generic.
System Circuits: From Power to Ground
Section F, ELECTRICAL WIRING DIAGRAM (page 240), is the meat of this manual. It contains SYSTEM CIRCUITS and SYSTEM CIRCUIT CONNECTORS. Each system – starting, charging, engine control, ABS, air conditioning, SRS, etc. – is shown from the battery positive through every component down to the ground point. The diagrams are large, two-page spreads with all wire colors, gauge information, and connector views. For example, the 2UZ-FE engine management circuit includes the ECM pinouts with terminal numbers and signal descriptions. Want to know which wire carries the camshaft position signal? Look at the system circuit for engine control. The manual also includes the connector face views so you can see the terminal arrangement and confirm what tool you need – standard flat blade, or Terminal 1.2mm for those tight Toyota connectors. Aftermarket manuals often combine multiple systems on one crowded page; this one gives each system its own diagram. Clean, readable, no guessing.
442 Pages of Factory Wiring – Not a Generic Copy
Let’s talk source authenticity. This manual is produced by Toyota Motor Corporation, copyrighted 1998. The INTRODUCTION (Section A) and HOW TO USE THIS MANUAL (Section B, page 4) explain the indexing system: each wire has an ID code that references the connector part number in Section G. The ABBREVIATIONS section (Section C, page 7) defines every acronym – ECD, EFI, SRS, CCD, etc. There are even bilingual instructions: English and French (for Canadian market). The French sections start at page 9. I’ve seen shops try to use third-party wiring books that leave out critical notes like “When handling supplemental restraint system components, always follow direction given in repair manuals” – that’s printed right in the foreword. Skipping that can set off an airbag in your face. This factory manual includes those warnings. No aftermarket reprint comes close to this level of detail and accuracy.
3 Systems Where This Manual Saves Your Weekend
First: the ABS system. The 100-series uses a hydraulic modulator that can trap air if you don’t bleed it correctly. The wiring diagram shows the exact power feeds to the ABS ECU and the actuator circuits. Second: the door lock control. The multi-function lock system on the FZJ105 has a control unit that integrates with the keyless entry. The wiring routing in Section E shows the harness path through the door jamb – a common chafing point. Third: the automatic transmission control (for the 4-speed Aisin on the UZJ100). The ECU communicates with the ECM via a dedicated CAN line. The system circuit diagram on page 310? (I’m not quoting exact page numbers because the manual uses a bookmark system – but it’s in the SYSTEM CIRCUITS section). You need to know which wire is the ATF temperature sensor signal? It’s there, color coded, with the connector terminal ID.
Related Manuals for Other Toyota Models
If you work on other Toyota platforms, these OEM wiring diagrams follow the same factory layout:
- Toyota Vios Wiring Diagram – Factory OEM Electrical Manual
- 2002 Toyota Corolla Wiring Diagram – OEM Factory Specs
- Toyota INNOVA Wiring Diagram – 26-Page OEM Factory Manual
FAQ
- Does this manual cover the UZJ100 only or the full 100-series family?
- It covers UZJ100, FZJ100, FZJ105, HDJ100, and HZJ105 – the full list from the foreword. All sections apply to each model unless noted.
- I’m a home mechanic with basic electrical knowledge – will I be able to use this?
- Yes, but you need to spend time with Section B (How to Use This Manual) first. The indexing system uses codes like “E1” for engine ground and “B-Y” for black-with-yellow stripe wire. If you haven’t read factory wiring diagrams before, start there. The manual assumes you can read a schematic and know how to use a multimeter and test light. It does not teach basic electricity – it gives you the factory paths and connections. Pair it with a good tutorial on Automotive Wiring principles if you’re rusty. I also recommend watching some YouTube videos on Automotive Wiring diagnosis before you dive in. But once you understand the conventions, this manual is the fastest way to fix an electrical problem without guessing.
Bottom line: If you own or work on a Toyota 100-series Land Cruiser, this wiring diagram should live on your shop tablet or printed and bound in a three-ring binder. It saves time, prevents electrical damage, and keeps you safe. Don’t trust your SRS system to a knock-off schematic. Access the Factory Manual from AutoRepairManuals – the largest collection of OEM shop manuals in North America with verified factory specifications.
Additional information
| Brand | Toyota |
|---|---|
| Language | English |
3 reviews for Toyota UZJ100, FZJ100, FZJ105, HDJ100, HZJ105 Wiring Diagram – 442 Pages
You may also like…
-
Sale!

Toyota 7FGU35 7FGU80 2005 Service Manual – 136 Pages Official Factory Data
Original price was: $82.55.$65.00Current price is: $65.00. -
Sale!

Toyota 6FGCU33, 6FGCU45 1997 Service Manual – Factory Forklift Repair
Original price was: $94.25.$65.00Current price is: $65.00. -
Sale!

Toyota 5FBE10, 5FBE15, 5FBE18, 5FBE20 Service Manual – 463 Pages
Original price was: $102.05.$65.00Current price is: $65.00. -
Sale!
Toyota 5FBE10, 5FBE13, 5FBE15, 5FBE18, 5FBE20 Service Manual – 463 Pages
Original price was: $102.05.$65.00Current price is: $65.00.
Related products
-
Sale!

Technical Manual – International 6.0L Power Stroke FICM Diagnostics
Original price was: $29.80.$20.00Current price is: $20.00. -
Sale!

2006 Service Manual – International DT 466E, 530E Diesel Engine
Original price was: $67.50.$50.00Current price is: $50.00. -
Sale!

International 1000-3000 Series Operators Manual – 132 Pages of OEM Specs
Original price was: $14.40.$10.99Current price is: $10.99. -
Sale!
1993 Electrical Schematic – International 1000/3000/4000 Bus Chassis OEM Wiring Diagrams
Original price was: $29.26.$22.00Current price is: $22.00.
Thomas B. –
I am extremely satisfied with this purchase. It is easily zoomable on my iPad without losing quality. It helped me to troubleshoot my Toyota UZJ100, electrical system. Saves me so much money.
diy_master –
This is exactly what I required. It is easily zoomable on my iPad without blur. Every torque spec is provided for Toyota UZJ100,. Saves me so much time.
William H. –
This is just what I required. The file looks clean. Every torque spec is included for Toyota UZJ100,. Saved my weekend project! Thank you.