
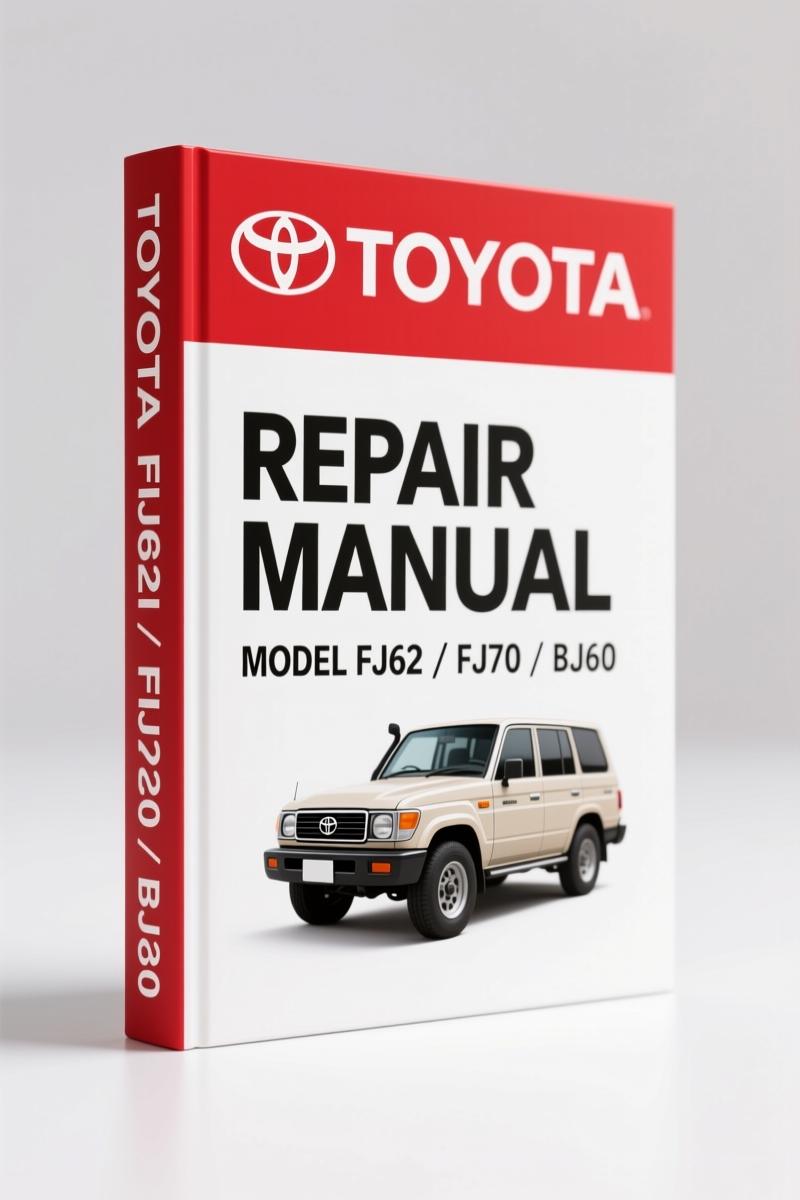
Toyota FJ62, FJ70, BJ60, BJ70, HJ60 1994 Repair Manual – Factory Specs
Original price was: $31.25.$25.00Current price is: $25.00.
OEM repair manual for Toyota Land Cruiser Heavy Duty FJ62, FJ70, BJ60, BJ70, HJ60 (1984-1990). 720 pages of factory torque specs, wiring diagrams, and service procedures.
Description
Toyota FJ62, FJ70, BJ60, BJ70, HJ60 1994 Repair Manual
You got a Land Cruiser from the 80s on your lift – FJ62, BJ60, HJ60 – and you’re chasing a driveline noise or a brake pull. Crack open a Chilton’s and you’ll find generic torque ranges that cover every truck Toyota made. That’s not a repair manual, that’s a guess. This is the real thing: a factory OEM Toyota FJ62, FJ70, BJ60, BJ70, HJ60 1994 Repair Manual, 720 pages, published in 1994, covering chassis and body for the Heavy Duty Land Cruiser line from 10/84 through 1/90. I’ve been turning wrenches for 28 years, and the difference between a two-hour job and a two-day job is having the right spec in front of you. This book gives you that.
You’ll find dedicated sections for Clutch (CL), Manual Transmission (MT), Automatic Transmission (AT), Transfer (TF), Propeller Shaft (PR), Front Axle and Suspension (FA), Rear Axle and Suspension (RA), Brake System (BR), Steering (SR), Body Electrical System (BE), Body (BO), plus Winch (WI) and Air Conditioning System (AC). Each section starts with a troubleshooting table and ends with torque values written in ft-lb and N·m. The introduction on page IN-2 explains how to use the index and the repair procedure format. If you’ve ever fought with an aftermarket wiring diagram that’s missing a wire color, you’ll appreciate the complete Electrical Wiring Diagrams (section D) that show every connector and splice.
Manual Transmission and Transfer Case: Factory Rebuild Procedure
Section MT covers the H41, H42, and H55F manual transmissions with 41 pages of disassembly, inspection, and reassembly. The transfer case section (TF) gives you the same treatment for the part-time and full-time cases. I’ve seen guys skip the preload measurement on the transfer output bearing and then wonder why they have a vibration at 60 mph. This manual lists the exact torque sequence for the bearing retainer bolts – something you will not find in a generic book. For the H55F five-speed, there’s a special note about the reverse idler gear thrust clearance that most aftermarket manuals omit. If you’re doing a full rebuild, also grab the Toyota B, 3B, 2B 1980 Repair Manual – Factory OEM Specs for the engine side, because the clutch housing alignment specs tie in directly.
Torque Specs and Fluid Capacities
Standard Bolt Torque Specifications are in section B – that’s the table you want when you’re torquing head bolts or suspension fasteners. It breaks down by thread size and grade, with values in ft-lb. The Service Specifications (section A) list capacities for the transmission, transfer case, differentials, and brake system. For the A440F automatic, the fluid capacity is 11.9 quarts with the torque converter empty. Don’t trust a random internet forum for that number. Get it from the factory page. I’d also recommend the Toyota 2L-T, 3L 1990 Repair Manual – Factory OEM Supplement if you’re working on a diesel with a turbo. The supplement covers additional torque specs for the 2L-T and 3L engines, which share some chassis components with the BJ series.
What Does the Clutch Section Cover?
The clutch section (CL) runs 22 pages and covers the push-type clutch used on the B and 2H diesels, plus the pull-type used on the 3F gas engine. It gives you the pressure plate bolt torque (29 ft-lb for the 3F, 18 ft-lb for the B/2H), the flywheel bolt torque (65 ft-lb, tighten in a crisscross pattern), and the clutch pedal freeplay adjustment. There’s also a note about the pilot bearing orientation – install it with the sealed side facing the engine. I’ve pulled transmissions that had that bearing in backwards because a YouTube video said the sealed side goes toward the gearbox. That mistake costs you a pilot bearing replacement in 10,000 miles. The manual has a cross-section drawing that shows you the correct orientation. Use it.
3 Critical Safety Warnings from the Introduction
Page IN-2 lists precautions that apply to every repair operation. Three that I repeat to every junior tech: (1) Support the vehicle on jack stands rated for the Land Cruiser’s weight – never trust a hydraulic jack alone. (2) Disconnect the battery ground cable before working on the electrical system, especially when removing the alternator or starter. (3) Brake dust from the asbestos pads (common on these vintage trucks) is a lung hazard – use a wet rag and a HEPA vacuum, never blow it out with compressed air. These are not suggestions. Ignore them and you’ll be writing an incident report.
Understand the Brake System Before You Bleed
Section BR covers the four-wheel drum brakes on the early models and the front disc/rear drum setup on later FJ62s. The bleeding sequence is right there: start with the right rear, then left rear, right front, left front. If you’re retrofitting a brake booster, the manual gives you the pushrod clearance measurement (0.01–0.04 inches) that is critical for pedal feel. I have seen more than one shop buy a cheap aftermarket booster and then complain about a soft pedal because they didn’t check that clearance. The factory SST (special service tools) list in section C tells you exactly which tool to use for the rear axle bearing puller – no need to improvise with a slide hammer that might crack the housing. For a complete engine wiring and sensor guide, the Toyota Tercel 1996 Repair Manual – 1202 Page Factory Spec PDF is a different animal, but if you’re chasing an electrical gremlin on a 90s Toyota, that manual’s troubleshooting approach is the same disciplined method you’ll find here.
Working on these trucks without the factory documentation is like navigating blindfolded. The Automotive Industry Overview from Toyota shows the kind of rigorous testing that goes into these specs – they’re not pulled from thin air. Trust the book, not the forum expert.
You can spend $60 on a generic manual and chase your tail, or get this factory book and finish the job. Access the Factory Manual from AutoRepairManuals – it’s the same PDF Toyota dealers used. Original OEM scan, full resolution.
Frequently Asked Questions
- Is this manual for both gasoline and diesel Land Cruisers?
- Yes. It covers FJ (gasoline 3F), BJ (diesel B series), and HJ (diesel 2H) models. But you need the separate engine repair manuals for engine internals – this is chassis and body.
- Does it include wiring diagrams?
- Yes, section D has complete wiring diagrams.
- What years does this manual actually cover?
- The manual was published in 1994, but it covers vehicles produced from October 1984 through January 1990. That’s the heavy-duty Land Cruiser models with solid axles – FJ62, FJ70 series, BJ60, BJ70, HJ60, HJ75, and others. If you have a 1991 or later, you need a different manual. Also note that it covers both left-hand and right-hand drive, but the wiring diagrams may vary. Always double-check your vehicle’s VIN against the ID information on page IN-4.
- Can I use this manual to rebuild the automatic transmission?
- This manual includes the Automatic Transmission section (AT), but for the A440L and A440F specifically, Toyota published a separate transmission repair manual (Pub. No. 36264E). You’ll want both if you’re doing a full rebuild. The chassis manual gives you removal, installation, and basic troubleshooting, but the transmission manual has the clutch pack clearances and valve body specs.
Additional information
| Brand | Toyota |
|---|---|
| Language | English |
3 reviews for Toyota FJ62, FJ70, BJ60, BJ70, HJ60 1994 Repair Manual – Factory Specs
You may also like…
-
Sale!

Toyota 5FBE10, 5FBE13, 5FBE15, 5FBE18, 5FBE20 Service Manual – 463 Pages
Original price was: $102.05.$65.00Current price is: $65.00. -
Sale!

Toyota 7FGU35 7FGU80 2005 Service Manual – 136 Pages Official Factory Data
Original price was: $82.55.$65.00Current price is: $65.00. -
Sale!
Toyota 5FBE10, 5FBE15, 5FBE18, 5FBE20 Service Manual – 463 Pages
Original price was: $102.05.$65.00Current price is: $65.00. -
Sale!

Toyota 6FGCU33, 6FGCU45 1997 Service Manual – Factory Forklift Repair
Original price was: $94.25.$65.00Current price is: $65.00.
Related products
-
Sale!

1992 Electrical Schematic – International 1000/3000/4000/2554 OEM Wiring Diagrams (132 Pages)
Original price was: $26.40.$20.00Current price is: $20.00. -
Sale!

1989 Service Manual – International 2000-8000 Electrical Systems
Original price was: $72.00.$50.00Current price is: $50.00. -
Sale!
1994 Troubleshooting Manual – International 1000-4000 FBC
Original price was: $60.00.$50.00Current price is: $50.00. -
Sale!
1995 Operators Manual – International 1000-4000 Series | OEM Documentation
Original price was: $12.49.$9.99Current price is: $9.99.
Thomas B. –
This is exactly what I required. The scan is high-quality and well indexed. A must-have for any Toyota FJ62, DIYer doing maintenance. I will recommend this shop to others.
Charles W. –
Perfect OEM spec sheet. Quick access after checkout process. Contains precise schematics for Toyota. I will definitely buy again.
pro_mechanic –
Superb resource! The scan is high-quality and easy to navigate. A must-have for any Toyota FJ62, mechanic doing maintenance. Saved my repair job! Thanks.