
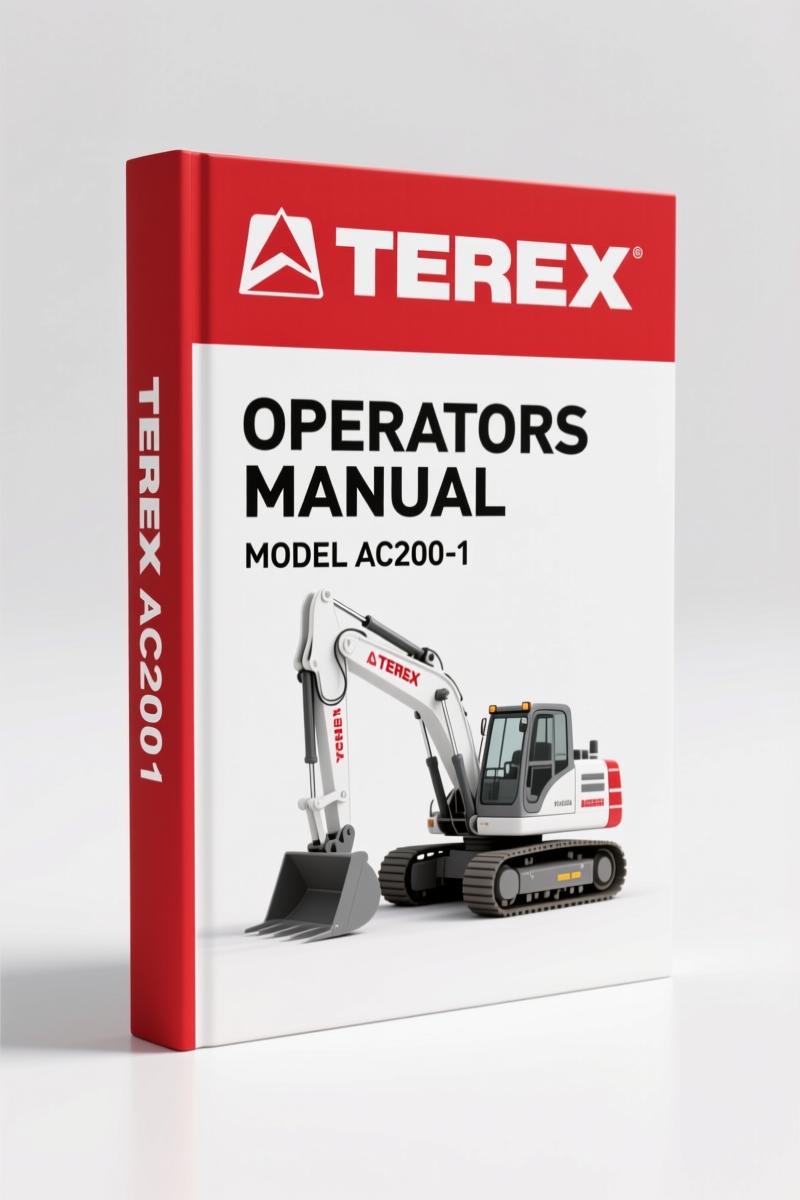
Terex AC200-1 Training Manual – Suspension Operation Guide
Original price was: $70.00.$50.00Current price is: $50.00.
Factory Terex AC200-1 training manual covering hydraulic suspension, transport position, and level setting. 16 pages of OEM data.
Description
Terex AC200-1 Training Manual – Suspension Operation & Setup
You are looking at the suspension chapter of the factory training for a crane that weighs over 40 tons and moves on public roads. If you have ever had a suspension cylinder lock up mid-level because you guessed the circuit switch sequence, you know the difference between guessing and reading the manual. This Terex AC200-1 Training Manual is the original OEM document used in the Global Crane Training program. It is 16 pages of exactly what you need to set the suspension, raise axles, and avoid crushing someone under the chassis.
Hydraulic Suspension: 4-Circuit vs 3-Circuit Modes
Page 3 of the manual spells out the hydraulic suspension layout. During normal road driving the system is split into four separate circuits – one per corner group. That gives you lateral stability at highway speeds. When you hit extreme ramps or uneven job site terrain, you press the lockable switch (99) to switch to a three-circuit system. The indicator light (A6) comes on. The manual says in bold caps: Driving with the three circuit system means less lateral stability. The max. road speed should therefore not exceed 15 km/hour (9 mph). If you skip that warning and take a corner at 20 mph, you risk rolling the crane. The document also states clearly: when the equipment is erected (boom up, outriggers down), you must drive in the four-circuit system only. No exceptions. Proceed with caution – risk of crushing. Make sure no one is near the vertically extending suspension cylinders before you activate any circuit changes.
Setting the Transport Position
The content list on page 2 shows a dedicated section for transport position setup. After you finish a lift and lower the load, the suspension needs to be brought back to ride height for travel. The manual walks you through the sequence: which axles lock, which circuits must be pressurized first, and the indicator lights to confirm. Page 6 covers the exact steps. If you do it out of order, you can over-extend a cylinder or leave an axle partially raised – that drags on the highway and costs you a bearing. Follow the manual’s order.
Manual Level Adjustment – Raising Axles
Pages 7 and 14 deal with manual level setting and raising axles. The lift axle (axle 3) has its own separate circuit – circuit II on the right, circuit V on the left. The manual shows the pressure gauge assignments for each circuit (page 4). To raise an axle manually, you need to know which gauge corresponds to which side and axle. The training document gives you the exact procedure: select the axle, activate the raise function, monitor pressure, and stop at the correct level indicated on the in-cab display (43) under menu 4.1 “Suspension levels”. Example shown: middle position Z 200 151. Do not rely on memory – read the gauge numbers.
Pressure Gauge Assignment for Suspension Circuits
The manual dedicates a full page (page 4) to the distribution of suspension circuits and the assignment of pressure gauges. For the 5-axle basic unit: circuit I – axles 1 and 2 front right, pressure gauge I (5); circuit II – lift axle axle 3 right, gauge II (6); circuit III – axles 4 to 5 rear right, gauges III (7) and II (6); circuit IV – axles 1 and 2 front left, gauge IV (8); circuit V – lift axle axle 3 left, gauge V (9); circuit VI – axles 4 to 5 rear left, gauges VI (10) and V (9). For 6- and 7-axle units, the rear circuits are extended. This is not something you can guess – each gauge reads a different circuit. One misread and you think the rear is pressurized when it is not.
Why the AC200-1 Training Manual Belongs in Your Toolbox
This is not a reprint or a summary from a third party. It is the actual factory training binder used by Terex technicians. Every spec comes from the engineering group that designed the suspension. Aftermarket manuals often skip the safety warnings about circuit switching and speed limits. This document has them in bold. The 16 pages are dense with diagrams, pressure assignments, and operational limits. If you work on cranes – even as a DIY owner-operator – you need the OEM torque values and circuit logic. Without them, you are running blind. Manual Transmission is one thing, but a 70-ton crane suspension is a different world of safety liability.
Related Manuals for the AC200-1
- Terex AC200-1 Crane Head Roller Operation Manual
- Terex AC200-1 Main Boom Dismantling & Assembly Training
- Terex AC200-1 Operation: Telescoping Training Manual
For additional reference on general transmission systems, see Manual Transmission and Manual Transmission.
Frequently Asked Questions
- Does the AC200-1 Training Manual cover the engine or drivetrain?
- No. This is a suspension-specific training module – 16 pages focused entirely on hydraulic suspension, level control, and axle raising.
- How many pages does the manual have?
- 16 pages. That includes the cover, content list, and all suspension procedures from general operation to pressure gauge assignment.
- What safety warnings are included?
- Multiple. The manual warns about reduced lateral stability above 9 mph in three-circuit mode, crushing risk during cylinder extension, and the requirement to use four-circuit mode when the crane is erected. It also instructs you to keep personnel away from vertical cylinders and to proceed with caution during adjustment work.
- Is this the same manual used in Terex factory training?
- Yes. This is the exact PDF from the Global Crane Training program – original OEM content, not a copy.
If you operate or maintain a Terex AC200-1, the difference between a safe suspension setup and a broken axle comes down to following factory procedure. Access the Factory Manual now and keep it on your tablet in the cab.
Additional information
| Brand | Terex |
|---|---|
| Language | English |
3 reviews for Terex AC200-1 Training Manual – Suspension Operation Guide
You may also like…
-
Sale!
Terex AC200-1 Training Manual – Brake System Factory Specs
Original price was: $91.50.$75.00Current price is: $75.00. -
Sale!
Terex AC200-1 Training Manual – Boom Dismantling & Assembly OEM Procedures
Original price was: $93.75.$75.00Current price is: $75.00. -
Sale!
Terex TA40 G7 2006 Parts Catalog – OEM Parts Documentation
Original price was: $32,400.00.$24,000.00Current price is: $24,000.00. -
Sale!
Terex PT-70 2010 Parts Catalog – 34 Pages OEM Part Numbers
Original price was: $30,480.00.$24,000.00Current price is: $24,000.00.
Related products
-
Sale!

Technical Manual – International DT 530 & HT 530 (118 Pages)
Original price was: $37.00.$25.00Current price is: $25.00. -
Sale!

1991 Operators Manual – International Truck OEM Specs (108 Pages)
Original price was: $13.63.$10.99Current price is: $10.99. -
Sale!

2011 Parts Catalog – International 7400 SFA 6X6 – 1886 Pages of OEM Part Numbers
Original price was: $32.00.$25.00Current price is: $25.00. -
Sale!

1992 Electrical Schematic – OEM Wiring Diagrams for International 1000-3800
Original price was: $24.48.$18.00Current price is: $18.00.
pro_mechanic –
Excellent quality! It is very easy to read on my tablet without losing quality. It assisted me to fix my Terex AC2001 electrical system. Worth every penny.
Michael T. –
I am very pleased with this transaction. The file quality is excellent. It guided me to repair my Terex AC2001 transmission. Saves me hundreds of time.
Robert M. –
This is just what I required. Instant access after payment. Contains clear schematics for Terex. Saves me a lot of money.