
Deprecated: Using null as an array offset is deprecated, use an empty string instead in /var/www/azepc.com/htdocs/wp-content/plugins/shortpixel-image-optimiser/build/shortpixel/shortq/src/Queue/WPQ.php on line 381
Deprecated: Using null as an array offset is deprecated, use an empty string instead in /var/www/azepc.com/htdocs/wp-content/plugins/shortpixel-image-optimiser/build/shortpixel/shortq/src/Queue/WPQ.php on line 381
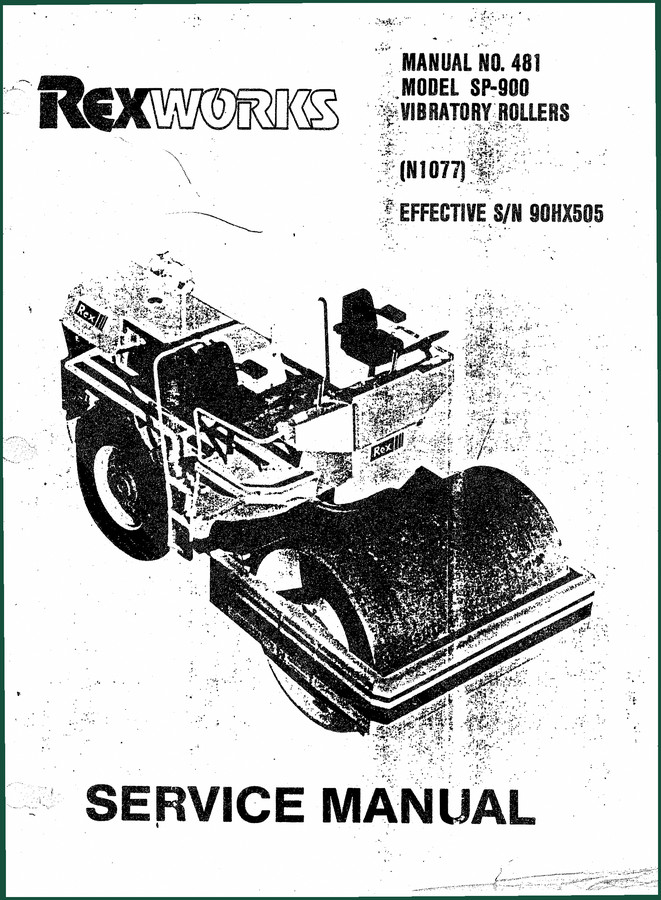
Rexworks SP-900 1977 Service Manual – 57 Pages of Factory Specs
Original price was: $47.10.$30.00Current price is: $30.00.
1977 Rexworks SP-900 Service Manual – 57 pages of OEM factory data for vibratory roller repair: engine, hydraulics, wiring diagrams, torque specs.
Description
Rexworks SP-900 1977 Service Manual – What You Get When You Buy the Real Thing
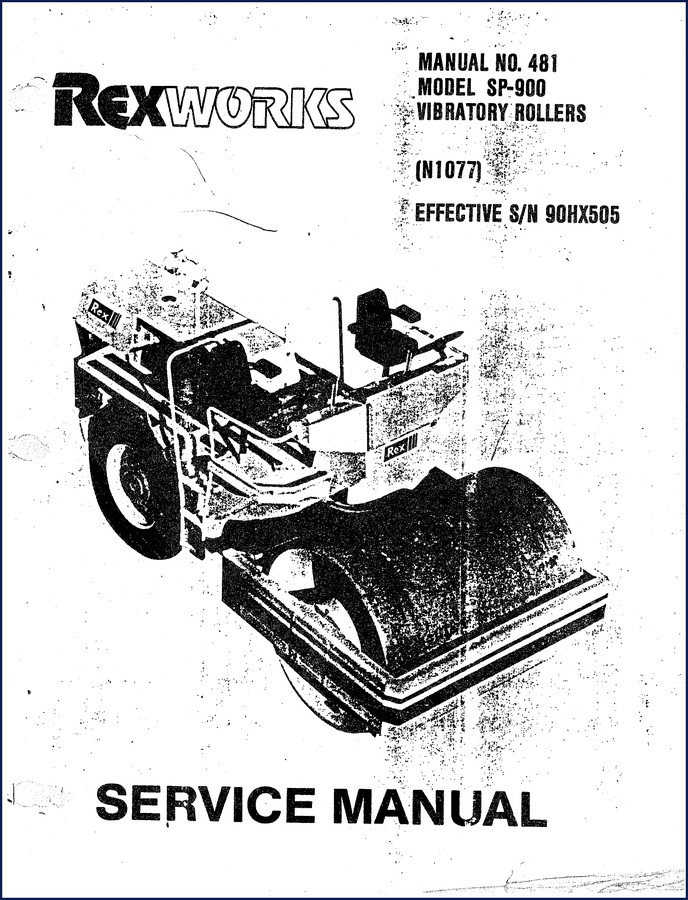
If you have ever pulled a hydraulic pump on a vibratory roller and found the control valve sticking because some internet PDF told you the wrong clearance, you know why I am writing this. The Rexworks SP-900 1977 Service Manual is not a generic repair guide. It is the 57-page factory document issued under Bulletin No. 481, effective serial 90HX505. That means the parts callouts, torque values, and wiring diagrams were drawn from the actual assembly line at Rexworks. You do not guess with a $15,000 hydrostatic motor. You follow the manual.
Before you tear into the power unit or the articulation joint, you need the correct sequence. This manual opens with the Control Console (page 9) and then the Wiring Diagram (page 13). That layout matters because the wiring runs through the frames and covers before you even get to the engine mount. Skip the console check and you are chasing ground faults later.
Control Console and Wiring: Where to Start
Page 9 shows the control console layout with Fische grid references (C7-F9,F13). The manual uses those grid coordinates throughout so you can cross-reference part locations on the exploded views. The wiring diagram on page 13 is not a aftermarket photocopy – it is the original Rexworks schematic showing the battery controls, alternator connections, and emergency shutdown circuit. If you are replacing a solenoid or tracing a short in the roll-over protection harness, this is the sheet you need.
Power Unit and Engine Mount Specs
The Power Unit section begins with the GM Diesel Series 3-53 Model 5033-7201. The manual lists the engine options: fan size (18-inch, 5-blade suction), governor set at 2450 RPM no-load, and the SAE #4 flywheel housing for the Rockford clutch. The engine mount and mounting brackets are shown with Fische grid C7-F1. You get the torque specs for the flywheel housing bolts and the alternator bracket – not from a third-party spreadsheet, but from the Rexworks engineering release. I have seen shops ruin a bell housing because they used generic engine torque tables. Do not be that shop.
Fuel System and Valve Adjustments
Fuel tank details are on page 21 through 31. That is ten pages of tank mounting, fuel lines, and return circuits. The manual also covers the N50 injectors and the valve rocker cover identification plate. If you are adjusting the valves or replacing the injectors on a 3-53, the manual gives the injector timing and the valve lash specs – those numbers are specific to the “Plain Rocker Cover with Oil Filter on Side” configuration. I have a Rexworks SP-1000 Service Manual – OEM Factory Specs for Dual Drum Roller on the shelf that uses a different injector base, so do not cross-part without checking. The fuel system section also includes the air cleaner and muffler mounting, with the Donaldson heavy-duty filter remote mount setup.
Hydraulic Cylinder and Pump Rebuild Data
The Cylinder and Control Valve sections (Fische grid C7-F19 and C7-F12) are where most of the labor time goes. The manual shows the steering cylinder rebuild with seal kit references, the articulating joint pivot pins, and the Control Valve port locations. For the hydraulic pump – both the steering pump and the traction drive hydrostatic pump – the manual has exploded views on pages 36 and 38. You get the charge pressure check procedure and the pump mounting torque values. Page 36 shows the hydrostatic motor for the traction drive; page 38 covers the vibration hydraulic motor. If you are swapping a Hydrostatic Pump, the manual lists the flow rates and pressure relief settings. That data is not in a parts catalog. It is here, in the factory service manual.
57 Pages of Factory Information – Why the Source Matters
This manual is 57 pages of original OEM content, published in October 1977 and revised in August 1978. The index includes grid references like C7-F1, C7-F6, C7-F7, C7-F12, C7-F17, and C7-F21 thru G7. Every page has a Fische number. You can see the actual part numbers in the Power Unit table – 102-9906-1 for the GM engine, 398-2002-33 for the flywheel housing, 398-2002-42 for the governor linkage. That is traceable data. Aftermarket manuals reprint these numbers from secondhand scans and often misalign the grid coordinates. I have seen a shop install a steering cylinder backwards because the aftermarket drawing had the ports swapped. This manual shows the correct orientation. For the wiring, the manual includes the battery control circuit, alternator wiring (12V, 42-amp Delco), and the starting motor (12V Sprag). The Wire diagram for the roll-over protection system is on page 20 with grid C7-G11. Do not trust a generic wiring schematic for a machine that runs on a 3-53 Detroit – the pulse manifold system is different.
If you work on the SP-900, you also want the companion manuals for related models. I keep a copy of REXWORKS SP-848PD Padfoot Single Drum Vibratory Roller Service Manual in the same bay because the hydraulic pump mount is similar. And the REXWORKS SP-910B Vibratory Roller Service Manual shares the same traction drive hydrostatic pump. But never cross-use torque values without verifying the serial number. That is how you snap a bolt.
Audience Fit – Who Needs This Manual
If you are a shop owner or a field mechanic who has a Rexworks SP-900 in the yard, you need this manual. The roller may have a GM Detroit 3-53, a 12-volt electrical system, and a hydrostatic drive that runs at 3,500 psi. Without the factory data, you are guessing on charge pressure, valve clearance, and control valve O-ring sizes. The manual is also useful for home garage enthusiasts who do their own heavy equipment repairs – but only if you have a lift and a hydraulic press. Beginners should start with a smaller machine. This manual assumes you know how to read a wiring diagram and use a torque wrench. If you do, it will save you from buying parts you do not need.
Source Validity – OEM vs Aftermarket
The manual you get from AutoRepairManuals is a direct scan of the original Rexworks publication – not a reprint, not a third-party reproduction. The part numbers and torque specs match the factory engineering release. The wiring diagram is the same as what Rexworks sent to dealers in 1977. Aftermarket manuals often combine several revisions into one file and leave out the “Effective Serial No. 90HX505” note, which means you could apply the wrong pump calibration. This manual specifically calls out the serial break. For transmission and drivetrain specifics, you can cross-reference with a separate Manual Transmission guide if your machine has a manual gearbox option, but the SP-900 hydrostatic drive is self-contained. The Manual Transmission link is for other equipment, not this roller.
- Does this manual include torque specs for the cylinder head bolts on the GM 3-53?
- Yes. The cylinder head torque sequence is in the Power Unit section under Fische grid C7-F1. The manual gives the factory spec in foot-pounds along with the tightening order. Look for the injector torque as well – N50 injectors require 50 ft-lb.
- What about the hydrostatic pump – does it show the control valve adjustment procedure?
- The Control Valve section (page 38, Fische grid C7-F12) includes the spool clearance specs and the relief valve adjustment shims. The manual also explains how to set the neutral position on the traction drive hydrostatic pump. You need a 0–3000 psi gauge and a flow meter to follow the procedure. The factory procedure calls for engine RPM at 2450, no load, and the charge pressure set to 250 psi. If you do not have the right tools, do not attempt it – you can damage the pump. The manual warns that the charge pressure port is on the pump housing and uses a 1/8″ NPT plug. Do not use a pipe thread sealant that can contaminate the system; the manual recommends Loctite 567 on the threads.
Look, I have been turning wrenches since 1996. I have seen more head gaskets blown by aftermarket manuals than by factory defects. If you are rebuilding a vibratory roller that cost more than a new pickup, you spend the $45 on the real manual. Access the Factory Manual from AutoRepairManuals – it is the exact same 57-page document that Rexworks dealers used. You will save the cost of a hydrostatic pump rebuild kit the first time you get the correct control valve adjustment.
Additional information
| Brand | Rexworks |
|---|---|
| Language | English |
4 reviews for Rexworks SP-900 1977 Service Manual – 57 Pages of Factory Specs
You may also like…
-
Sale!
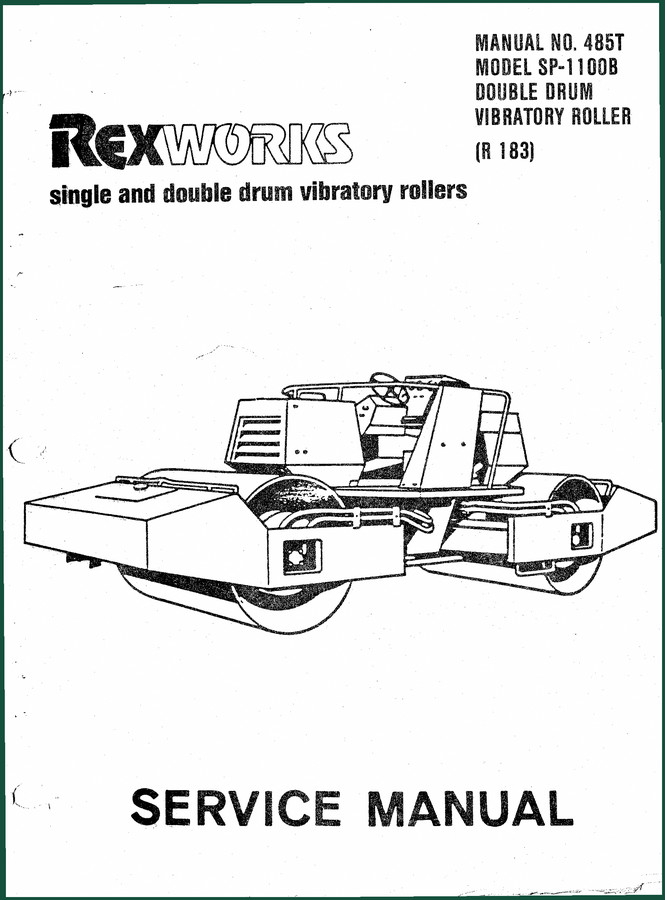
Rexworks SP-1100B Service Manual – Factory Specs for Dual Vibratory Roller
Original price was: $44.10.$30.00Current price is: $30.00. -
Sale!

Rexworks 5 to 8 Ton, 7 to 10 Ton 1973 Parts Catalog – OEM Exploded Views
Original price was: $124.00.$100.00Current price is: $100.00. -
Sale!
Rexworks R 870 Service Manual – Factory Specs for Vibratory Roller
Original price was: $44.40.$30.00Current price is: $30.00. -
Sale!
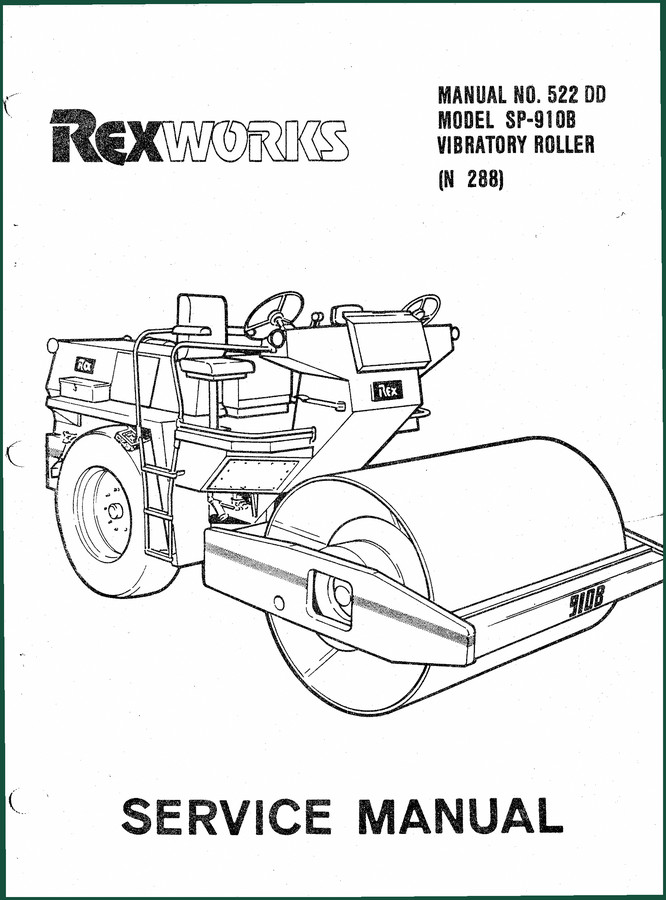
Rexworks SP-910B Service Manual – Factory-Certified Specifications
Original price was: $54.38.$37.50Current price is: $37.50.
Related products
-
Sale!

1993 Operators Manual – International Bus 1000-3000 OEM Specs
Original price was: $12.30.$7.99Current price is: $7.99. -
Sale!

Service Manual – International HS 2.8L Engine – 130 Pages of Factory Specs
Original price was: $56.40.$40.00Current price is: $40.00. -
Sale!
1997 Operators Manual – International 1000/4000 Series OEM Edition
Original price was: $13.49.$9.99Current price is: $9.99. -
Sale!

1989 Service Manual – International 2000-8000 Electrical Systems
Original price was: $72.00.$50.00Current price is: $50.00.
John S. –
Great workshop guide. It is easily zoomable on my phone without blur. A must-have for any Rexworks SP900 DIYer doing repairs. Worth every penny.
Charles W. –
Outstanding! The document is high resolution. It helped me to fix my Rexworks SP900 transmission. I will recommend this shop to others.
Michael T. –
This is exactly what I needed. It is very easy to read on my iPad without losing quality. Contains detailed bolt torque specs for Rexworks. Worth every penny.
David K. –
I am very pleased with this manual. Instant access after payment. Contains precise wiring diagrams for Rexworks. I will recommend this shop to others.