
Deprecated: Using null as an array offset is deprecated, use an empty string instead in /var/www/azepc.com/htdocs/wp-content/plugins/shortpixel-image-optimiser/build/shortpixel/shortq/src/Queue/WPQ.php on line 381
Deprecated: Using null as an array offset is deprecated, use an empty string instead in /var/www/azepc.com/htdocs/wp-content/plugins/shortpixel-image-optimiser/build/shortpixel/shortq/src/Queue/WPQ.php on line 381
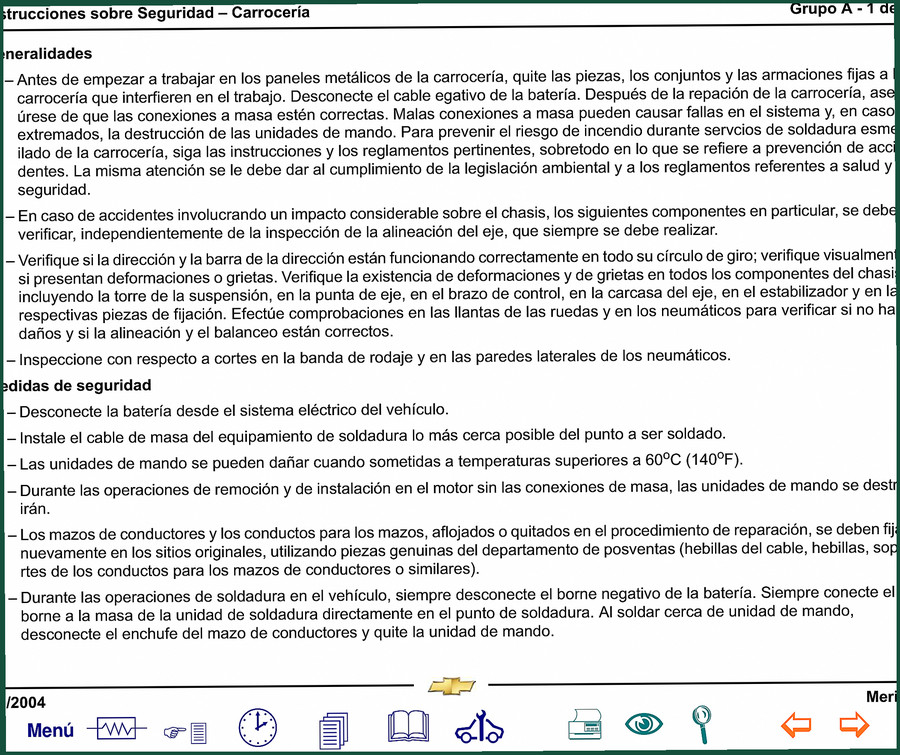
Opel Meriva 2004 Service Manual – 4372 Pages of Factory Specifications
Original price was: $46.20.$30.00Current price is: $30.00.
4372-page OEM service manual covering body structure, panel replacement, paint systems, and trim for the 2004 Opel Meriva.
Description
Opel Meriva 2004 Service Manual – Factory Bodywork & Structural Repair
Opel Meriva 2004 Service Manual – if you’re trying to replace a rear side panel or fix a bent chassis rail without the factory documentation, you’re guessing. Guessing on a unibody car means welded joints that fail, alignment that’s off, and safety systems that don’t reset. I’ve seen guys use aftermarket diagrams and end up with a door gap you could throw a wrench through. This is the real thing – 4372 pages of Opel’s own instructions for the Meriva, straight out of 2004. The Spanish original file covers Grupo A (bodywork), Grupo B (painting), and Grupo C (body components, glass, seats). No third-party rehash.
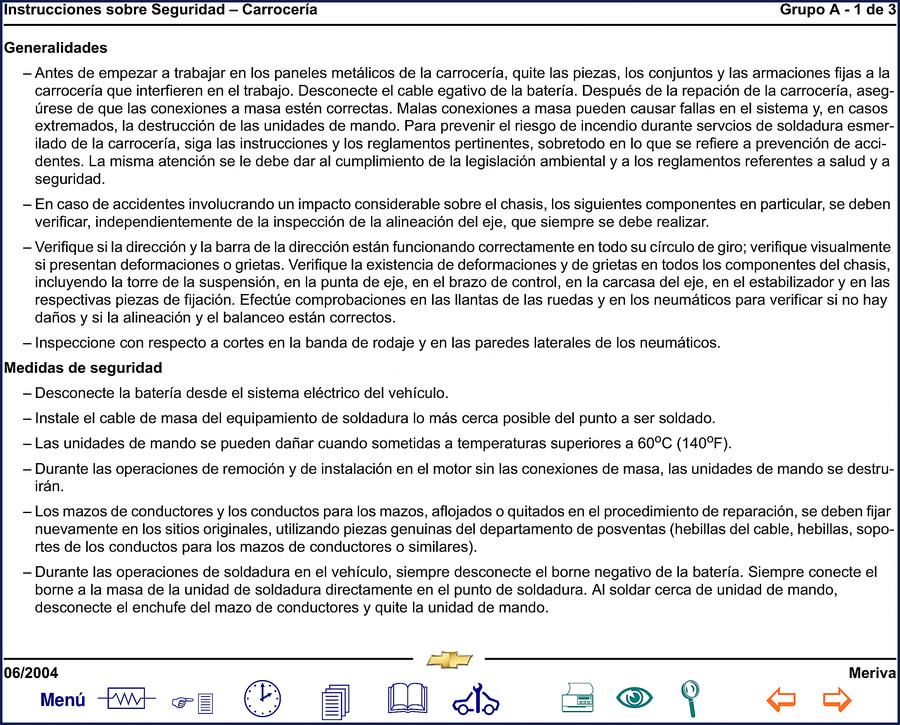
Safety Instructions – The First Page You Need to Read
Page 1 of the manual spits out rules you can’t skip. Before touching any metal panels, disconnect the negative battery cable. Ground the welding equipment as close to the weld point as possible – I’ve seen ECMs fried because someone ran the ground across the car. The manual warns that control units die above 60°C (140°F). If you’re welding near a module, pull the connector and remove the unit. These aren’t suggestions; they’re the difference between a clean repair and a $2,000 electrical failure. The same page tells you to inspect steering components, control arms, and suspension towers after any major impact. Most collision shops skip that step. Don’t.
7 Measurement Diagrams for Chassis Alignment
Under Medidas de la Carroceria you get a chassis measurement plan – actual dimensions for checking squareness after you pull a frame rail. The manual lists specific measurement points on the underbody. You’ll need a tram gauge and the factory numbers. Without them you’re sighting by eye, which won’t cut it if you’re replacing a front end or a rear floor pan. The OCR shows Plano de Medición del Chasis; that’s where the coordinates live. Use these (page 2) to verify alignment before you start welding panels back on.
How Many Panel Replacement Procedures Are Covered?
Over 20 separate panel replacement entries appear in the Paneles del corte section alone. Front wheel housing, inner and outer rear side panels, B-pillar (complete), C-pillar lower, floor pan in the spare tire area – every structural panel that gets cut and replaced has its own numbered procedure. Each one includes removal, installation, welding sequence, and seam locations. The Paneles metalicos section covers bolt-on parts like the hood, front fender, and tailgate. If you need to replace a welded door hinge or a front panel, the steps are in Grupo A. You’re not guessing where to spot-weld.
Painting Systems – Plastic Component Procedures
Three complete paint systems are documented: Glasurit, PPG, and Renner Dupont. Each has its own subsection with surface prep, primer application, and topcoat curing. The manual doesn’t assume you’re using generic paint; it gives specific mixing ratios and drying times. If the Meriva has plastic exterior parts (side moldings, trim), the plastic painting procedure in Grupo B tells you how to prep and shoot them without adhesion failure. Paint shops that don’t follow this end up with peeling clearcoat within six months.
Find the Correct Lifting Points
Levantamiento del Vehículo is a one-page subsection, but it matters. Lifting a Meriva by the wrong spot bends floor seams or crushes fuel lines. The manual shows the exact pinch‑weld locations and jack stands positions. Don’t rely on a generic lift diagram from a harbor‑freight manual. Use the factory spec.
OEM vs Aftermarket – Why This Print Beats Third-Party Copies
Aftermarket repair manuals for the Meriva typically condense 4,372 pages into 300 and leave out the welding symbols, torque sequences for hinge bolts, and the paint system compatibility charts. This file is a direct scan of the Opel dealer service publication. The Símbolos para Operaciones de Soldadura page (page 1 section) shows weld types and their correct symbols – you can’t get that from Haynes or Chilton. If you’re a shop owner or a home builder who cares about structural integrity, you need the OEM document. Related manuals: Denso Common Rail Manual Opel 4EE2 Corsa Meriva covers the diesel injection system; Opel Corsa D Model Introduction Training Manual and Opel Astra Model Introduction Training For Body Repairers are also useful if you work on multiple platforms. For broader automotive context, see Automotive Industry Overview and Manual Transmission – but for the Meriva body, this manual is the only source that counts.
Frequently Asked Questions
- Does the manual include torque specs for body panel fasteners?
- Yes. Every hinge bolt, latch screw, and bracket fastener has a torque value listed in the corresponding removal/installation procedure. The manual states these in Nm; you’ll need a torque wrench that reads in that range.
- Is the welding information detailed enough for a home welder?
- It includes welding symbols, recommended weld types (plug, seam, stitch), and grounding instructions. It doesn’t teach you how to weld – you need that skill separately. But the factory sequence and joint location are present.
- What if my copy is in Spanish?
- The manual is originally in Spanish. If you can’t read Spanish, you’ll need a translator or be comfortable interpreting diagrams and measurements. The torque specs and dimensions are in universal numerical format.
- Can I use this manual for a 2005 Meriva?
- The 2004 manual covers the first-generation Meriva (2003-2005). Body structure and panel replacement procedures are the same for 2005 model year. However, verify by checking the vehicle VIN against the chassis measurement plan printed on page 2.
You’ve got a 2004 Opel Meriva with collision damage or rust holes. Stop wasting billable hours on aftermarket approximations. Access the Factory Manual – 4,372 pages of OEM body repair, painting, and structural specs. It’s the only way to get the alignment right and the welds strong.
Additional information
| Brand | Opel |
|---|---|
| Language | English |
3 reviews for Opel Meriva 2004 Service Manual – 4372 Pages of Factory Specifications
You may also like…
-
Sale!
Opel Corsa, Meriva 2003 Service Manual – DENSO HP3 Common Rail
Original price was: $34.73.$23.00Current price is: $23.00. -
Sale!
Opel Corsa D Training Manual – 39 Pages Factory Body Repair Guide
Original price was: $32.85.$22.50Current price is: $22.50. -
Sale!
Opel Astra, Astra Caravan Repair Manual – 326 Pages of Factory-Spec Procedures
Original price was: $36.50.$25.00Current price is: $25.00. -
Sale!
Opel Astra 2012 Technical Manual – Antenna & EEPROM Diagnostics
Original price was: $30.38.$22.50Current price is: $22.50.
Related products
-
Sale!

Acura NSX 1991 Service Manual – 1420 Pages OEM
Original price was: $102.05.$65.00Current price is: $65.00. -
Sale!

2006 Service Manual – International DT 466E, 530E Diesel Engine
Original price was: $67.50.$50.00Current price is: $50.00. -
Sale!

1993 Electrical Schematic – International 1000/3000/4000 Bus Chassis OEM Wiring Diagrams
Original price was: $29.26.$22.00Current price is: $22.00. -
Sale!

Acura Integra 1998 Service Manual – 1891 Pages Factory OEM Documentation
Original price was: $31.75.$25.00Current price is: $25.00.
David K. –
I am extremely satisfied with this transaction. The scan is high-quality and easy to navigate. Every spec sheet is provided for Opel Meriva. Saves me so much time.
Michael T. –
Highly recommended! It is easily zoomable on my laptop without losing quality. A must-have for any Opel Meriva owner doing repairs. Great value for money.
workshop_guy –
This is just what I needed. The text is searchable and easy to navigate. A must-have for any Opel Meriva mechanic doing maintenance. Great value for money.