
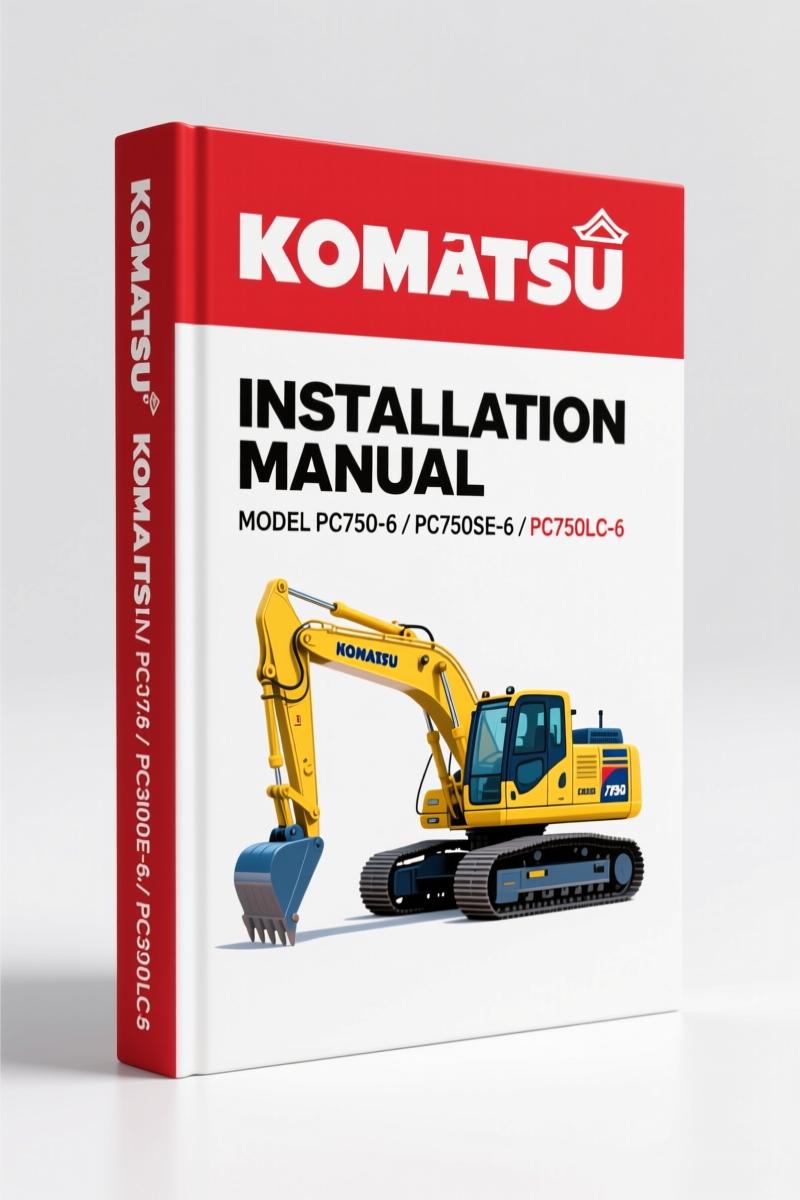
Komatsu PC750-6, PC800-6, PC750SE-6, PC750LC-6, PC800SE-6 2004 Installation Manual – OEM Field Assembly Specs
Original price was: $36.00.$30.00Current price is: $30.00.
OEM 2004 Installation Manual for Komatsu PC750-6/PC800-6 series. 165 pages covering field assembly, standard tightening torque, hydraulic circuit flushing, and work equipment greasing.
Description
Komatsu PC750-6, PC800-6, PC750SE-6, PC750LC-6, PC800SE-6 2004 Installation Manual
I’ve torqued more head bolts than most mechanics have seen, so when I tell you this Komatsu installation manual is the real deal, I mean it. This is the OEM factory binder that came off the line with the machines – not some third-party reprint with missing pages and guessed torque values. The manual covers five models: Komatsu PC750-6, PC800-6, PC750SE-6, PC750LC-6, and PC800SE-6, serial numbers 11001 and up. That’s 165 pages of procedures that Komatsu engineers wrote for their own techs. If you’re field-assembling one of these excavators, you need this document open on the bench next to your crane operator’s hand signals.
165 Pages of Factory Assembly Procedures
Every section in this manual follows the actual assembly order. It starts with specifications and field assembling overview, then jumps straight into transportation and packing styles (important when the machine arrives in three split packages). Page 12 gives you the list of tools required for field assembly, plus the standard tightening torque chart. That’s the page you’ll flag with a sticky note – no guessing what torque to put on the track frame bolts. The manual then walks you through base machine assembly (A sections): fitting track frames, arranging travel pipes, installing counterweight, even sticking the decal sheet on the counterweight. It’s that detailed.
Field Assembly: What the Manual Covers
You get section B for work equipment assembly: boom foot pins, boom assembly, relieving residual hydraulic pressure, installing boom and arm cylinders, hose routing, bucket assembly, lubrication piping, air bleeding, and finally greasing the assembled work equipment (B-15). Then section M covers inspection and maintenance after assembly: checking oil level, replacing return filter, flushing the hydraulic circuit. There’s even section C for the loading shovel attachment – same thorough steps for the shovel variant. This manual doesn’t skip anything. If you’re wondering about the boom cylinder foot pin torque, it’s in here.
Does This Manual Cover the Loading Shovel Attachment?
Yes. Section C is dedicated to the loading shovel (PC750SE type). It includes releasing residual pressure, pulling out boom foot pins, installing boom and arm assembly, flushing piping for boom cylinder, arm cylinder, bucket cylinder, and bottom dump cylinder, then greasing after assembly. That’s 23 subsections in section C alone. If your machine has the loading shovel configuration, you’re covered. If you need the standard excavator configuration, sections A and B cover that. One manual does both.
Standard Tightening Torque Section
Don’t trust your memory. The manual includes a dedicated standard tightening torque chart. It lists torque values for metric fasteners used throughout the machine. For example, the track frame bolts get a specific torque depending on thread size and grade. Missing that number by 10% on a 40-ton excavator can crack a casting or loosen a track pad. The chart is on page 12 (or close to it – the bookmark says “STANDARD TIGHTENING TORQUE”). I keep a printed copy inside my toolbox lid. Refer to it every time.
Understand the Hydraulic Circuit Before Assembly
Page 1 of the manual shows the serial number range, but don’t skip the foreword. It explains how the chassis hydraulic pressure is used to lift the heavy work equipment. That means you start the engine, actuate the cylinders, and move the pins into position. The manual tells you the chain of command for safety: operation leader, signal person, crane operator, mechanic. If you’re working in a multilingual crew, read the safety meeting instructions carefully. This isn’t a toy. Also, before you connect any hose, you must relieve residual pressure (section B-3). The manual gives the exact procedure. Ignore it and you’ll get a face full of high-pressure oil. I’ve seen it happen.
Related Manuals You Should Own
- Komatsu PC750-6 PC800-6 1996 Field Assembly Instruction
- Komatsu PC750-6 PC800-6 2000 Workshop Manual – Factory Specs
- Komatsu PC750-6 PC800-6 2004 Workshop Manual – Factory Specs
If you’re new to heavy equipment assembly, I also recommend reading the Manual Transmission article on Wikipedia for fundamental gearbox principles – not because this manual covers transmissions (it doesn’t), but because understanding how power flows helps you appreciate why the hydraulic circuit routing matters. For official Komatsu resources, check Manual Transmission on the manufacturer’s support page.
FAQ – What Techs Ask Me About This Manual
- What serial numbers does this manual cover?
- PC750-6, PC750SE-6, PC750LC-6, PC800-6, PC800SE-6 – serial numbers 11001 and up. Check the serial plate on your machine.
- Does it include the torque specifications for the counterweight bolts?
- Yes. Section A-11 covers counterweight installation with bolt torque values in the standard tightening chart on page 12. The chart includes all fasteners used during field assembly.
- I need to flush the hydraulic circuit after assembly. Where is that?
- Section M-3. The manual tells you to replace the standard return filter with a flushing filter, run the engine, cycle the cylinders, then swap back. It also lists the oil type and capacity for the hydraulic tank.
- Can I use this manual for the PC800SE-6 loading shovel model?
- Yes. The manual covers both excavator and loading shovel configurations. Section C is specifically for the loading shovel work equipment assembly, including bottom dump cylinder piping and working lamp installation.
If you’re assembling one of these machines on site, having the OEM procedure in your hands saves you from guessing the order of operations. The crane operator will know exactly which lift comes first. The mechanic will know which bolt to tighten and to what torque. Don’t rely on a photo from the previous job. Access the Factory Manual from AutoRepairManuals and keep it on your tablet or printed out. It’s the difference between a job that goes smooth and a job that costs you a week of rework.
Additional information
| Brand | Komatsu |
|---|---|
| Language | English |
4 reviews for Komatsu PC750-6, PC800-6, PC750SE-6, PC750LC-6, PC800SE-6 2004 Installation Manual – OEM Field Assembly Specs
You may also like…
-
Sale!
Komatsu D65EX, D65PX, D65WX Workshop Manual – 2820 Pages
Original price was: $108.75.$75.00Current price is: $75.00. -
Sale!
Komatsu HD1200 1980 Workshop Manual – Factory Specs & Procedures
Original price was: $91.50.$75.00Current price is: $75.00. -
Sale!
Komatsu PC5500E-6 Workshop Manual – 1378 Pages
Original price was: $150.00.$100.00Current price is: $100.00. -
Sale!
Komatsu PC600LC-6 Workshop Manual – Factory Service Data for 732-Page Excavator Guide
Original price was: $112.80.$80.00Current price is: $80.00.
Related products
-
Sale!

2005 Parts Catalog – International NGD 3.0 L Engine (77 pages)
Original price was: $44.70.$30.00Current price is: $30.00. -
Sale!

2011 Parts Catalog – International Truck OE Parts Documentation (1786 Pages)
Original price was: $34.50.$25.00Current price is: $25.00. -
Sale!

Technical Manual – International 6.0L Power Stroke FICM Diagnostics
Original price was: $29.80.$20.00Current price is: $20.00. -
Sale!

1996 Operators Manual – International 1000-4000 Series (246 pages)
Original price was: $15.28.$9.99Current price is: $9.99.
Richard G. –
I am so happy with this manual. The PDF is high resolution. It assisted me to rebuild my Komatsu PC7506, engine. Saved my weekend project! Thanks.
David K. –
Superb resource! The scan is high-quality and well indexed. Contains clear bolt torque specs for Komatsu. I will definitely buy again.
Charles W. –
Perfect OEM spec sheet. Immediate link after checkout. A must-have for any Komatsu PC7506, owner doing maintenance. I will recommend this shop to others.
William H. –
Perfect workshop guide. It is very easy to read on my iPad without blur. A must-have for any Komatsu PC7506, mechanic doing maintenance. Saved my weekend project! Thank you.