
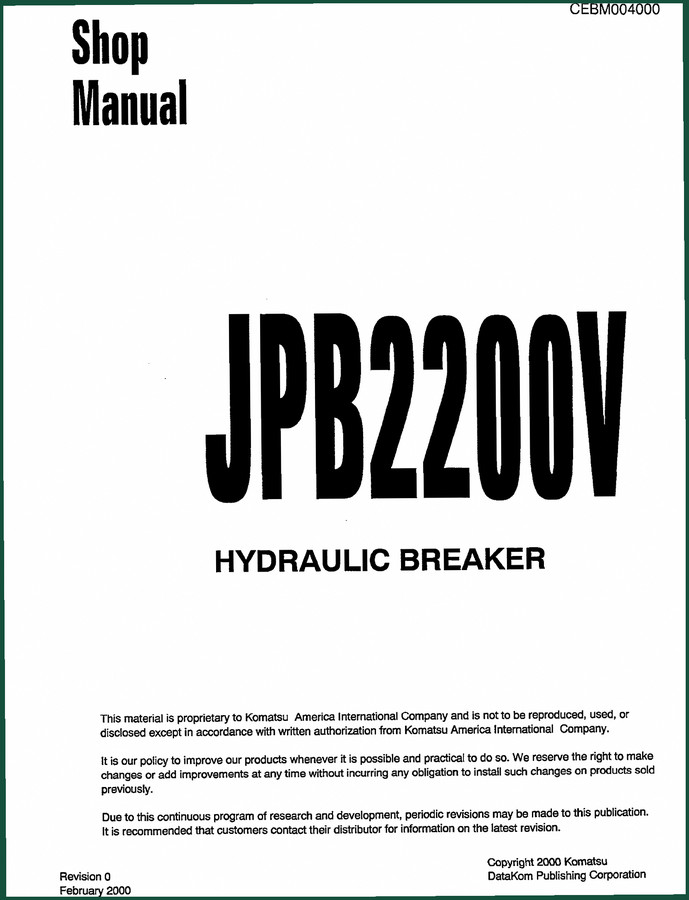
Komatsu JPB2200V 2000 Workshop Manual – Factory Specs
Original price was: $55.08.$36.00Current price is: $36.00.
OEM workshop manual for Komatsu JPB2200V. Torque specs, accumulator charge pressure, and assembly instructions. 37 pages, 2000 release.
Description
Komatsu JPB2200V 2000 Workshop Manual – Hydraulic Breaker Factory Specs
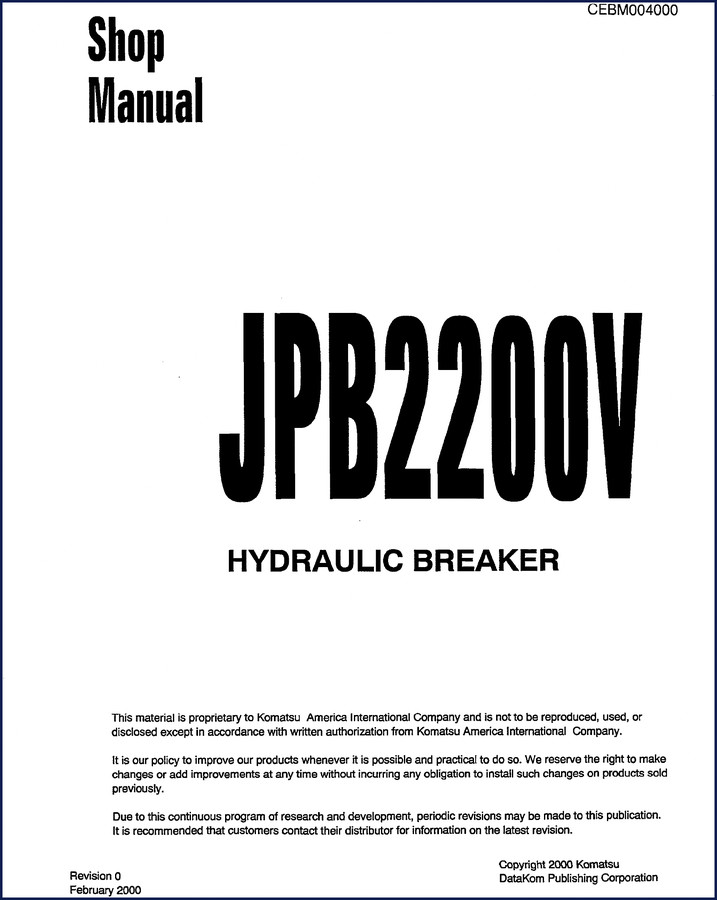
If you’ve ever rebuilt a hydraulic breaker using a third-party knockoff, you know the frustration of mismatched torque specs and vague assembly steps. That is why this Komatsu JPB2200V 2000 Workshop Manual belongs on your bench. It’s the factory document—37 pages of what Komatsu wrote for its own service departments. No guesswork, no “hand-tighten then estimate.”
You get the exact sequence for disassembly, the accumulator charge pressure (470 psi, page 2), and side rod torque procedure that says “pull to 145 ft-lbs in a crisscross pattern, then five more flats: two, two, one.” That level of detail saves you from buying new components because you overtightened a rod. I’ve seen it happen too many times.
Overall Dimensions: Why They Matter
Before you swing a wrench, you need to know the envelope. The manual’s Overall Dimensions section gives you the breaker’s height, width, and mounting bolt pattern. That matters when you’re fitting it onto a Komatsu excavator—or any carrier. One guy ignored it, hung the breaker on a bracket with wrong bolt spacing, and cracked the side plate on the first cycle. The dimension table on page 1 of that section (no page number given, but it’s in the manual) keeps you from being that guy.
Disassembly and Accumulator – Two Critical Steps
The Disassembly chapter walks you through pulling the breaker apart in the order Komatsu intended. Start with the retaining pins, then the cylinder, then the accumulator. If you skip the accumulator depressurization step, you’re looking at a nitrogen blast that can injure you. The manual calls out that warning. Then the Accumulator section gives you the inflation screw torque (16 ft-lbs) and the assembly bolts (470 ft-lbs). Do not substitute thread locker for correct torque.
What Torque Specs Are Listed on Page 2?
Page 2 of the manual is your quick-reference sheet. It lists:
– Side rod bolt nut: 145 ft-lbs then additional flats
– Bracket cap bolts: 470 ft-lbs
– Wear plate bolts: 650 ft-lbs
– Accumulator fixing bolts: 470 ft-lbs
– Inflation screw: 16 ft-lbs
These are not suggestions. They are the numbers that keep the breaker from self-destructing. I’ve had a side rod pretwist failure from a tech who thought “close enough” was fine. Not with hydraulic hammers.
Parts Inspection: Separating Good from Bad
After disassembly, the Parts Inspection chapter tells you what to measure and what to replace. Bushing wear, piston rod diameter, accumulator diaphragm condition. The manual gives you wear limits—no guessing based on feel. If the manual says replace at 0.005” wear, you replace it. That section alone is worth the price because it stops you from reassembling a breaker that will leak down in 50 hours.
Assembly Procedure and Required Tools
The Assembly chapter mirrors disassembly in reverse, but with torque sequences that must be followed exactly. The Tool Guide chapter lists the special tools Komatsu expects: a nitrogen charging kit, bushing driver, seal installer. You can improvise, but the manual shows the factory method. For example, the accumulator pressurization requires a specific gauge setup—no shop air. The Pressurization chapter even includes storage prep. If the breaker sits longer than 30 days, the manual tells you to release accumulator pressure and coat exposed rods with anti-corrosion oil.
Pressurization and Storage: Don’t Skip These
Last sections cover Pressurization and Storage. The pressurization procedure specifies charging the accumulator to 470 psi with dry nitrogen. Use a regulator, not a blowgun. The storage section tells you to plug hydraulic ports, store upright, and cycle the breaker every few months. Ignore that and you’ll have seals bonded to the piston bore. I’ve seen it.
For other Komatsu equipment, check the Komatsu WA65-5 WA70-5 WA80-5 2005 Workshop Manual or the Komatsu WH609-1E0 WH613-1E0 WH713-1E0 WH714H-1E0 WH716-1E0 Workshop Manual. The JPB2200V manual itself is KOMATSU JPB2200V Hydraulic Breaker Manual—the exact document you need. Unlike a Manual Transmission that uses gear oil and syncros, this breaker runs on hydraulic pressure and precision torques. That’s why OEM documentation matters. Manual Transmission rebuilds have tolerances, sure, but a hydraulic breaker’s accumulator charge error of 50 psi can cut its life by half.
Get the manual, read the Forward (it clarifies liability and authorized service scope), then follow the Table of Contents. Start with safety. End with a properly assembled breaker that hits hard and lasts. Access the Factory Manual now.
Frequently Asked Questions
- Does this manual cover the JPB2200V only?
- Yes. It is specific to the Komatsu JPB2200V hydraulic breaker, model year 2000.
- What is the accumulator charge pressure?
- 470 psi. That is on page 2 of the manual. Overcharging can rupture the diaphragm or blow seals. Undercharging reduces impact force and can cause the breaker to cycle erratically. The manual also lists the inflation screw torque (16 ft-lbs) and accumulator fixing bolt torque (470 ft-lbs). Always use dry nitrogen—never compressed air—and follow the pressurization procedure in the Pressurization chapter. Aftermarket manuals often omit these specifics, which forces you to guess. This OEM document gives you the factory numbers.
- Related Manuals: KOMATSU JPB2200V Hydraulic Breaker Manual
Additional information
| Brand | Komatsu |
|---|---|
| Language | English |
4 reviews for Komatsu JPB2200V 2000 Workshop Manual – Factory Specs
You may also like…
-
Sale!
Komatsu PC5500E-6 Workshop Manual – 1378 Pages
Original price was: $150.00.$100.00Current price is: $100.00. -
Sale!
Komatsu D65EX, D65PX, D65WX Workshop Manual – 2820 Pages
Original price was: $108.75.$75.00Current price is: $75.00. -
Sale!
Komatsu HD1200 1980 Workshop Manual – Factory Specs & Procedures
Original price was: $91.50.$75.00Current price is: $75.00. -
Sale!
Komatsu PC600LC-6 Workshop Manual – Factory Service Data for 732-Page Excavator Guide
Original price was: $112.80.$80.00Current price is: $80.00.
Related products
-
Sale!

International 1000-3000 Series Operators Manual – 132 Pages of OEM Specs
Original price was: $14.40.$10.99Current price is: $10.99. -
Sale!

Technical Manual – International 6.0L Power Stroke FICM Diagnostics
Original price was: $29.80.$20.00Current price is: $20.00. -
Sale!

2011 Parts Catalog – International 7400 SFA 6X6 – 1886 Pages of OEM Part Numbers
Original price was: $32.00.$25.00Current price is: $25.00. -
Sale!
1989 Service Manual – International 1000-4000, 7000, 8000 Instruments
Original price was: $58.80.$40.00Current price is: $40.00.
John S. –
This is just what I needed. It is very easy to read on my laptop without blur. Every torque spec is included for Komatsu JPB2200V. I will definitely buy again.
Michael T. –
I am very pleased with this transaction. It is very easy to read on my tablet without losing quality. Contains clear wiring diagrams for Komatsu. Saved my repair job! Thanks.
James L. –
This is just what I was looking for. The PDF quality is excellent. Contains detailed bolt torque specs for Komatsu. I will definitely buy again.
Robert M. –
Excellent workshop guide. The file quality is excellent. Every wiring layout is provided for Komatsu JPB2200V. Saves me hundreds of money.