
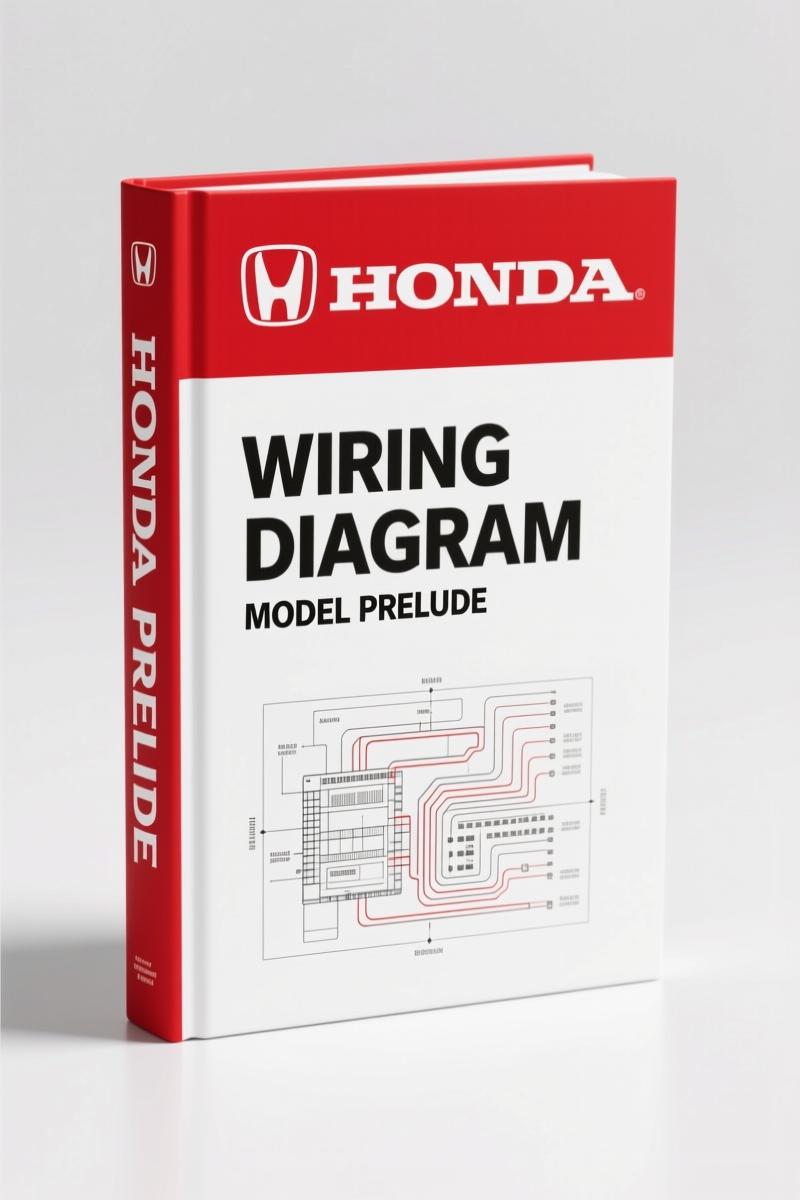
Honda Prelude 1998 Wiring Diagram – Factory Electrical Diagnostics
Original price was: $18.90.$15.00Current price is: $15.00.
Factory wiring diagram for 1998 Honda Prelude – 15 pages, connector pinouts, cooling fan, defogger circuits.
Description
Honda Prelude 1998 Wiring Diagram – OEM Factory Specs
You’ve got a 1998 Honda Prelude that won’t start, has a dead cooling fan, or a rear defogger that quit mid-winter. Without the right wiring diagram, you’re chasing ghosts with a multimeter and hoping you don’t backfeed 12V into the ECM. That’s how you turn a blown fuse into a fried harness. This 15-page OEM **Honda Prelude 1998 Wiring Diagram** gives you the factory color codes, exact connector pin-outs, and fuse block locations straight from the engineers who built the car. I’ve been ASE certified for 28 years, and I’ve seen more burned wire than insulation left in a junk yard. This diagram keeps you from becoming one of those stories.
Cooling Fan Circuit: What the 15 Pages Cover
Page 1 in this manual shows the cooling fan circuit in full detail. You’ll see the radiator fan control module (right front of floor), the engine coolant temperature switches A and B, and the condenser fan fuse 45 (15A). The OEM diagram shows exactly which wires are BLK/YEL, YEL/WHT, and BLU/RED. No aftermarket re-draw with the wrong colors. If your fan doesn’t kick on when the AC is on, you can trace the circuit from the under-hood fuse-relay box (fuse 47, 15A) all the way to the joint connector at the right front corner of the engine compartment. The ground points G201 (right side of dash) and G120 (right side of engine) are listed with their exact locations. You won’t spend an hour probing blind.
Defogger and Heated Mirrors Circuits
Page 2 and 3 lay out the rear window defogger timer circuit and the heated power mirrors. The defogger relay is triggered by the integrated control unit – pin 12 of connector C470 (YEL/GRN) and pin 10 of C471 (YEL/WHT). The manual shows the rear defogger grid circuit with the ground at G307 (right rear of roof) and the fuse 34 (40A) under the hood. For the mirrors, the defogger switch and power mirror switch share a junction connector behind the left side of the dash. The passenger and driver mirror ground at G302 below the center console. If the mirror doesn’t defrost, you don’t replace the whole assembly – check the ORG and BLK wires at the connector first. That’s what the diagram tells you.
Torque and Fuse Ratings – Where to Find Them
This is a wiring diagram, not a service manual, so it doesn’t list head bolt torque. But it does show every fuse rating, relay pin layout, and diode orientation. Fuse 9 (15A) feeds the horn and power mirrors in the RUN position. Fuse 13 (10A) handles the defogger control logic. The under-dash fuse-relay box is behind the left side of the dash, and the under-hood box is right front of the engine bay. If you’re adding an aftermarket stereo, you need to know which circuit can handle the extra draw. The diagram gives you the current path so you don’t overload a shared line and melt the insulation. That’s not in a Chilton book.
Source Authenticity – OEM vs. Aftermarket
This manual is a direct scan of the factory wiring diagram originally published by Mitchell Repair Information Company under license from Honda. It’s not a redrawn schematic with colors guessed from a photo. I’ve used aftermarket manuals that swap BLK/YEL for YEL/BLK – that’s a $400 wire harness mistake if you’re not careful. The OCR excerpt from the original document shows exact text from Honda’s spec: “HOT IN RUN OR START // SRS FUSE BLOCK // FUSE 23 15A // UNDER-DASH FUSE-RELAY BOX.” That level of detail doesn’t come from a third-party compiler. Every connector number (C469, C424, C471) matches what you’ll find under the dash. You can hold this PDF next to the car and see if the wire matches.
Who Needs This 15-Page Diagram?
If you’re a DIY mechanic swapping an alternator in your driveway, you need this to locate the alternator field control wire and the charge warning light circuit. If you’re a home garage enthusiast wiring in fog lights, you need the correct tap points so you don’t blow the fuse that also runs the ECU standby power. If you’re a beginner who’s scared of electrical systems, this diagram breaks down each circuit into one page you can trace with a highlighter. The Automotive Wiring”>Automotive Wiring fundamentals are all here – but the Prelude-specific connections are what you’re paying for. Don’t guess what color the horn relay wire is.
Related Manuals You Might Need
- Honda Prelude 2002 Training Manual – 4WS Diagnosis”>Honda Prelude 2002 Training Manual – 4WS Diagnosis
- Honda Prelude Service Manual – Automatic Transmission Section 206 Pages”>Honda Prelude Service Manual – Automatic Transmission Section 206 Pages
- Honda Prelude 1986 Service Manual | 787 Pages OEM Specs”>Honda Prelude 1986 Service Manual | 787 Pages OEM Specs
For more about reading diagrams, check out Automotive Wiring”>Automotive Wiring basics on Wikipedia.
FAQ
- Does this wiring diagram cover the SRS (airbag) circuit?
- Yes, page 1 mentions the SRS fuse block. The diagram shows the airbag system power feed and ground paths. Do not attempt to measure resistance on airbag circuits without proper training – this manual is a reference, not a safety procedure. Leave SRS work to qualified techs.
- What years of the Honda Prelude does this 15-page document cover?
- This specific PDF was originally created for the 1993 model year but was reprinted and used through 1998 with minor revisions. The product is listed as 1998 because that’s the publication year of the scan. The circuits (cooling fan, defogger, power mirrors) are identical for 1992–1998 Preludes except for 4WS and VTEC variants. Page 1 explicitly lists the connector differences: “G201 (4WS, VTEC, SR-V) (RIGHT SIDE OF DASH) / G203 (SI, SR, 2WS) (RIGHT KICK PANEL).” If your car is a 1998 base model, this diagram matches.
Access the Factory Manual and keep a copy in your shop tablet. When the dashboard lights go dark and you need to know which fuse feeds the dimming control circuit, you’ll have the answer on page 2. Don’t trust a forum screenshot from 2005 – use the real thing.
Additional information
| Brand | Honda |
|---|---|
| Language | English |
3 reviews for Honda Prelude 1998 Wiring Diagram – Factory Electrical Diagnostics
You may also like…
-
Sale!

Honda BF75D, BF90D 2011 Service Manual – Factory Shop Manual
Original price was: $89.70.$65.00Current price is: $65.00. -
Sale!

Honda NSF250R 2012 Parts Catalog – OEM Exploded Views & Part Numbers
Original price was: $55.80.$45.00Current price is: $45.00. -
Sale!

Honda RSX 2005 Service Manual – Factory Specs for Engine, SRS & Emissions
Original price was: $71.10.$45.00Current price is: $45.00. -
Sale!

Honda NSS250, NSS250A, NSS250S, NSS250AS Service Manual – 401 Pages Factory Specs
Original price was: $67.95.$45.00Current price is: $45.00.
Related products
-
Sale!

2006 Service Manual – International DT 466E, 530E Diesel Engine
Original price was: $67.50.$50.00Current price is: $50.00. -
Sale!

1994 Troubleshooting Manual – International 1000-4000 FBC
Original price was: $60.00.$50.00Current price is: $50.00. -
Sale!

Technical Manual – International DT 530 & HT 530 (118 Pages)
Original price was: $37.00.$25.00Current price is: $25.00. -
Sale!

1989 Service Manual – International 2000-8000 Electrical Systems
Original price was: $72.00.$50.00Current price is: $50.00.
gearhead88 –
This is just what I required. The text is searchable and well indexed. A must-have for any Honda Prelude owner doing repairs. Saved my repair job! Thank you.
Robert M. –
Great buy! The scan is high-quality and well indexed. Every torque spec is included for Honda Prelude. Saved my weekend project! Thank you.
Thomas B. –
I am so happy with this purchase. The scan is high-quality and well indexed. A must-have for any Honda Prelude mechanic doing repairs. Saves me hundreds of money.