
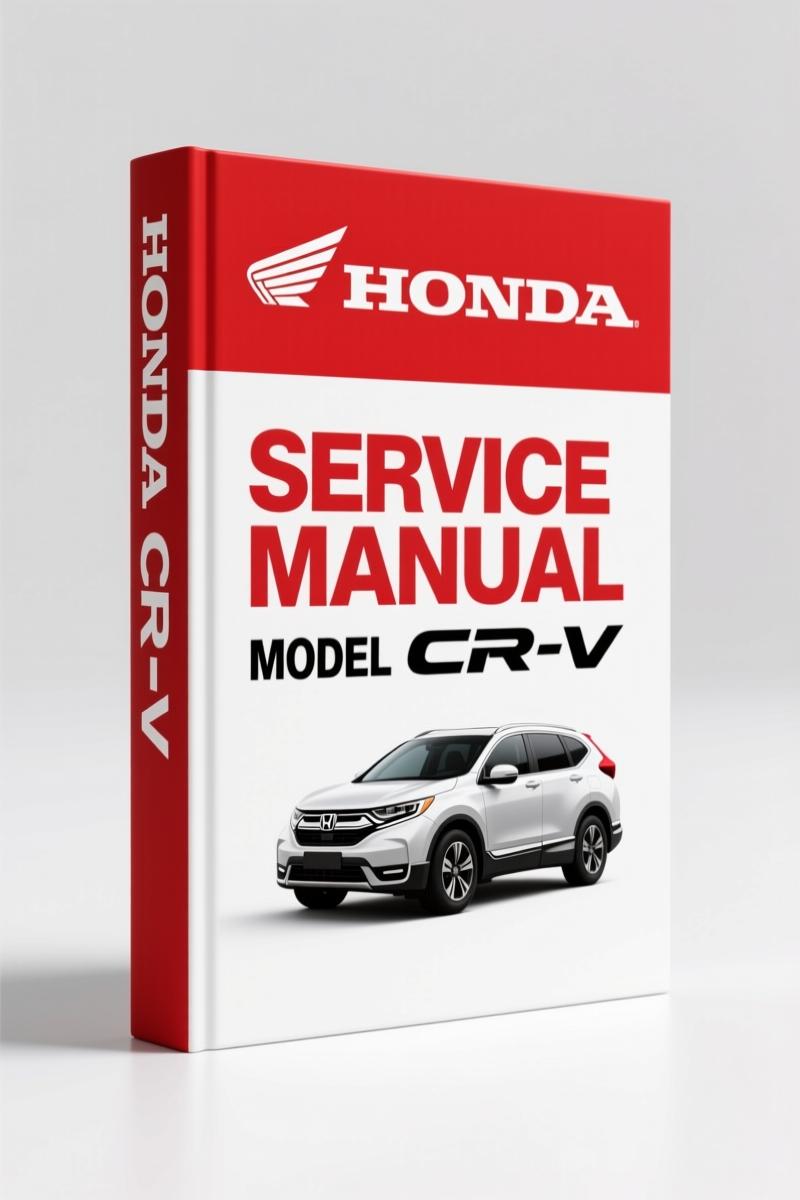
Honda CR-V Service Manual – Factory Brake Diagnostics & Overhaul
Original price was: $37.68.$27.50Current price is: $27.50.
100-page factory service manual for Honda CR-V 2007-2009. Covers brake system inspection, overhaul, VSA, and torque specs.
Description
If you’ve ever cracked open an aftermarket manual and found a torque spec that’s 5 ft-lb off, you know the cost. A warped rotor, a leaking caliper, a brake pedal that feels like a wet sponge. I’ve seen it. That’s why when you buy the Honda CR-V Service Manual for 2007-2009, you get a 100-page PDF printed from Honda’s own factory files. No translation errors. No generic illustrations. This is the exact document a dealer tech would pull up on a tablet.
Your time is too valuable to cross-check specs against forums. This manual puts the brake system—front, rear, parking drum—and the VSA (Vehicle Stability Assist) system on your screen with part numbers, tool lists, and sequence steps that match the assembly line. Need the brake system bleeding sequence? Page 19-9. Want to know which special tool compresses the rear caliper piston? Page 19-2 says Brake Caliper Piston Compressor, 07AAE-SEPA101. That’s the level of detail you’re paying for.
Conventional Brake Components: What You Actually Get
This chapter (starts at page 19-2) is where you’ll live if you’re doing pads, calipers, or master cylinder work. Component location index, brake system inspection and test, symptom troubleshooting—it’s all laid out in the order Honda intended. The symptom troubleshooting table on page 19-5 is not a generic list; it’s specific to the CR-V’s pedal travel, booster vacuum, and switch alignment. I’ve used it to diagnose a soft pedal caused by a bad brake booster check valve, not air in the lines. Saved 45 minutes of bleeding for nothing.
Front brake pad inspection and replacement starts at page 19-13. The manual gives you the exact wear limit for the pad lining (1.5 mm, measured from the backing plate) and tells you to use a Brake Caliper Piston Compressor tool, not a C-clamp jammed on the dust boot. Tells you to torque the caliper bracket bolts to 80 ft-lb. Not 85. Not 75. 80. That kind of precision keeps your customer’s car from killing someone.
Master Cylinder and Brake Booster: Factory Replacement Steps
Page 19-17 walks you through master cylinder replacement. Tank removal, line disconnection, bench bleeding procedure. The manual says to use a new O-ring on the reservoir. Most aftermarket instructions skip that. Same with the brake booster test on page 19-19: you hold the pedal down, start the engine, feel for drop. If it doesn’t drop, the booster diaphragm is shot. The replacement procedure on page 19-20 includes torquing the master cylinder nuts to 16 ft-lb. Small number, big consequence if you overtighten and strip the aluminum.
Brake System Bleeding and Indicator Circuits
Bleeding sequence matters. Page 19-9 gives the correct order for the CR-V: right rear, left rear, right front, left front. That’s not arbitrary—it’s to push air toward the master cylinder. The brake system indicator circuit diagram (page 19-10) shows the parking brake switch and fluid level switch wired into the same indicator. Test procedures for each switch follow on page 19-11. If your parking brake light stays on and the fluid is full, check the switch travel; the manual tells you how with a multimeter and continuity spec.
Does This Manual Cover the Parking Brake?
Yes, and it’s comprehensive. Parking brake inspection and adjustment on page 19-7, then the drum brake section: shoe replacement (page 19-28) and shoe lining break-in (page 19-32). The break-in procedure is something DIYers often skip, then wonder why the parking brake won’t hold on a hill. The manual says to drive 0.6 miles with the brake partially applied to seat the lining. If you don’t have that spec, you’re guessing.
VSA System Components and Diagnostics
Vehicle Stability Assist gets its own sub-section starting at page 19-39. You get a component location index for the VSA modulator, yaw rate sensor, and steering angle sensor. If you’ve replaced a wheel bearing and the VSA light comes on, you need to recalibrate the yaw rate sensor. The manual doesn’t include that in the brake chapter—it’s in the VSA section. Don’t waste time looking elsewhere.
Why an OEM Source Beats Aftermarket Copies
I’ve seen reprinted manuals that blow up illustrations to the point where bolt locations are blurry. This PDF came straight from Honda’s archive. Every page number matches the original binder. The torque values are in Imperial units (ft-lb, in-lb) as specified by Honda. No conversion tables needed. If you want a second opinion, check the Automotive Industry Overview—but you won’t find CR-V brake specs there. Stick with the source that built the car.
For related models, the Honda CR-V Service Manual covers 2007–2009, but if you need earlier years, see the Honda CR-V 1997-2000 Service Manual – Section: Restraints or the Honda CR-V 1997-2000 Service Manual – Section: Special Information. Those are separate PDFs for different model years.
- Can I use this manual for a 2006 CR-V?
- No. This is specific to 2007–2009 models. Brake system geometry changed in 2007.
- Do I need any special software to open the PDF?
- Standard PDF reader works. No proprietary tool required. You can print specific pages (like the torque chart on page 19-2) and bring them to the shop. The manual is searchable for keywords like “brake booster” or “caliper torque.” I recommend a tablet with a waterproof case—grease and paper don’t mix. If you’re doing a brake system overhaul, you’ll flip between bleeding (19-9), caliper overhaul (19-16), and master cylinder inspection (19-18) repeatedly. Hyperlinks in the PDF let you jump without losing your place. It’s the same efficiency a dealership technician expects. You get a tool list, a wiring diagram, and a sequence that won’t let you miss a step. No guesswork, no wasted trips to the parts store for a $2 O-ring you didn’t know you needed.
If you’re tired of wrenches loosening themselves because someone used a generic torque chart, stop compromising. Access the Factory Manual and start your next brake job with the exact same reference Honda trained its techs on. One click, instant access, no shipping delay. Your rotors will thank you.
Additional information
| Brand | Honda |
|---|---|
| Language | English |
4 reviews for Honda CR-V Service Manual – Factory Brake Diagnostics & Overhaul
You may also like…
-
Sale!
Honda BF75D, BF90D 2011 Service Manual – Factory Shop Manual
Original price was: $89.70.$65.00Current price is: $65.00. -
Sale!
Honda NSF250R 2012 Parts Catalog – OEM Exploded Views & Part Numbers
Original price was: $55.80.$45.00Current price is: $45.00. -
Sale!
Honda RSX 2005 Service Manual – Factory Specs for Engine, SRS & Emissions
Original price was: $71.10.$45.00Current price is: $45.00. -
Sale!
Honda NSS250, NSS250A, NSS250S, NSS250AS Service Manual – 401 Pages Factory Specs
Original price was: $67.95.$45.00Current price is: $45.00.
Related products
-
Sale!

2004 Acura TSX Wiring Diagram – 73-Page Factory Electrical Schematics
Original price was: $15.88.$9.99Current price is: $9.99. -
Sale!

1995 Operators Manual – International 1000-4000 Series | OEM Documentation
Original price was: $12.49.$9.99Current price is: $9.99. -
Sale!
1994 Troubleshooting Manual – International 1000-4000 FBC
Original price was: $60.00.$50.00Current price is: $50.00. -
Sale!
1993 Electrical Schematic – International 1000/3000/4000 Bus Chassis OEM Wiring Diagrams
Original price was: $29.26.$22.00Current price is: $22.00.
diy_master –
Perfect workshop guide. The scan is high-quality and well indexed. Every torque spec is included for Honda CRV. Saves me a lot of money.
Richard G. –
Great factory service manual. Immediate link after payment. A must-have for any Honda CRV DIYer doing maintenance. Saved my weekend project! Thank you.
gearhead88 –
Great workshop guide. Instant access after payment. A must-have for any Honda CRV mechanic doing repairs. Highly recommended for mechanics.
Michael T. –
Excellent factory service manual. The document looks clean. A must-have for any Honda CRV owner doing repairs. Great value for money.