
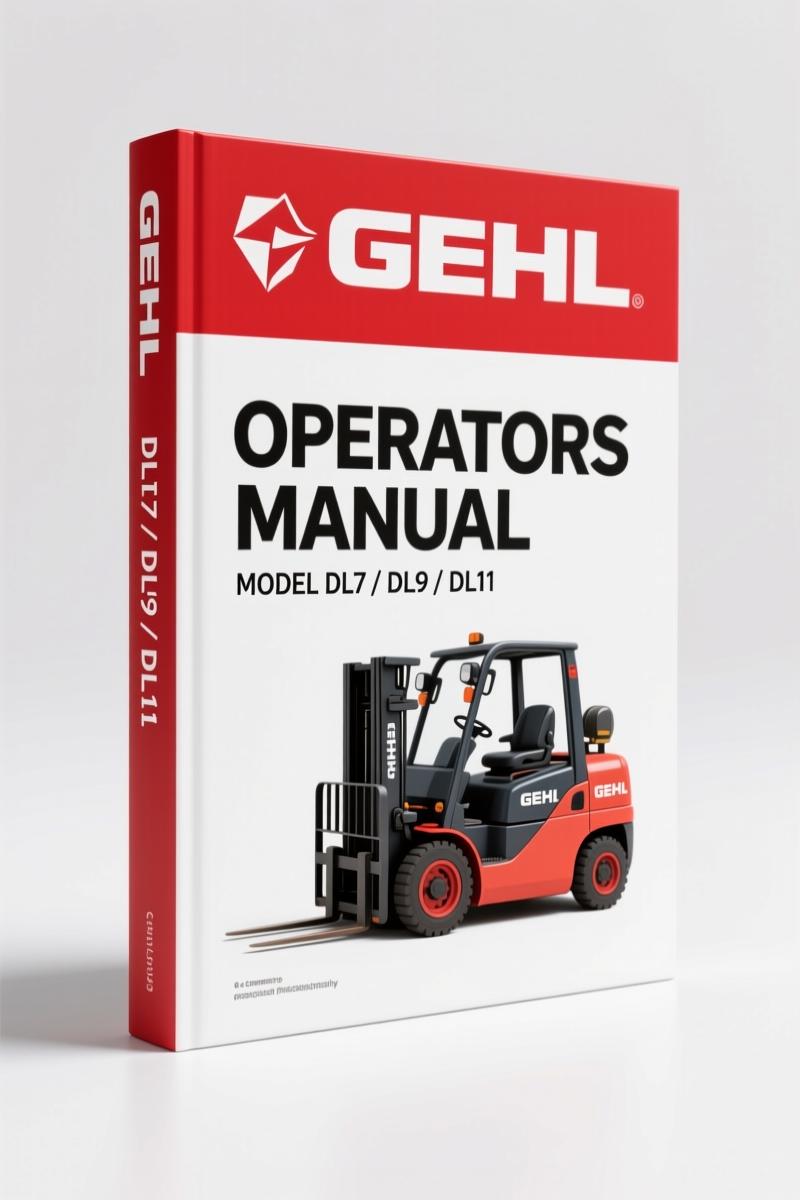
GEHL DL7, DL9, DL11, DL12 2011 Operators Manual – Factory Specs
Original price was: $15.38.$9.99Current price is: $9.99.
OEM operator’s manual for GEHL DL7, DL9, DL11, DL12 (2011). 120 pages: specifications, safety decals, service intervals, diagnostic codes.
Description
GEHL DL7, DL9, DL11, DL12 2011 Operators Manual – Factory Specs & Procedures
If you’re running a DL7, DL9, DL11, or DL12 Dynalift and you don’t have this GEHL DL7, DL9, DL11, DL12 2011 Operators Manual in your cab, you’re working blind. I’ve seen too many guys skip the spec sheet and end up with a twisted frame or a blown hydraulic line because they guessed the torque. This isn’t a reprint of some third-party summary. This is the factory binder – 120 pages of GEHL’s own words, Revision D, June 2011. It covers DL7 High Boom (SN 21024 up), DL7 Low Boom (SN 25701 up), DL9, DL11, and DL12 with the same serial splits. Every page in this manual comes from the same press that GEHL used for their dealer network.
Page 113 holds the Standard Hardware Torque Data. Need to know what ft-lbs to put on a 5/8-inch Grade 8 bolt? It’s there. Don’t reach for a generic chart that doesn’t account for the flange or the thread lock. The manual also gives you the full load zone charts. If you’re tempted to lift a load without checking the chart, you’re the reason OSHA has a picture of a crumpled boom in their training slides. The torque specs alone make this manual worth having on the bench next to your torque wrench.
Specifications, Torque Data, and Load Zones
Chapter 2 – Specifications – gives you engine oil capacity, hydraulic fluid type, tire pressures in PSI, and all the weights you need for transport. But the real meat is in Chapter 10: Maintenance. That’s where you find the Engine Diagnostic Trouble Codes starting on page 77, the Electrical Schematics on page 83, the Hydraulic Schematics on page 85, and the Load Zone Charts on page 87. These aren’t cartoon drawings. They’re factory line diagrams with every wire color and hydraulic pressure port labeled. If you’re chasing a no-start condition or a stuck solenoid, you trace it from the schematic, not from a memory of how the last machine was wired.
What Safety Procedures Are Mandatory?
Chapter 4 – SAFETY – runs from page 9 through page 20. It’s not a suggestion. It covers pre-operation checks, seat belt warnings, and the proper way to lower the boom if you lose hydraulic pressure. I’ve had to talk a guy through that over the phone because he didn’t have the manual. Don’t be that guy. The manual also lists the decal locations in Chapter 9. Missing a decal? Check page 67 for the exact placement and part number. If you can’t read the warning, you can’t follow it.
10 Service Intervals the Manual Covers
Chapter 8 – Service and Storage – breaks maintenance into seven intervals: 10 Hours or Daily, 50 Hours, 100 Hours, 250 Hours or Quarterly, 1000 Hours or Yearly, 2000 Hours or Every Two Years, plus a PWP Trouble Shooting section. Each interval lists what to check, what fluid to use, and what torque to apply when reassembling. Miss the 1000-hour hydraulic filter change? That’s a $2,000 pump rebuild waiting to happen. The manual doesn’t let you forget. It also covers storage procedures if the machine sits for months – things like fogging the cylinders and blocking the frame so the rubber doesn’t flat-spot.
Understand the Electrical and Hydraulic Schematics
You can’t fix what you can’t see. The Electrical Schematics on page 83 show the entire control circuit from the ignition switch to the solenoid valves. The Hydraulic Schematics on page 85 trace the pump, valve bank, and cylinder return lines. If you’re swapping a valve bank or chasing a relief valve chatter, you need these prints. I’ve watched guys spend three hours tracing a wire that wasn’t in any aftermarket manual. This one has every connector pin labeled. Pair it with a multimeter and you’re done in twenty minutes.
Engine Diagnostic Trouble Codes: Factory-Level Diagnosis
Page 77 lists every Diagnostic Trouble Code (DTC) that the engine ECM can throw. It gives you the code, the description, and the probable cause – not a vague “check wiring” note. For example, a code for low fuel pressure tells you which sensor to test first and at what pressure. If you don’t have this list, you’re reading generic OBDII codes that don’t match the GEHL-specific calibration. That will waste your whole afternoon. The manual also includes an Index – A through E, E through P, R through W – so you can find any component in seconds.
Page 113 is where you find the torque specs. Need the wheel lug nut torque? It’s there. Hydraulic fitting torque? There. No guessing. No “that feels tight enough.” Use a torque wrench. If you don’t own one, buy one before you touch this machine. The manual expects you to care about thread grade and lubrication condition because GEHL does.
- Does this manual cover the DL7 Low Boom models?
- Yes. The manual explicitly covers DL7 Low Boom with serial numbers 25701 and up, along with all other DL Series models listed in the title.
- What torque specifications are included in the manual?
- Chapter 10 includes a full Standard Hardware Torque Data chart on page 113, covering bolt sizes from 1/4-inch up through 1-inch, with grades 5 and 8. It also includes specific torque values for wheel lugs, hydraulic fittings, and mounting bolts. The chart accounts for dry versus lubricated threads. That’s the kind of detail that keeps a boom from falling off.
- Are electrical and hydraulic schematics printed in the manual?
- Yes. Full Electrical Schematics are on page 83, and Hydraulic Schematics on page 85. Both are fold-out style in the original print, with all wire colors and port references. The PDF retains the clarity so you can zoom in.
- How often should I perform the 1000-hour service per this manual?
- Chapter 8 spells out the 1000 Hours or Yearly service. It includes changing the hydraulic oil filter, engine oil and filter, fuel filters, checking coolant concentration, lubricating the boom pivot pins, and inspecting all hoses for chafing. The manual states that failure to follow this interval voids warranty and risks hydraulic pump cavitation. Every 1000 hours is one year for average use – mark your calendar.
If you’re working on a different machine that uses a Manual Transmission”>Manual Transmission, you’ll need a different manual – but this GEHL operators manual is the only one you should trust for your DL Series Dynalift. For more on manual transmission basics, see Manual Transmission”>Manual Transmission documentation.
Related Manuals:
- GEHL DL7 DL9 DL11 DL12 2010 Parts Catalog”>GEHL DL7 DL9 DL11 DL12 2010 Parts Catalog
- GEHL DL6 DL8 DL10 DL12 2008 Parts Catalog”>GEHL DL6 DL8 DL10 DL12 2008 Parts Catalog
- GEHL DL Series Dynalift Operator’s Manual 2008″>GEHL DL Series Dynalift Operator’s Manual 2008
Stop working from a memory that fades or a generic website that doesn’t care about your boom arm. Access the Factory Manual. Put it on your tablet or print it for the toolbox. You’ll use it every time you touch a wrench on these machines.
Additional information
| Brand | GEHL |
|---|---|
| Language | English |
3 reviews for GEHL DL7, DL9, DL11, DL12 2011 Operators Manual – Factory Specs
You may also like…
-
Sale!
GEHL 153, 193, 223 Service Manual – Factory Specs
Original price was: $99.40.$70.00Current price is: $70.00. -
Sale!
GEHL 280 Service Manual – Official Factory Specs | AutoFix Global
Original price was: $85.20.$60.00Current price is: $60.00. -
Sale!
GEHL SL4640, SL4840, SL5640, SL6640 Service Manual – 104 Pages
Original price was: $100.75.$65.00Current price is: $65.00. -
Sale!
GEHL 4640E, 5240E, 2056 2012 Service Manual – 263 Pages | Factory Specs
Original price was: $75.60.$60.00Current price is: $60.00.
Related products
-
Sale!

1991 Electrical Schematic – 112-Page OEM Wiring Diagram for International 1000-3000 Series
Original price was: $22.75.$17.50Current price is: $17.50. -
Sale!

2004 Acura TSX Wiring Diagram – 73-Page Factory Electrical Schematics
Original price was: $15.88.$9.99Current price is: $9.99. -
Sale!
1993 Operators Manual – International Bus 1000-3000 OEM Specs
Original price was: $12.30.$7.99Current price is: $7.99. -
Sale!

1989 Service Manual – International 2000-8000 Electrical Systems
Original price was: $72.00.$50.00Current price is: $50.00.
William H. –
I am very pleased with this purchase. The document quality is excellent. It guided me to troubleshoot my GEHL DL7, engine. Worth every penny.
John S. –
This is just what I was looking for. It is very easy to read on my iPad without losing quality. It assisted me to repair my GEHL DL7, transmission. Saved my repair job! Thanks.
David K. –
This is just what I required. The document is very clear. Every spec sheet is included for GEHL DL7,. Saved my repair job! Thanks.