
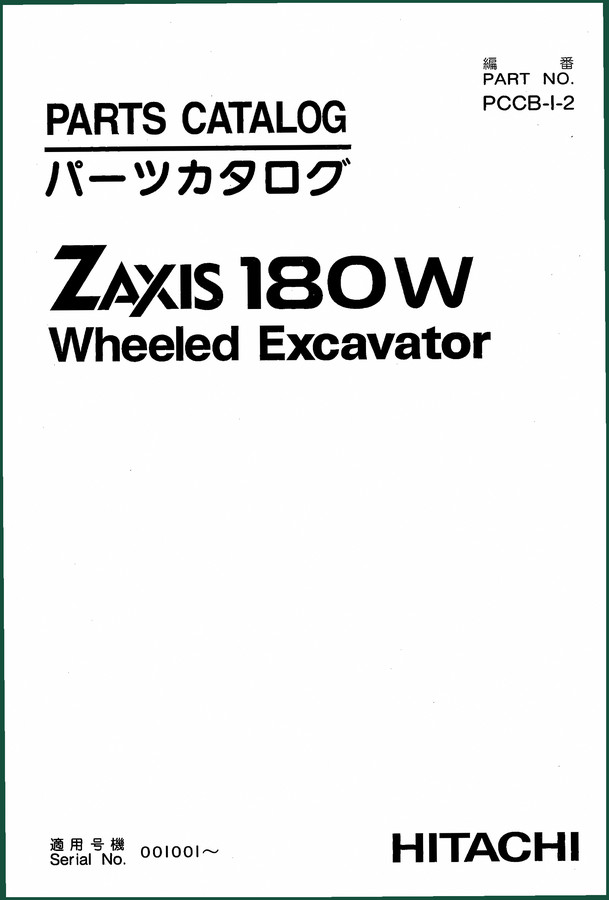
Fiat Hitachi ZX180W Technical Manual – OEM Service Specs for Wheeled Excavator
Original price was: $36.00.$30.00Current price is: $30.00.
Factory-issued technical manual for Fiat Hitachi ZX180W wheeled excavator: 368 pages, hydraulic/electrical/valve diagnostics, OEM specifications.
Description
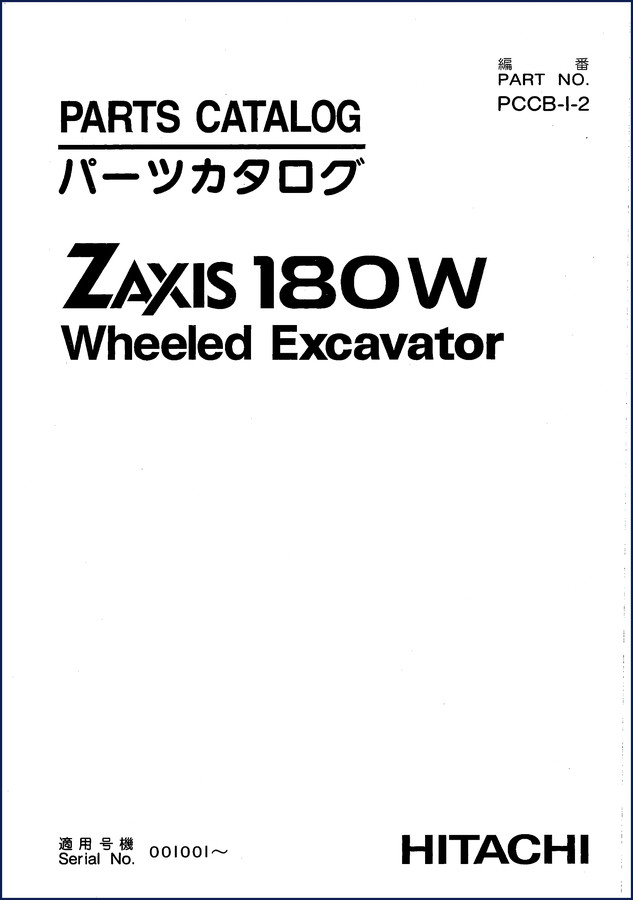
Fiat Hitachi ZX180W Technical Manual – OEM Factory Specifications for Hydraulic Excavator
If you are wrenching on a Fiat Hitachi ZX180W and relying on a third-party PDF or a copy someone left in the breakroom, you are playing with fire. I have seen guys pull a head bolt to spec from a generic chart and then wonder why the pump coupler seized. This machine – the ZX180W – is a wheeled excavator with a hydraulic system that does not forgive sloppy reference work. The manual you are looking at is the original Technical Manual, 368 pages, direct from Hitachi Construction Machinery. It tells you exactly how the control valve works, what the charge pressure should be, and how to run the operational performance tests before you start swapping parts. If you are a pro or a serious DIYer who wants to avoid a $3,000 mistake, this is the file you need on the bench.
368 Pages of Factory Documentation
This is not a condensed handbook. The manual splits into two main books: Technical Manual (Operational Principle) and Technical Manual (Troubleshooting). Section 1 starts with Group 1 Specification and Group 2 Component Layout. Group 3 Component Specifications gives you the numbers for every fluid capacity, bolt size, and pump output. The Operational Principle section – 368 pages – walks through the pump device, swing device, control valve, pilot valve, travel device, steering valve, brake valve, and transmission control valve. Each group includes system diagrams and hydraulic circuit descriptions. You will find the weight of each component on the page itself, marked with the safety alert symbol so you do not drop a 200-lb pump on your foot.
Control Valve: Factory Disassembly and Adjustment
Section 3, Group 3 covers the Control Valve. This is the heart of the hydraulic system. The manual shows the spool layout, the relief valve setting procedure, and the proper shim selection for the main relief. Group 4 covers the Pilot Valve. If the pilot pressure is off, the machine drifts or jerks. The OEM procedure includes the test points on the valve body and the exact pressure range. Page 1 of the manual includes the safety alert symbol definitions – pay attention to those. You cannot skip the CAUTION and IMPORTANT notes on page 1. That page explains the signal words and the page numbering system. It might look like admin text, but it tells you how to interpret the manual.
What Torque Values Are Listed in This Manual?
Every fastener in the hydraulic system has a torque spec. The Technical Manual does not list every bolt in the machine – that is in the Workshop Manual. But the Operational Principle section gives you the assembly torque for the pump, swing motor, and control valve mounting. For example, the steering valve mounting bolts, the brake valve housing bolts, and the transmission control valve fasteners. If you need the tightening torque for the pump drive shaft nut or the swing device ring gear, you will find it in Group 2 and Group 3 under Component Specifications. Do not guess. Use the OEM number.
Electrical System Inspection – Section 5, Group 6
The ZX180W has an electrical system that controls the engine, the ICX controller, and the solenoid valves. Section 5, Group 6 is dedicated to Electrical System Inspection. It steps you through checking the alternator output, the starter circuit, and the controller inputs. The wiring diagrams are in Section 2, Group 3 Electrical System. If you get a “Pilot Pressure Low” code, the troubleshooting chart in Group 3 Troubleshooting A or B will direct you to the pressure switch or the wiring harness. I have used these charts to diagnose a broken wire inside the harness sheath in under an hour. Without the factory sequence, you will be swapping expensive sensors.
Why OEM Manuals Beat Aftermarket Every Time
Aftermarket manuals copy the front cover and then rewrite the internal steps. They miss the safety warnings, they translate torque values wrong, and they often leave out the Electrical System Inspection procedures. This is the actual Hitachi Construction Machinery document. The file name Hitachi_ZX180W_Technical_Manual_Section_Workshop_Manual_Group_1_en-53913019863.pdf tells you it is the real deal. The page numbering uses the T-1-3-5 system – Technical Manual, Section 1, Group 3, Page 5. You can cross-reference with the Parts Catalog. You can also check the Fiat Hitachi ZW310 Technical Manual – OEM Factory Specs & Wiring for a similar wheel loader if you work on both machines. For crawler crane owners, the Hitachi SCX700 Introduction and Safety Manual and Hitachi SCX700 Technical Manual Introduction are separate products but follow the same documentation philosophy.
The manual uses SI units primarily, but the English equivalents are in parentheses. If you work in imperial, you can convert – but the factory values are what counts. When you are adjusting the steering valve or setting the brake valve pressure, use the OEM number. Do not trust a conversion chart from a forum.
How to Use the Troubleshooting Section
Section 5 Troubleshooting has seven groups. Group 1 is Diagnosing Procedure – it tells you to start with the operational performance test in Section 4 before you open a valve. Group 2 Component Layout shows where every test port is located. Groups A, B, and C cover symptom-based troubleshooting. If the swing brake does not release, you start at Group 3 Troubleshooting A and trace the pilot line back to the control valve. Group 6 Electrical System Inspection is the last check before you call the swing device a failure. The ICX controller logic is in Group 7. Follow the order. Skip the test and you waste hours.
3 Common Mistakes When Using This Manual
First mistake: not reading the safety alert on page 1. That page has the weight of the swing device and the pump assembly. If you lift it wrong, you break a back. Second mistake: using the wrong torque spec for the control valve mounting bolts. The Group 3 Component Specifications table lists the bolt grade and tightening sequence. Third mistake: ignoring the test procedures in Section 4 before troubleshooting. The manual tells you to run the engine test, excavator test, and component test before you disassemble anything. That step separates a smart mechanic from a parts changer.
The manual also explains how a Manual Transmission works in the context of the travel device? Not exactly – it covers the transmission control valve, which regulates the flow to the wheel drive motors. If you are unfamiliar with how a Manual Transmission operates, the theory in the Operational Principle section will clarify the directional control. But the manual assumes you are an experienced technician. It says so on page 1: “This manual is written for an experienced technician.” If you are a beginner, take the time to read the entire Hydraulic System section first.
- Does this manual include the Workshop Manual (removal/install procedures)?
- No. This is the Technical Manual (Operational Principle and Troubleshooting). The Workshop Manual is a separate document. The Technical Manual covers system operation, specs, and test procedures. For disassembly instructions, you need the Workshop Manual.
- What years does the ZX180W cover?
- The manual does not list a specific publication year, but it applies to all ZX180W models built when this manual was current. Serial number information is not in the file. Contact Hitachi if you need to verify.
- Can I use this to fix the electrical system?
- Yes. Section 2 Group 3 Electrical System and Section 5 Group 6 Electrical System Inspection cover the wiring, controller, and sensor troubleshooting. The diagrams are schematic-level, not pictoral.
- Is the torque spec for the control valve bolt included?
- Yes. The Component Specifications in Section 1 Group 3 list tightening torque for major fasteners. You will find the control valve mounting bolt torque there, along with the swing device ring gear bolt torque.
Access the Factory Manual. Put it on a tablet, print out the specific groups you need, and leave the generic PDFs for fire starter. This is the file that will keep a ZX180W running without comebacks.
Additional information
| Brand | Fiat Hitachi |
|---|---|
| Language | English |
3 reviews for Fiat Hitachi ZX180W Technical Manual – OEM Service Specs for Wheeled Excavator
You may also like…
-
Sale!

Fiat Hitachi 40U, 50U Workshop Manual – OEM Service Specs
Original price was: $47.25.$35.00Current price is: $35.00. -
Sale!
Fiat Hitachi ZX200, ZX200LC, ZX200LC-E, ZX210, ZX200-E Parts Catalog – 290 Pages
Original price was: $53.58.$38.00Current price is: $38.00. -
Sale!
Fiat Hitachi ZH200-A Parts Catalog – 148 Pages OEM Factory Specs
Original price was: $54.25.$35.00Current price is: $35.00. -
Sale!
Fiat Hitachi EX50UR EX700 1993 Service Manual – 332 Pages
Original price was: $46.58.$34.00Current price is: $34.00.
Related products
-
Sale!

1992 Electrical Schematic – International 1000/3000/4000/2554 OEM Wiring Diagrams (132 Pages)
Original price was: $26.40.$20.00Current price is: $20.00. -
Sale!
1996 Operators Manual – International 1000-4000 Series (246 pages)
Original price was: $15.28.$9.99Current price is: $9.99. -
Sale!

Technical Manual – International DT 530 & HT 530 (118 Pages)
Original price was: $37.00.$25.00Current price is: $25.00. -
Sale!

2012 Service Manual – Body Builder Electrical Systems 480 Pages
Original price was: $48.28.$34.00Current price is: $34.00.
David K. –
This is exactly what I needed. Instant access after checkout. Every wiring layout is provided for Fiat Hitachi Hitachi. Saved my weekend project! Thanks.
Thomas B. –
Outstanding! It is very easy to read on my phone without blur. Every wiring layout is provided for Fiat Hitachi Hitachi. I will recommend this shop to others.
workshop_guy –
Perfect OEM spec sheet. The scan is high-quality and well indexed. Every wiring layout is provided for Fiat Hitachi Hitachi. Saved my repair job! Thank you.