
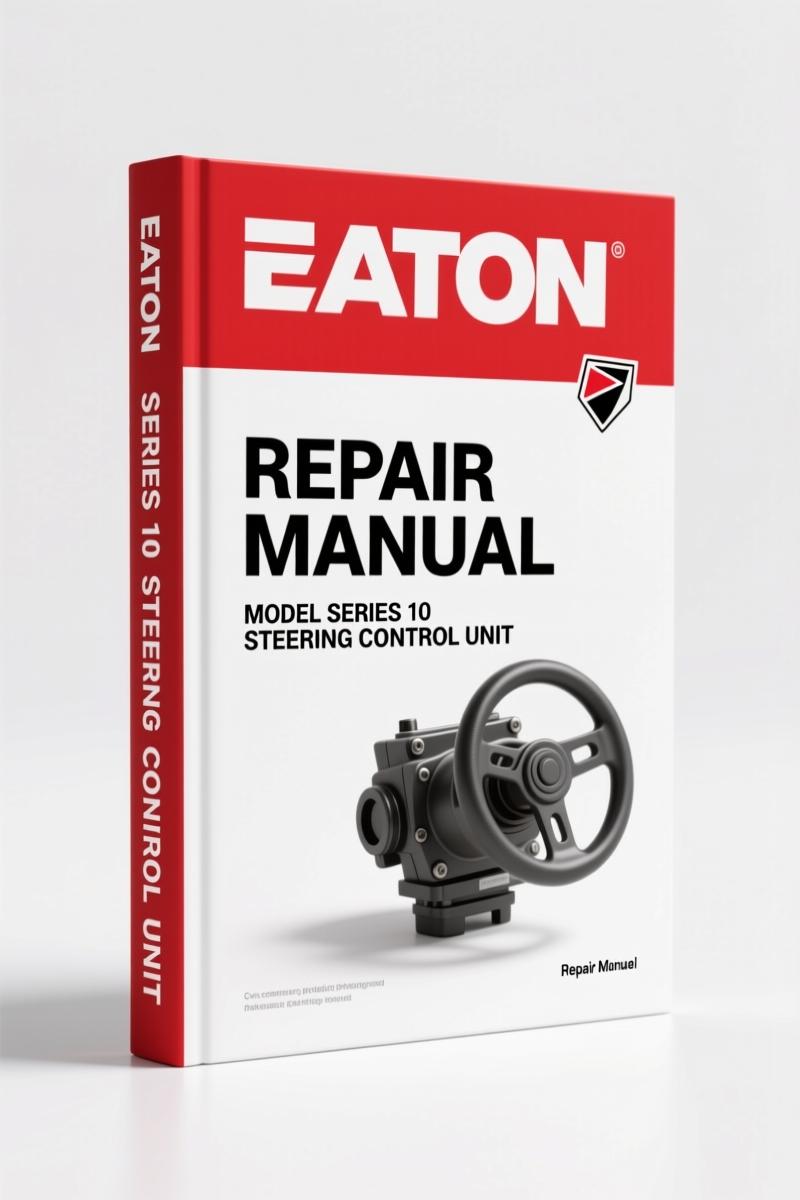
Eaton Series 10 Steering Control Unit 2004 Repair Manual
Original price was: $38.00.$25.00Current price is: $25.00.
OEM repair manual for Eaton Series 10 Steering Control Unit (2004). 16 pages covering disassembly, assembly, parts list, and seal installation.
Description
Eaton Series 10 Steering Control Unit 2004 Repair Manual
Listen, I’ve seen more torn-up steering control units than I care to count. Usually because someone grabbed a third-party PDF off some forum and guessed on the seal installation sequence. That ends with a wet floor and a pissed-off customer. This is the factory OEM print from Eaton – the same one I’ve got on my bench at the shop. 16 pages, published September 2004, and it covers the Char-Lynn Series 10 Steering Control Unit exactly as it left the assembly line. If you’re a home garage guy trying to rebuild that unit without paying the dealer $800, you need this document, not some photocopied aftermarket mess.
Eaton Series 10 Steering Control Unit 2004 Repair Manual: What It Covers
Right from the Table of Contents you get the real structure: Introduction, ID Tag & Ordering Parts, Tools, Parts – Assembly Drawing, Parts – List, Parts – Gerotor, Disassembly, Assembly, and Contact information. That’s not a generic ‘overview’ – that’s the exact sequence you follow when the unit comes off the truck. I’ve used the Assembly section myself after a seal blowout on a municipal truck. Page 9 walks you through seal installation with torque specs you can trust. Don’t rely on internet forums for those numbers.
ID Tag Decoding: Why You Need It
Every Eaton Series 10 unit has an ID tag. If you skip reading page 2, you’ll order the wrong rebuild kit. That tag tells you the design code (-002 in this manual), the date code, and the exact part number. I’ve watched guys waste a full day because they ignored the tag and bought a kit for a different displacement. The manual shows you where the tag is and how to interpret the numbers. One wrong digit and you’re done.
What Tools Does Eaton Specify for This Job?
The Tool section (page 3) lists exactly what you need: seal installation tool, torque wrench (in-lb, not ft-lb for the smaller bolts), and a clean workbench. Eaton says do not wipe parts with paper towels or cloth – lint in a hydraulic system will cause damage. That’s in the intro. Use filtered, moisture-free compressed air. Most backyard guys skip this and pay for it later. The manual covers three critical cleanliness rules – follow them or don’t bother starting.
3 Critical Points in the Disassembly Section
Disassembly covers pages 6–8. Three things here: First, you must plug all ports immediately after disconnecting hydraulic lines. Second, mark the orientation of the sleeve and spool before pulling them apart – the Gerotor section depends on timing marks. Third, inspect the Gerotor drive pin for wear. That part isn’t listed in the parts breakdown but it’s in the inspection notes. Miss it and the unit will drift under load. The manual even tells you to drain the oil and clean the exterior before you start. Basic but often ignored.
Assembly: The Seal Installation Procedure on Page 9
Page 9 is where the money is. You get the full seal installation procedure with the required petroleum jelly lubrication on new rubber seals. Torque values are printed right there – no guessing. Use a beam-style torque wrench for accuracy. Aftermarket manuals often list generic torque values that don’t apply to the Char-Lynn series. This one is specific. Also, the manual includes an exploded parts drawing for the Gerotor section (page 4) so you can see exactly how the crescent and rotor mesh. That saves you from installing the rotor backwards – a mistake I fixed three times last year.
Trust the OEM, Not Aftermarket
I distrust aftermarket documentation on principle. Reprints often blur the torque specs or omit the seal orientation diagrams. This is a direct factory scan from Eaton Hydraulics, September 2004. Every page matches the printed shop manual. If you compare it to a generic manual from a parts store, you’ll see the difference in the ID tag section alone – the factory manual tells you which stamping codes correspond to which replacement kits. Aftermarket leaves it vague. For a steering control unit that manages 1500 PSI hydraulic pressure, vague gets you hurt.
Real-World Use Case: Who Needs This?
If you’re a DIY mechanic with a Foton or a small agricultural tractor that uses a Eaton Series 10 steering unit, this manual is your ticket to a successful rebuild. Don’t assume your tractor’s Chilton manual covers it – I checked. The only way to get the correct assembly sequence and parts list is the factory document. Same if you’re a fleet mechanic for a municipal utility that runs old Ford F-550s with Char-Lynn units. You can hand this to a junior tech and they’ll get it right if they follow the steps. It’s 16 pages – you can print it double-sided for the toolbox and keep the digital copy on your tablet.
Frequently Asked Questions
- Does this manual include torque specs for all bolts?
- Yes, every bolt torque is listed on page 9 for assembly. The manual specifies in-lb for the tie bolts and cover screws.
- How many pages is the manual?
- 16 pages.
- Can I use this manual for other Eaton steering units?
- No, this manual is specific to the Series 10 Char-Lynn control unit. Using it for Series 9 or Series 12 will give you wrong dimensions and torque values. I’ve seen guys ruin a sleeve kit because they assumed the same specs – don’t do it. Stick to what’s labeled on the ID tag.
- Is there a parts list in this manual?
- Yes, there is a full parts list with exploded drawing on pages 4–5, including the Gerotor section. You can order exactly what you need from that list using Eaton part numbers.
If you’re working on a vehicle with a Manual Transmission, you might not think a steering control unit repair matters, but it does – a hydrostatic steering failure on a manual-transmission truck is still a safety hazard. Unlike a Manual Transmission where the driver controls gear selection directly, the hydraulic steering system uses engine power to assist. Get the wrong seal in the steering control unit and you lose assist at the worst moment. This factory manual eliminates guesswork. Grab it, put it on your workbench, and rebuild it right. Access the Factory Manual now.
Additional information
| Brand | Eaton |
|---|---|
| Language | English |
3 reviews for Eaton Series 10 Steering Control Unit 2004 Repair Manual
You may also like…
-
Sale!
Eaton RT-7608LL 2007 Service Manual – 108 Pages | AutoFix Global
Original price was: $50.40.$40.00Current price is: $40.00. -
Sale!
Eaton AutoSelect, AutoShift 2004 Service Manual – Factory Procedures
Original price was: $43.75.$35.00Current price is: $35.00. -
Sale!
Eaton 1900 1975 Parts Catalog – Factory OEM Parts Breakdown for Loader
Original price was: $131.00.$100.00Current price is: $100.00. -
Sale!
Eaton AutoShift 16 2001 Service Manual – 81 Pages of OEM Specs
Original price was: $52.80.$40.00Current price is: $40.00.
Related products
-
Sale!

1994 Troubleshooting Manual – International 1000-4000 FBC
Original price was: $60.00.$50.00Current price is: $50.00. -
Sale!
1993 Operators Manual – International Bus 1000-3000 OEM Specs
Original price was: $12.30.$7.99Current price is: $7.99. -
Sale!
International 1000-3000 Series Operators Manual – 132 Pages of OEM Specs
Original price was: $14.40.$10.99Current price is: $10.99. -
Sale!

1991 Operators Manual – International Truck OEM Specs (108 Pages)
Original price was: $13.63.$10.99Current price is: $10.99.
workshop_guy –
This is exactly what I was looking for. The file looks clean. A must-have for any Eaton Series DIYer doing repairs. Saved my repair job! Thank you.
Charles W. –
This is exactly what I was looking for. The file looks clean. A must-have for any Eaton Series mechanic doing maintenance. I will recommend this shop to others.
diy_master –
This is exactly what I required. The text is searchable and well indexed. A must-have for any Eaton Series owner doing repairs. Saves me a lot of dollars.