
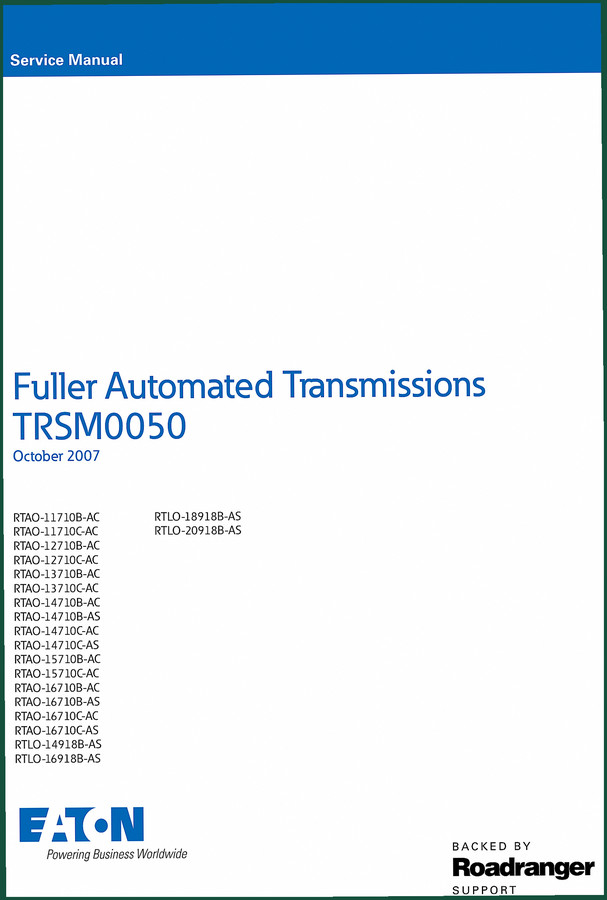
Eaton RTAO-11710B 2008 Troubleshooting Manual – 276 Pages
Original price was: $38.10.$30.00Current price is: $30.00.
Factory Eaton troubleshooting manual for RTAO-11710B, 11710C, 12710B, 12710C, 13710B. 276 pages of fault code isolation and electrical pretest procedures.
Description
Eaton RTAO-11710B, RTAO-11710C, RTAO-12710B, RTAO-12710C, RTAO-13710B 2008 Troubleshooting Manual
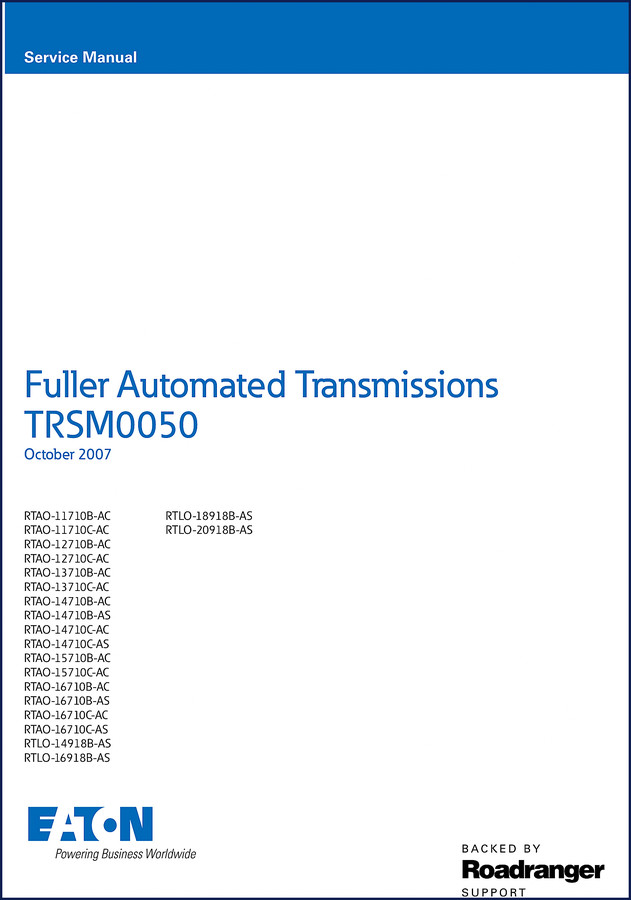
You have a truck in the bay with an Eaton RTAO-11710B that won’t grab a gear. The dash is blinking code 41 — range failed to engage. You pull out a generic scan tool and get nada. The owner is standing there, watching the clock. This is exactly the situation where a factory Troubleshooting Manual pays for itself in the first fifteen minutes. Chasing ghosts in an automated transmission without OEM procedures? That’s how you burn billable hours and end up replacing parts that were never bad.
This 2008 manual is 276 pages of Eaton’s own diagnostic logic. Not a re-hash. Not a summary. This is the document the dealer techs had on the bench. It covers five specific models: RTAO-11710B, RTAO-11710C, RTAO-12710B, RTAO-12710C, and RTAO-13710B. All of them are Fuller automated transmissions with electric-pneumatic shift systems. If you touch any of these transmissions for a living, you need this file open on your laptop while you’re under the chassis.
Fault Code Isolation: How This Manual Works
The table of contents is split into two diagnostic paths: fault code isolation and symptom driven diagnostics. If the ECU is throwing a code, you go to Section 2. Each code has its own test procedure — component code 11 (system manager), code 12 (transmission ECU), code 13 (power connect relay coil), all the way through code 83 (shift lever missing). For example, code 41 (SID 56, FMI 7) gives you the exact test for range failed to engage. No guessing which solenoid to check first. The manual tells you the expected voltage, the air pressure range, and the step order. Use the Fault Code Isolation Procedure Index on page 1-10 to find your code fast.
3 Pretest Procedures You Should Run First
Before you start swapping solenoids, the manual demands three pretests. Electrical System Pretest (page 2-1). Power-Up Sequence Pretest. Air Pretest. I have seen techs skip the air pretest and replace an entire shift actuator when the real problem was a kinked air line at the frame rail. These pretests are short — maybe ten minutes total — and they eliminate the most common dumb failures. Aftermarket manuals leave this stuff out because they want to sell you a “quick fix.” Eaton wants the transmission to work when you button it up.
What Tools Are Suggested?
The manual lists the required tools in Section 1. You need a multimeter that can read frequency (input shaft speed sensor tests), a pressure gauge for the air system, and a diagnostic tool that can communicate on the Eaton Proprietary Link (EPL). Third-party code readers often don’t see the Transmission ECU properly. That’s why the manual includes a Shift Lever Data Link test (code 15) and an EPL test (code 16). If you can’t talk to the ECU, you fix the data link first. The tool list is short. No exotic factory scan tool required — just a decent multimeter and a pneumatic test set.
Understand the Electrical System Before You Start
The Electrical section is not a wiring diagram dump. It’s a systematic pretest that checks battery voltage supply (code 33), power connect relay coil (code 13), and start enable relay contact. You don’t jump straight to component replacement. You verify voltage at the relay, check for corrosion on the J-1 connector, and confirm the ECU is getting clean power. Many “shift lever missing” codes (code 83) trace back to a corroded ground at the chassis. This manual saves you from ordering a $600 shift lever assembly that you don’t need. Related manuals that cover deeper rebuilds are available: Eaton Fuller Automated Transmissions TRSM0050 Service Manual and the Eaton Fuller Automated Transmissions Troubleshooting Manual for other model years. For hybrid versions, check the Eaton Hybrid Transmissions 2010 Troubleshooting Manual.
Symptom Driven Diagnostics: When You Have No Code
Sometimes the transmission acts up but doesn’t store a fault code. The Symptom Driven Diagnostics Index (page 1-11) lists common complaints: “Transmission will not engage a gear,” “Hard shifts when cold,” “Engine brake relay not working.” Each symptom points you to a specific fault code isolation procedure or a system test. For example, “AutoShift/AutoSelect Will Not Engage a Gear” sends you to the Front Box Control test and the Gear Select Sensor test. No code? No problem. The manual still gives you a test path. This is where aftermarket documentation falls apart — they give you a generic “check wiring” bullet. Eaton gives you a spec.
Source Validity: OEM vs. Aftermarket
I have seen aftermarket manuals that claim to cover Eaton RTAO transmissions but leave out the air pretest entirely. They list torque values that are off by 10 ft-lb. They redraw wiring diagrams that are missing pins. This manual is a direct OEM file from 2008. It has the original page numbering, the original warnings (block the wheels, set parking brake, don’t release brake until air pressure is correct), and the exact fault code definitions that Eaton uses in their dealer software. If you want to understand the Manual Transmission theory behind the automated shift logic, this manual includes driving technique instructions on page 1-6 that explain how the ECU decides when to shift. That knowledge is what separates a parts-changer from a diagnostician.
- Does this manual cover the RTAO-13710B transmission?
- Yes. The RTAO-13710B is listed in the manual, and all fault code procedures apply to that model.
- How do I retrieve fault codes if the shift lever display is blank?
- If the display is blank, go to the Power-Up Sequence Pretest first. That procedure checks the gear display power supply and the shift lever data link. If those pass, the manual gives you a method to read codes using a multimeter on the diagnostic connector — it’s not a standard OBD-II process. You’ll find the exact pin-out and timing sequence in Section 2 under the Shift Lever Data Link test (code 15). Do not skip the pretests. A blank display often means the ECU never powered up because the power connect relay coil (code 13) is open. The manual tells you which pins to probe and what voltage to expect — 12.0 to 14.5 volts DC with the engine running.
Your bay is your business. Time spent guessing is time you can’t bill. The Eaton RTAO-11710B, RTAO-11710C, RTAO-12710B, RTAO-12710C, RTAO-13710B 2008 Troubleshooting Manual gives you the factory sequence for every fault code and every symptom. Access the Factory Manual now and get the diagnostics you trust.
Additional information
| Brand | Eaton |
|---|---|
| Language | English |
2 reviews for Eaton RTAO-11710B 2008 Troubleshooting Manual – 276 Pages
You may also like…
-
Sale!

Eaton 1900 1975 Parts Catalog – Factory OEM Parts Breakdown for Loader
Original price was: $131.00.$100.00Current price is: $100.00. -
Sale!
Eaton RT-7608LL 2007 Service Manual – 108 Pages | AutoFix Global
Original price was: $50.40.$40.00Current price is: $40.00. -
Sale!
Eaton AutoShift 16 2001 Service Manual – 81 Pages of OEM Specs
Original price was: $52.80.$40.00Current price is: $40.00. -
Sale!
Eaton AutoSelect, AutoShift 2004 Service Manual – Factory Procedures
Original price was: $43.75.$35.00Current price is: $35.00.
Related products
-
Sale!

2011 Parts Catalog – International 7400 SFA 6X6 – 1886 Pages of OEM Part Numbers
Original price was: $32.00.$25.00Current price is: $25.00. -
Sale!

Service Manual – International HS 2.8L Engine – 130 Pages of Factory Specs
Original price was: $56.40.$40.00Current price is: $40.00. -
Sale!

2011 Parts Catalog – International Truck OE Parts Documentation (1786 Pages)
Original price was: $34.50.$25.00Current price is: $25.00. -
Sale!

1991 Operators Manual – International Truck OEM Specs (108 Pages)
Original price was: $13.63.$10.99Current price is: $10.99.
pro_mechanic –
I am very pleased with this transaction. The scan is high-quality and well indexed. Every wiring layout is included for Eaton RTAO11710B. I will recommend this shop to others.
Michael T. –
Excellent quality! The pages are clean and easy to navigate. Every wiring layout is provided for Eaton RTAO11710B. Highly recommended for mechanics.