
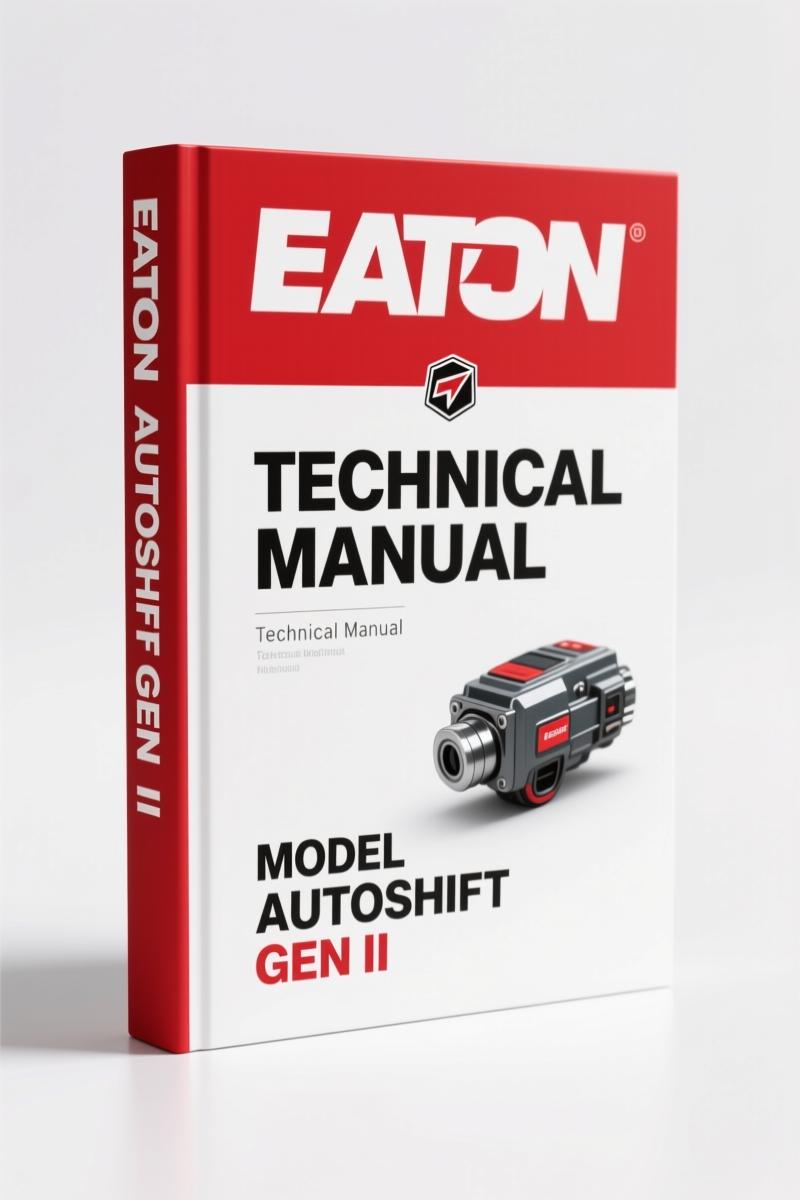
Eaton AutoShift Gen II 2000 Technical Manual – 20 Page OEM Quick Reference
Original price was: $22.65.$15.00Current price is: $15.00.
20-page OEM technical manual for Eaton AutoShift Gen II transmissions. Diagnostic flowcharts, electrical pretest, and tool specs. Published 2000.
Description
Eaton AutoShift Gen II 2000 Technical Manual – OEM Factory Diagnostics for Automated Transmissions
If you are troubleshooting an Eaton AutoShift Gen II 2000 Technical Manual transmission and the service lamp starts blinking, you need more than a generic code list. You need the OEM diagnostic flowchart that tells you exactly where to start, what to check first, and which tool to use. I have spent 28 years turning wrenches in San Antonio. I can tell you that the difference between a 20-minute fix and a two-hour headache is whether you follow the factory procedure or start guessing. This 20-page technical manual from Eaton – the people who built the transmission – gives you the same data we use in the shop. No aftermarket interpretation, no third-party rewrites. It is the original 2000 release from the Roadranger program.
You will not find torque specs for head bolts here. This manual is focused on diagnostics. It covers the electrical pretest, air pretest, code retrieval, and the step-by-step troubleshooting logic. That matters when a truck is down and the customer is waiting. The manual also lists the exact Kent-Moore and Eaton service tool part numbers you need: J-43318 test adapter, J-38351-B serial link adapter, and the standard 5505027 volt/ohm meter. On page 2 you get the complete tool list including the Data Link Tester (MF-KIT-04) and the ServiceRanger PC software. If you do not have those tools, the manual tells you that upfront. That is the kind of honesty you do not get from a third-party rewrite.
Diagnostics Procedure: Follow the Flowchart, Not Your Gut
Page 3 contains the main diagnostics flowchart. Key on. Does the service lamp light for one second and turn off? If no, verify OEM wiring and perform electrical pretest. If yes, retrieve active codes. That sequence might sound basic, but I have seen shops skip the pretest and waste half a day chasing a bad ground. The manual also tells you what to do when the gear display shows a solid “N” – or when it does not. There is a separate branch for inactive codes and symptoms. Every path leads back to the same foundation: verify wiring, perform pretests, then go to the Troubleshooting Guide. That is the factory method. It works.
This manual does not assume you already know the system. It starts with an introduction that explains the procedure order. It then walks you through step A, step B, and so on. The language is direct. No fluff. The condition column tells you what to look for, and the action column tells you what to do. If you have a symptom that does not match a code, the manual tells you to verify ECU software using ServiceRanger. That level of detail saves you from swapping parts that are fine.
General Warnings: Safety Before Service
Before you even plug in a scan tool, this manual forces you to think about safety. On the inside cover there are six bullet points that every technician should read before touching the vehicle. “Do not release the parking brake or attempt to select a gear until the air pressure is at the correct level.” That is not a suggestion. It is a written directive from the manufacturer. The manual also warns against operating the vehicle if the alternator lamp is lit or voltage is low. Low voltage causes transmission controllers to act erratically, and many DIYers miss that because they do not have a factory document telling them to check it. The manual even specifies the pressure gauge range: 0-100 PSI air pressure gauge. That is the exact spec.
Suggested Tools: What You Need and Where to Get It
The tool list on page 2 is split between Kent-Moore and Eaton service parts. Kent-Moore part 5505030 is the hydraulic test kit – that is for air pretests. The J-43318 adapter kit is specifically for Eaton test connections. If you have ever tried to back-probe a 9-pin connector with a paperclip, you know why the adapter matters. The manual also lists the ServiceRanger PC-based diagnostic software. This is not a screenshot you find on a forum. It is the OEM tool part number TBD (to be determined – they left that open because software versions change). But the fact that Eaton includes it tells you this manual expects you to use the proper tools, not makeshift ones. The related publications section on page 2 refers to the AutoShift Installation Guide (TRIG-0062), Service Manual (TRSM-0062), and Driver Instructions (TRDR-0062). That tells you this technical manual is part of a system. If you need deeper repair data, you go to the Service Manual. This technical manual is the diagnostics quick reference.
Source Validity: OEM Factory Print, Not Aftermarket Copy
Every page of this manual was produced by Eaton Corporation and the Roadranger program. The cover says “Eaton® Fuller® Automated Transmissions” and it lists the publication date March 2000. That is important because the Gen II system had specific calibration differences from earlier versions. Aftermarket manuals often merge generations together to save space. This one does not. It also includes a direct website: www.roadranger.com (note: that site may redirect now, but the manual was current for its time). For additional help, the manual lists the toll-free line 1-888-880-0970. That is the same number I have used to get technical support from Eaton. You cannot get that level of traceability from a PDF that some third party scanned from a library copy. This is the real deal. For more Eaton factory documentation, check out the Eaton Yale & Towne 1700 1969 Service Manual – OEM Factory Data if you work on older Eaton units, or the Eaton Fuller AutoShift Gen II 2000 Diagnostics Manual – 20 Page Factory Specs for a dedicated diagnostic companion. There is also the Eaton Fuller AC-AS1, AS2-ASX, ASW, CEEMAT, CEM1 2004 Diagnostics Manual for later-generation automated transmissions.
If you want to understand how an automated transmission communicates with the engine ECU and the vehicle CAN bus, you can read about Manual Transmission fundamentals and how the clutch is controlled. But for specific diagnostic steps, stick with the OEM manual. If you are chasing an O2 sensor fault that keeps returning after clearing codes, the Oxygen Sensor (O2) info might be relevant, but always verify wiring per the Eaton pretest procedure first.
Who Should Use This Manual?
This is for the shop owner who does not have time to guess, the DIY mechanic who wants to fix his own truck without taking it to a dealer, and the fleet technician who needs to get a truck back on the road today. The manual assumes you have a basic volt/ohm meter and a scan tool that can communicate with the Eaton ECU. It does not assume you have formal electrical training – the flowchart logic is clear enough that if you follow it step by step, you will either find the problem or confirm the ECU needs replacement. Beginners should read the Introduction and the safety warnings twice. Professionals will go straight to the diagnostic chart. Either way, this 20-page document will save you from replacing a shift actuator when the real issue is a loose ground wire on the OEM harness.
FAQ – Common Questions About This Manual
- Does this manual include wiring diagrams for the entire vehicle?
- No. It includes a diagnostic flowchart and references to OEM wiring verification, but it does not provide full vehicle wiring diagrams. For that, you need the OEM chassis electrical manual for the specific truck model.
- What diagnostic tools are required?
- A standard volt/ohm meter (Kent-Moore 5505027 or equivalent), a hydraulic test kit (5505030), and the Eaton J-43318 test adapter. The manual also lists the Data Link Tester (MF-KIT-04) and ServiceRanger software.
- Is this manual suitable for a complete transmission rebuild?
- No. This is a 20-page technical manual focused on diagnostics. For overhaul procedures, torque specs, and internal parts, you need the Eaton AutoShift Service Manual (TRSM-0062).
- How do I retrieve active codes using the manual?
- Page 3 shows the flowchart: key on, check service lamp, retrieve active codes using a scan tool. If active codes are present, follow the troubleshooting guide. If no active codes but symptoms exist, retrieve inactive codes and verify ECU software with ServiceRanger.
Stop guessing. Get the factory diagnostic procedure that Eaton engineers wrote for their own transmission. Access the Factory Manual and put it on your tablet or print it for the shop binder. You will refer to it every time an AutoShift Gen II comes in with a no-shift complaint or a blinking service lamp. That is 20 pages of straight-from-the-source data that will keep you from chasing your tail.
Additional information
| Brand | Eaton |
|---|---|
| Language | English |
3 reviews for Eaton AutoShift Gen II 2000 Technical Manual – 20 Page OEM Quick Reference
You may also like…
-
Sale!
Eaton RT-7608LL 2007 Service Manual – 108 Pages | AutoFix Global
Original price was: $50.40.$40.00Current price is: $40.00. -
Sale!
Eaton AutoSelect, AutoShift 2004 Service Manual – Factory Procedures
Original price was: $43.75.$35.00Current price is: $35.00. -
Sale!

Eaton 1900 1975 Parts Catalog – Factory OEM Parts Breakdown for Loader
Original price was: $131.00.$100.00Current price is: $100.00. -
Sale!
Eaton AutoShift 16 2001 Service Manual – 81 Pages of OEM Specs
Original price was: $52.80.$40.00Current price is: $40.00.
Related products
-
Sale!

1989 Service Manual – International 1000-4000, 7000, 8000 Instruments
Original price was: $58.80.$40.00Current price is: $40.00. -
Sale!

2006 Service Manual – International DT 466E, 530E Diesel Engine
Original price was: $67.50.$50.00Current price is: $50.00. -
Sale!

Acura Integra 1998 Service Manual – 1891 Pages Factory OEM Documentation
Original price was: $31.75.$25.00Current price is: $25.00. -
Sale!
1992 Electrical Schematic – OEM Wiring Diagrams for International 1000-3800
Original price was: $24.48.$18.00Current price is: $18.00.
workshop_guy –
Excellent workshop guide. The pages are clean and well indexed. Every spec sheet is included for Eaton AutoShift. I will recommend this shop to others.
Michael T. –
Great buy! The PDF is very clear. It guided me to repair my Eaton AutoShift electrical system. Saved my weekend project! Thank you.
John S. –
I am so happy with this manual. It is easily zoomable on my phone without blur. Every torque spec is included for Eaton AutoShift. Great value for money.