
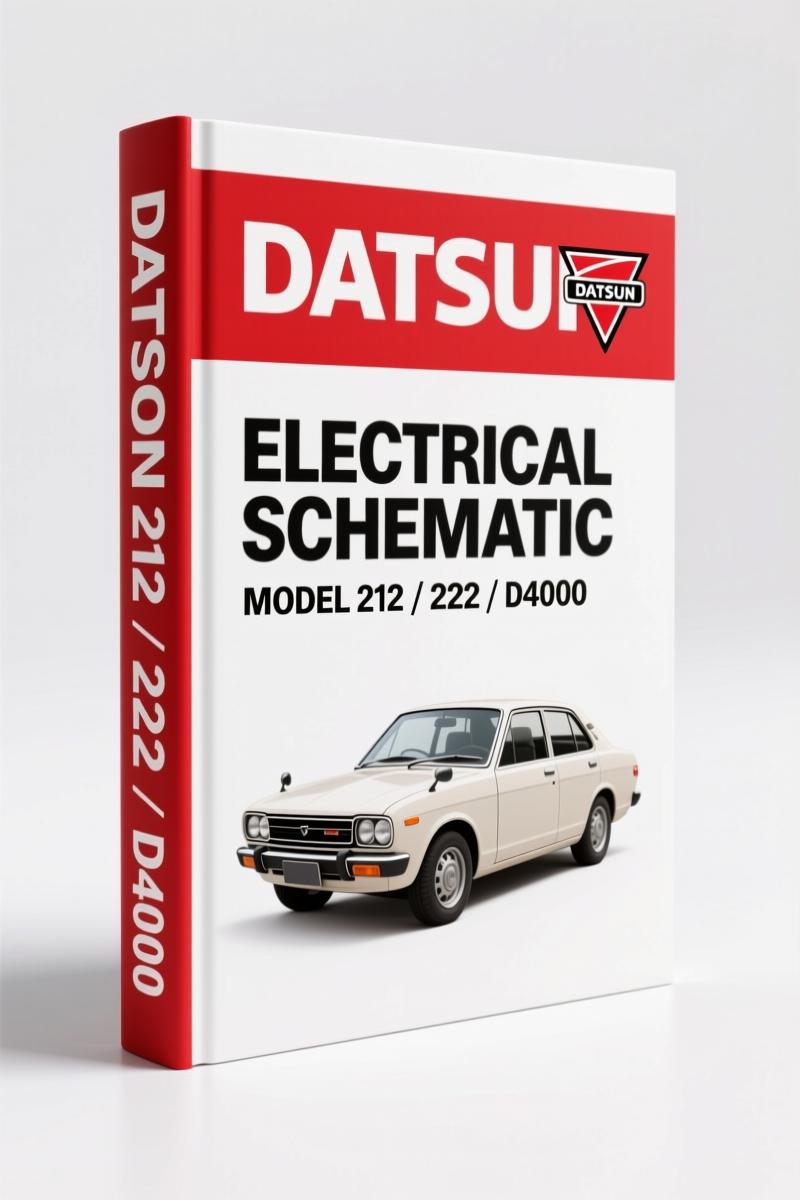
Datsun 212, 222, D4000 Electrical Schematic – 90-Page Factory Wiring Guide
Original price was: $22.40.$16.00Current price is: $16.00.
Factory electrical schematic and troubleshooting guide for Datsun 212, 222, D4000. 90 pages of OEM-spec wiring and diagnostic procedures.
Description
Datsun 212, 222, D4000 Electrical Schematic – Factory Training Manual
If you’ve ever stared at a wiring harness on a Datsun 212, 222, or D4000 and felt that cold dread of “where do I even start”— this 90-page Datsun 212, 222, D4000 Electrical Schematic pulls you back to reality. I’ve watched guys burn a Saturday on a short circuit that takes twenty minutes with the right test procedure. This document is that procedure. It’s the original Nissan Motor Corporation in U.S.A. training manual, not some scanned reprint from a third party who guessed at the voltage drops.
How to Read a Voltmeter: Low Scale vs High Scale
Page 3 of this manual shows you exactly why scale selection matters. Most DIY guys grab a cheap meter and leave it on auto-range. That’s how you miss a 0.5-volt drop. The manual walks you through the low-scale reading for voltage drop tests and the high-scale for battery voltage. You get a clear diagram of the meter face—positive lead red, negative lead black—and the instruction to turn the scale selector to the low scale before you start poking around. This sounds basic until you’ve seen a guy read 12.6 volts at the battery and call it good, while the starter terminal shows 11.1 because of a corroded cable end. That’s the difference between a running car and a tow bill.
Voltage Drop Testing – Positive and Negative Side
The manual dedicates two full pages (pages 4 and 5) to voltage drops in the positive side and the negative side. You’ll see the exact procedure: connect positive lead to battery terminal, turn on the circuit, then move the negative voltmeter lead along the hot wire until the reading drops. The spec is clear: below 2 volts on a 12-volt system means the positive side is okay. Above 2 volts means you’ve got resistance. Same routine for the ground side—below 1.5 volts means the ground circuit is acceptable; above 1.5 volts means a bad ground connection. I’ve used this method to find a bad body ground on a Datsun 222 that had intermittent taillights. Took ten minutes. A wiring diagram alone won’t tell you that.
Starting and Charging System: Factory Test Points
Page 2 of this manual lists the starting system and charging system as separate sections. You’ll learn how to test the battery with a voltmeter and ammeter, then move to the starter draw test using the ammeter and short detector. The charging system section covers alternator output testing without a load. These are the procedures Nissan trained its techs on back when the 212, 222, and D4000 were still on the road. No guesswork—just meter readings and pass/fail thresholds. If you’re rebuilding a Datsun 212 engine and need to verify the charging circuit, this is the reference.
Why the Original Nissan Training Manual Beats Aftermarket Wiring Diagrams
I’ll say it plain: aftermarket wiring schematics are a gamble. They often omit the test procedures that tell you if a wire is actually bad. This manual comes from the service training department of Nissan Motor Corporation in U.S.A. It’s the same document issued to dealership techs. Every voltmeter reading, every ohmmeter scale, every short detector step is factory-verified. When you buy a third-party PDF that claims to cover the 212 or 222, you’re trusting someone who copied a copy. This is the original print. For a model-specific wiring diagram, check Datsun A10 Electrical Schematic – 49 Pages OEM Factory Wiring Manual”>Datsun A10 Electrical Schematic – 49 Pages OEM Factory Wiring Manual. Combine that with this training guide and you’ve got full electrical coverage.
8 Diagnostic Systems Covered in 90 Pages
Look at the table of contents printed on page 2: Voltmeter, Ohmmeter, Ammeter, Short Detector, Battery, Starting System, Charging System, and How to Troubleshoot Circuit Problems. That’s eight discrete sections, each with step-by-step instruction. The manual doesn’t waste space on vehicle-specific wiring colors—it teaches you to test any circuit on the 212, 222, or D4000 using the same method. You learn to use the ohmmeter for continuity checks, the ammeter for current draw, the short detector for intermittent ground faults. This is the kind of knowledge that sticks because it’s based on physics, not guesswork. If you want to understand why a headlight fuse blows, page 70 (roughly) shows the short detector procedure. The page number isn’t critical; the method is.
Applying These Tests to the 212, 222, and D4000
All three models share the same basic electrical architecture—12-volt negative-ground systems with separate starting and charging circuits. The manual uses generic diagrams but the test points apply directly. You’ll use the voltage drop method on the positive cable from the battery to the starter solenoid. On the D4000, which has a slightly larger battery (60Ah according to page 3 of the manual), the same ammeter ranges work. The manual also explains how to use the voltmeter to check for voltage drops in the negative side—critical on the 222’s unibody ground that rusts out. For mechanical specs, pair this with Datsun 510 PL521 1968-1973 Workshop Manual”>Datsun 510 PL521 1968-1973 Workshop Manual or the Datsun 1200 1969-1973 Workshop Manual”>Datsun 1200 1969-1973 Workshop Manual for engine and drivetrain details.
Understanding basic battery theory from Automotive Battery”>Automotive Battery resources helps, but the manual gives you everything you need to test it yourself. For industry context on electrical diagnostic standards, see Automotive Industry Overview”>Automotive Industry Overview.
FAQ
- Does this manual cover the specific wiring for a Datsun 212?
- It covers electrical theory and test procedures applicable to the 212, 222, and D4000 models. The manual is a general electrical service guide from Nissan’s training department, not a model-specific wiring diagram book. You’ll learn how to measure voltage drops, test starting and charging circuits, and use a voltmeter correctly. The procedures work on any 12-volt negative-ground system, but the manual uses the 212/222/D4000 as reference vehicles.
- Is this the same as a workshop manual?
- No. This focuses on electrical diagnostics, not engine rebuilding or body work.
- What tools do I need?
- A digital voltmeter with DC scales, an ohmmeter, an ammeter, and a short detector. That’s it.
- Can I use this for other Datsun models?
- The procedures apply to any 12-volt negative-ground system. The 212, 222, and D4000 are used as example vehicles, but the methods transfer to older Datsun sedans and trucks.
If you want to stop guessing and start fixing, access the factory manual from AutoRepairManuals. You’ll get the same 90-page document Nissan gave its own techs in the 1970s. That’s the only way to do electrical work on these cars.
Additional information
| Brand | Datsun |
|---|---|
| Language | English |
3 reviews for Datsun 212, 222, D4000 Electrical Schematic – 90-Page Factory Wiring Guide
You may also like…
-
Sale!
Datsun 1000, 1200 Workshop Manual: Factory Specs for A10 & A12 Engines
Original price was: $61.20.$45.00Current price is: $45.00. -
Sale!
Datsun 510 Service Manual – 249 Pages of OEM Factory Specs
Original price was: $55.35.$45.00Current price is: $45.00. -
Sale!
Datsun 280-Z 1975 Troubleshooting Manual – OEM Fuel Injection Guide
Original price was: $85.80.$65.00Current price is: $65.00. -
Sale!
Datsun 1600, 2000 Service Manual – 388 Pages of OEM Specs
Original price was: $70.20.$45.00Current price is: $45.00.
Related products
-
Sale!

Acura NSX 1991 Service Manual – 1420 Pages OEM
Original price was: $102.05.$65.00Current price is: $65.00. -
Sale!

Acura Integra 1998 Service Manual – 1891 Pages Factory OEM Documentation
Original price was: $31.75.$25.00Current price is: $25.00. -
Sale!

1996 Operators Manual – International 1000-4000 Series (246 pages)
Original price was: $15.28.$9.99Current price is: $9.99. -
Sale!

2004 Acura TSX Wiring Diagram – 73-Page Factory Electrical Schematics
Original price was: $15.88.$9.99Current price is: $9.99.
gearhead88 –
Five stars! The document is very clear. It helped me to rebuild my Datsun 212, engine. I will recommend this shop to others.
Charles W. –
Great workshop guide. It is very easy to read on my tablet without blur. A must-have for any Datsun 212, DIYer doing maintenance. Saved my weekend project! Thank you.
workshop_guy –
This is just what I required. The text is searchable and well indexed. It guided me to rebuild my Datsun 212, transmission. Saves me a lot of dollars.